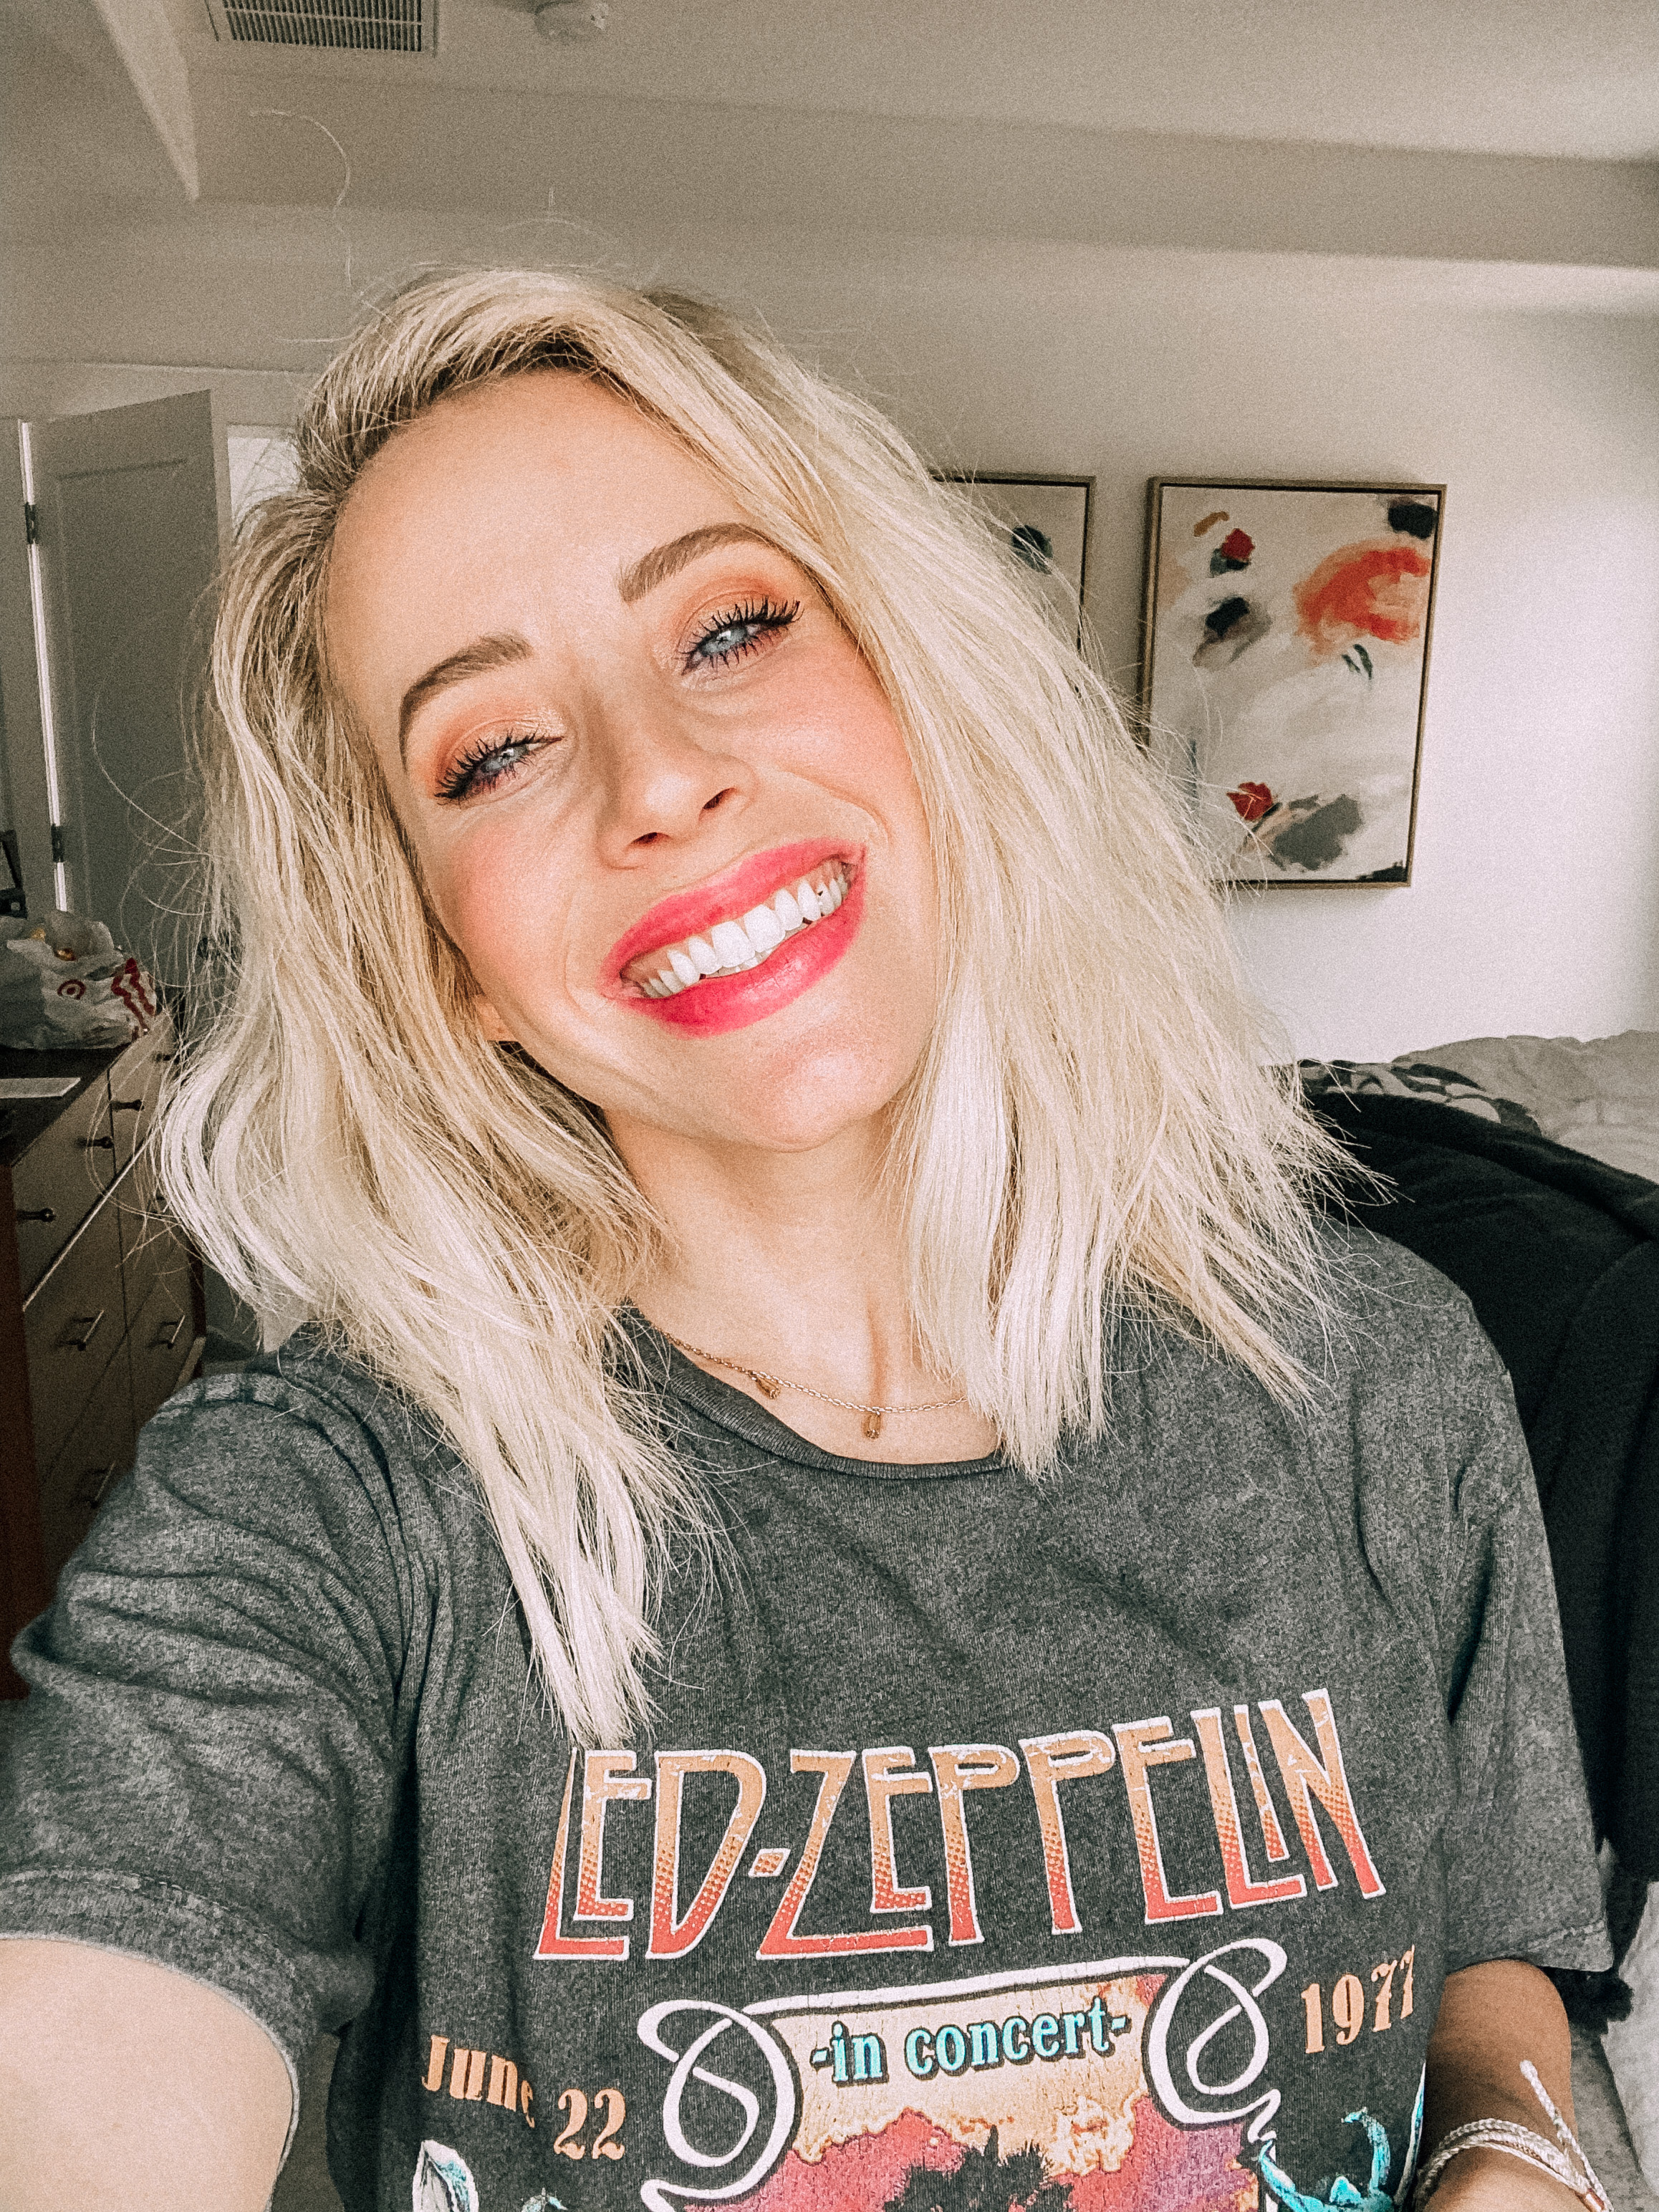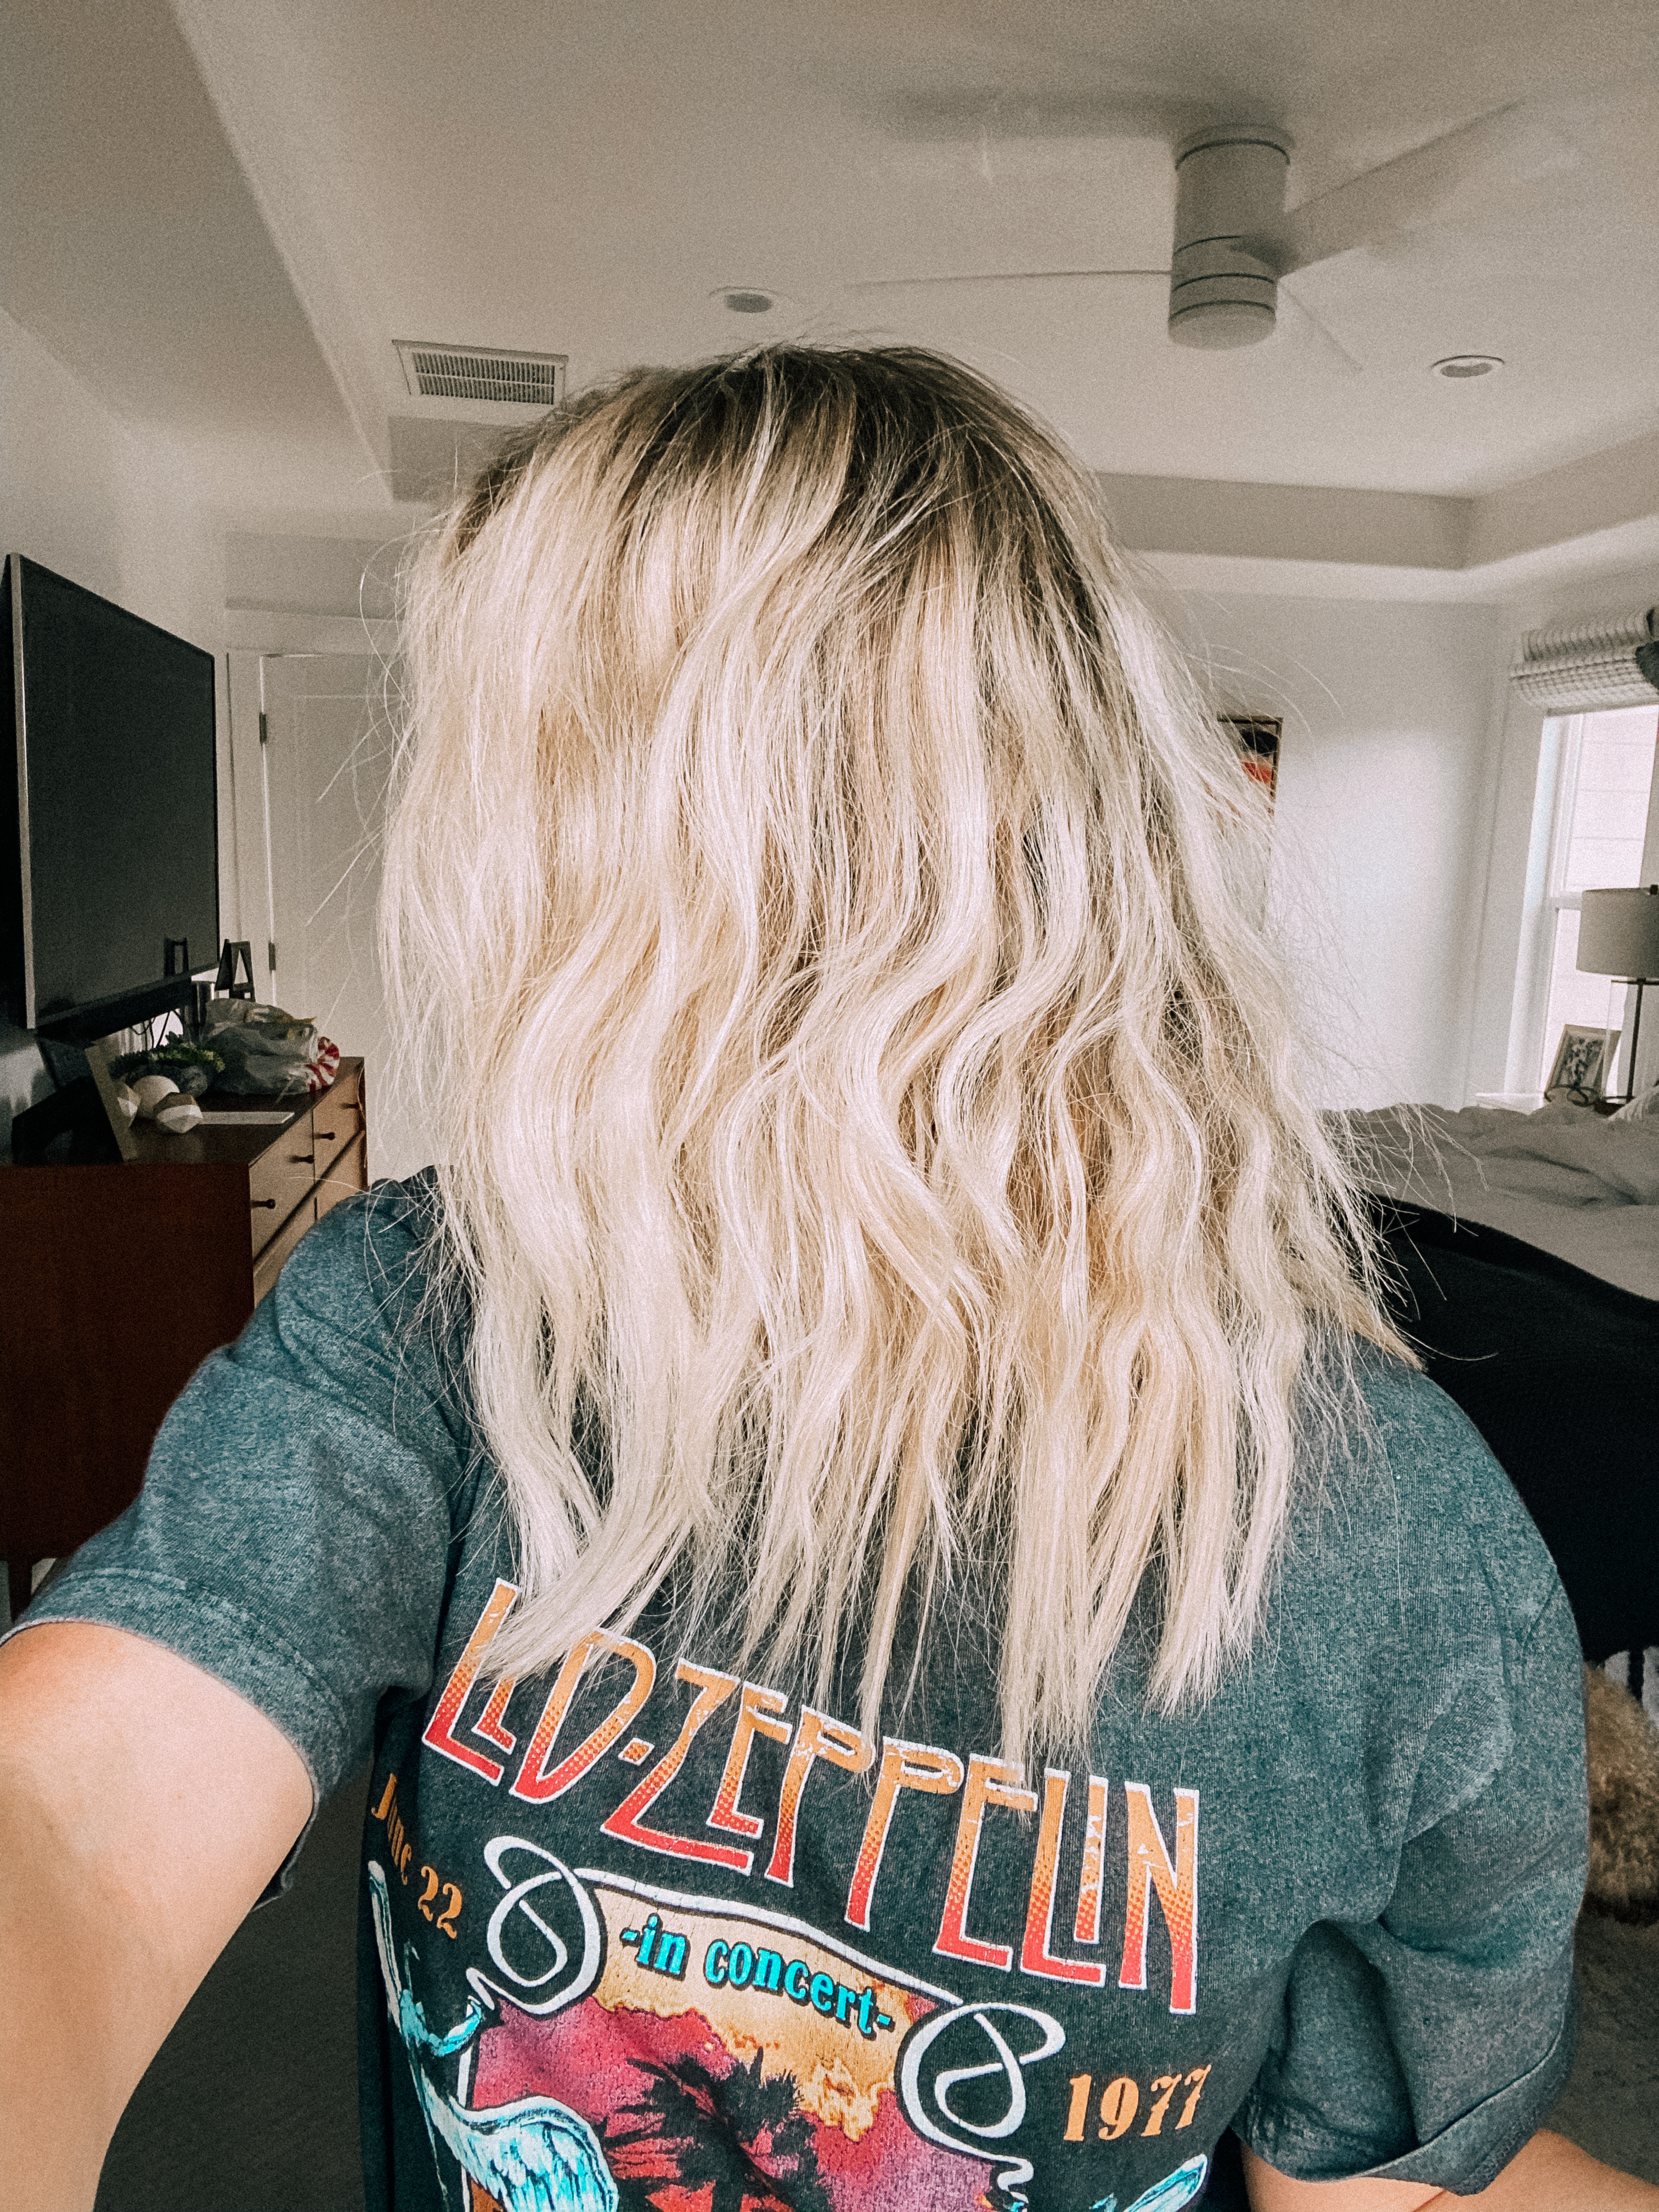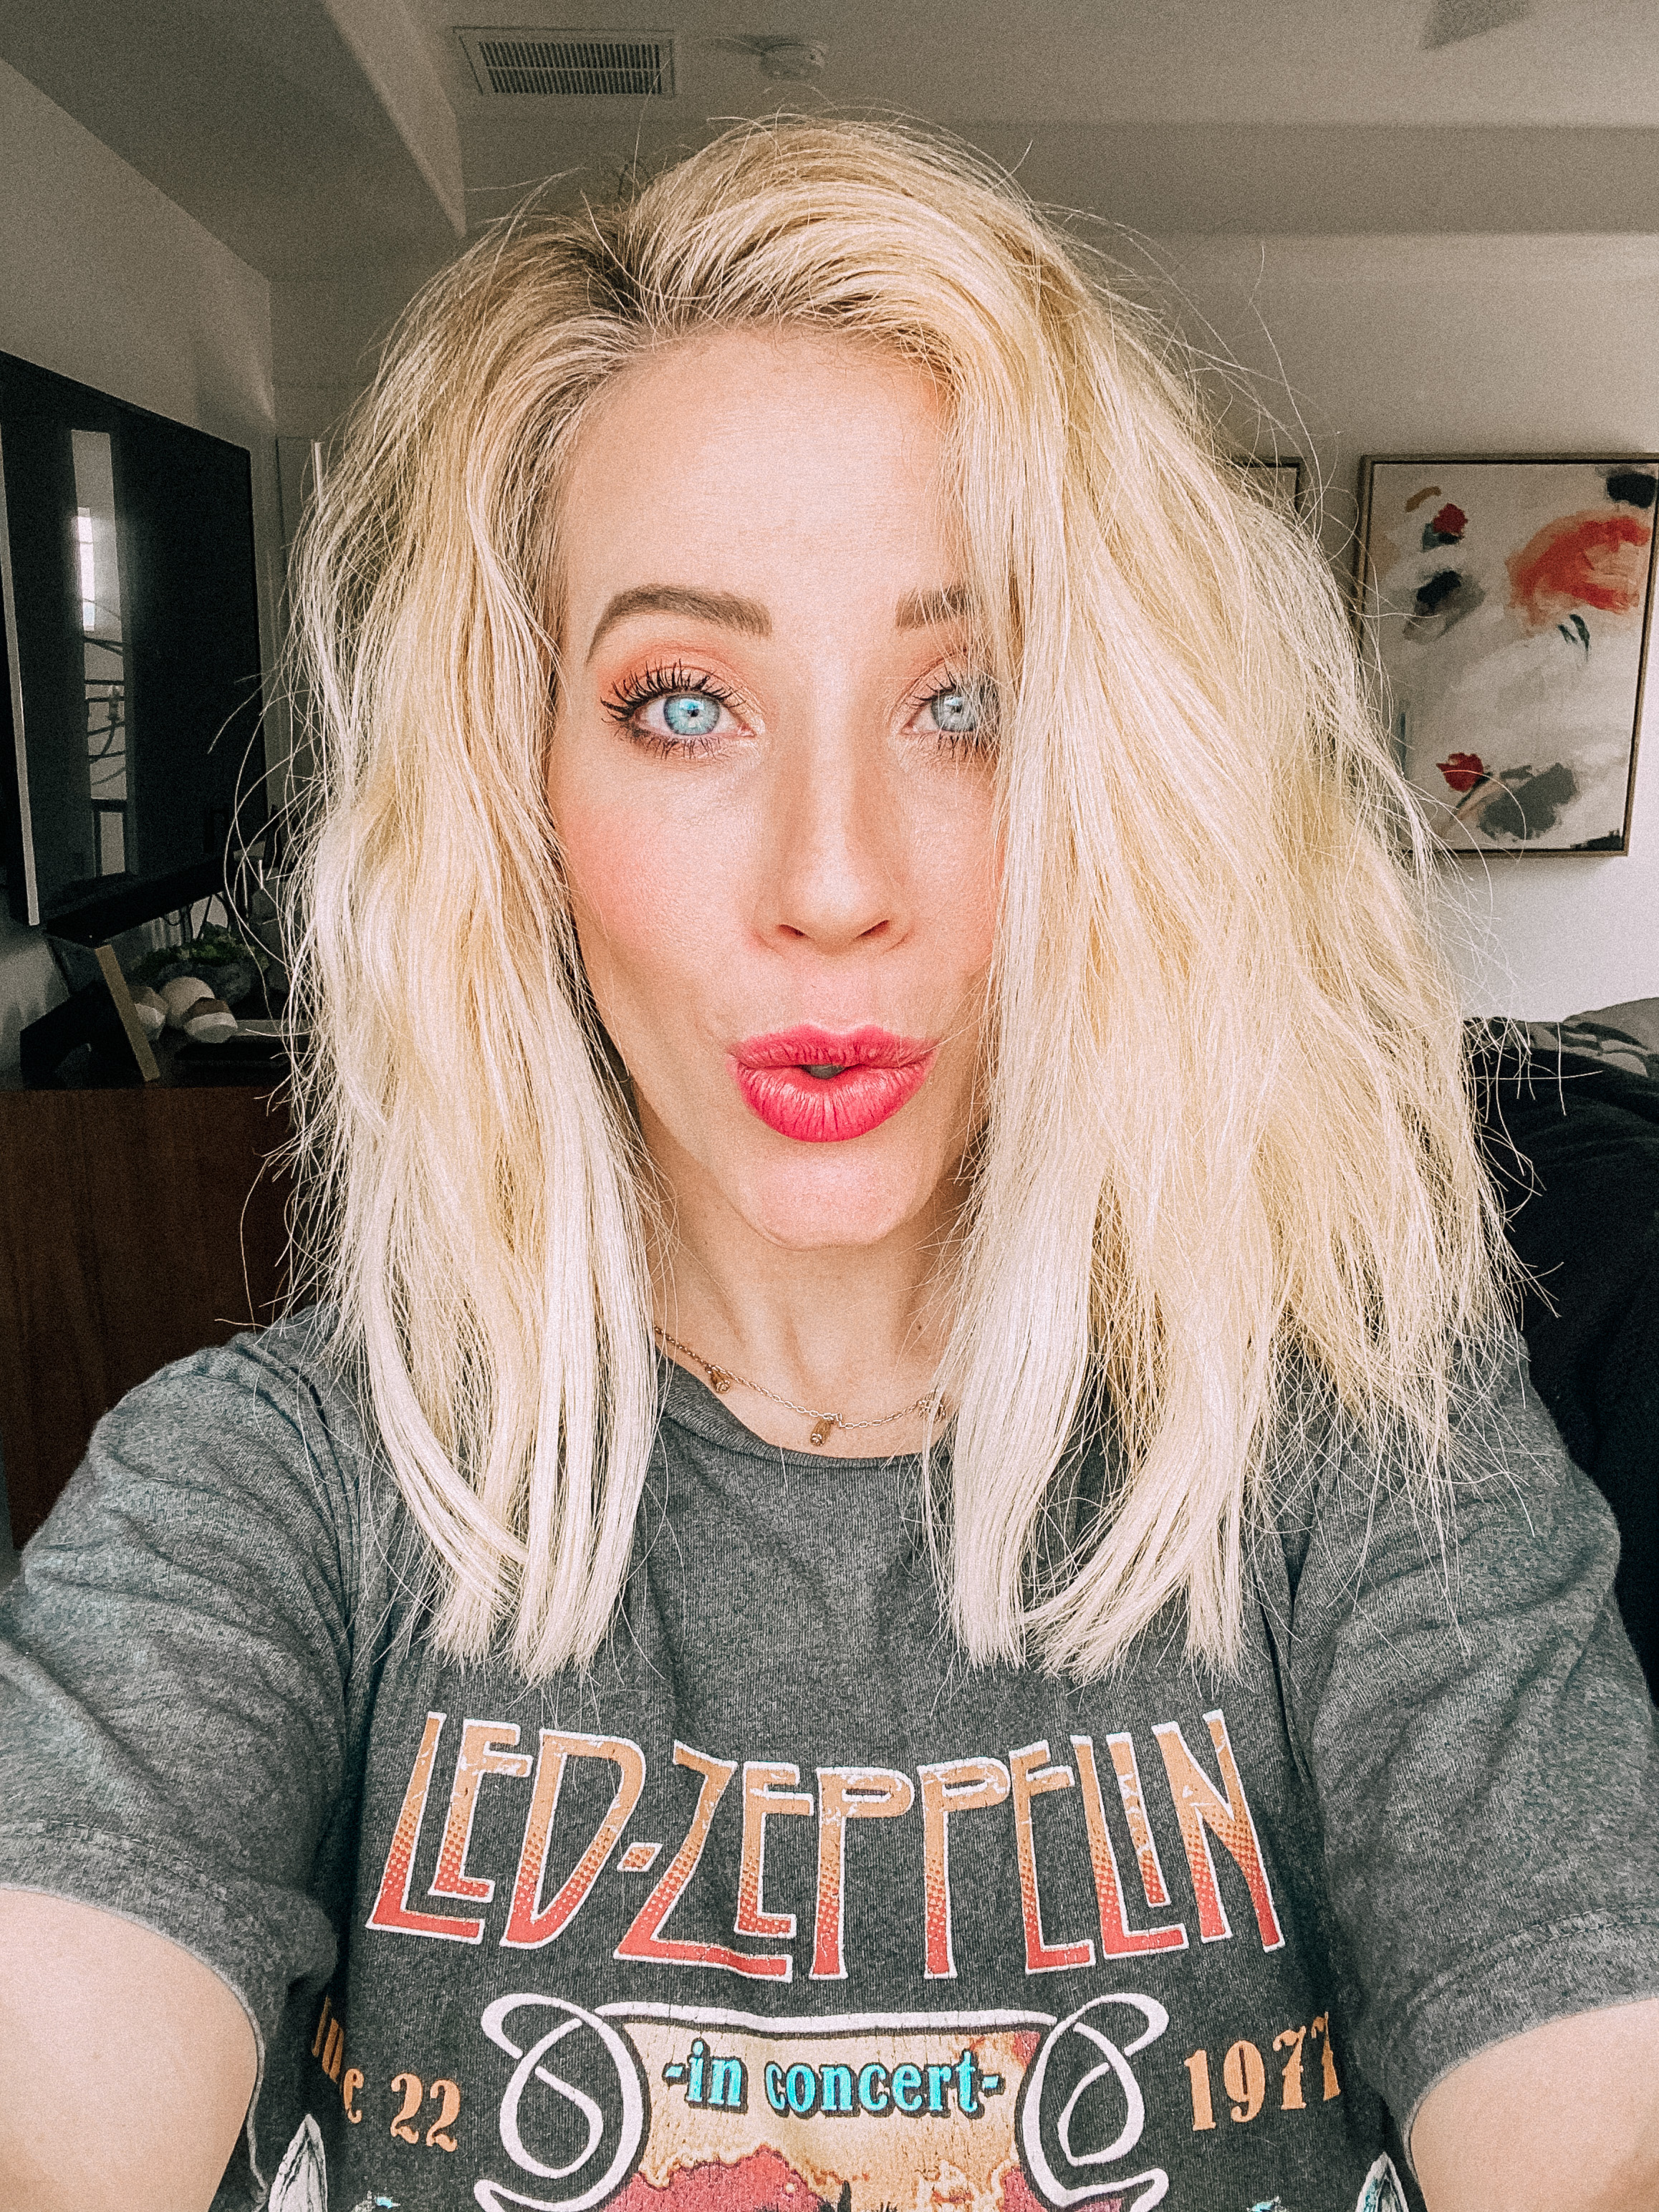
Well helllloooooo!!!! It’s been awhile since I’ve shared a hair tutorial so I thought I’d film these easy beach waves I’ve been doing a lot lately! Minimal heat… lots of volume… texture for dayyyzz…it’s a win/win for me! I love how little heat these easy beach waves require. Going into the hot months of summer, I don’t want to add heat to my hair if I can help it.
View this post on Instagram
Here’s how you can get these easy beach waves, too!
Step 1
Start the night before by putting your hair in two dutch pigtail braids and make sure you have a center part! Your hair can be wet or dry for this, if you braid your hair when it’s wet, you’ll have tighter waves the next day. Don’t know how to do dutch pigtail braids? Check out these tutorials to learn how to dutch braid- Dutch Braid Tutorials.
Step 2
In the morning, take out the braids. Do not brush them out. Comb through the braids with your fingers, but don’t worry about them looking a little messy, that’s the point of this look! If you brush the braids out with a comb or brush, you will have frizz instead of easy beach waves. Trust me, don’t brush the braids out!
Step 3
If needed, go over the ends of your hair with a flat iron. Make sure to use a heat spray + a low temperature (350) on your iron. Smooth out any unwanted frizz. Straightening the ends will also help calm any kinks that may have happened while you slept. (Heat Spray, Favorite Flat Iron)
Step 4
Use a dry texturizing spray to add volume to these easy beach waves — Oribe is my favorite! Find it HERE.
Step 5
Use an oil on your ends to help with frizz. I love Moroccan Oil, because it also makes my hair look super shiny and healthy. Make sure not to smooth out too much of the texture as this look is messy and we are getting most of our volume from the natural texture in the braids.
Step 6
Flip the part from the middle to the side, I like to go extra deep for added volume. This is the real secret to these easy beach waves! By flipping your part from the middle to one side, it really amps up the volume you have.
Step 7
If you’re adding any extensions, move the flat iron through them with front and backward motions. The iron I was testing out had wider plates than I like and the wave wasn’t as noticeable. Here’s the Flat Iron I love!
Step 8
Finally, back comb your roots for extra volume and spray with hairspray! Here’s my favorite Hairspray.
What do you think? Are you a messy waves type of person or are you loose waves for life?! I love this easy beach waves look for summer and anytime I don’t want to spend a ton of time on my hair. I love the volume I get from this method, and it literally only takes a few minutes to accomplish this look!


