
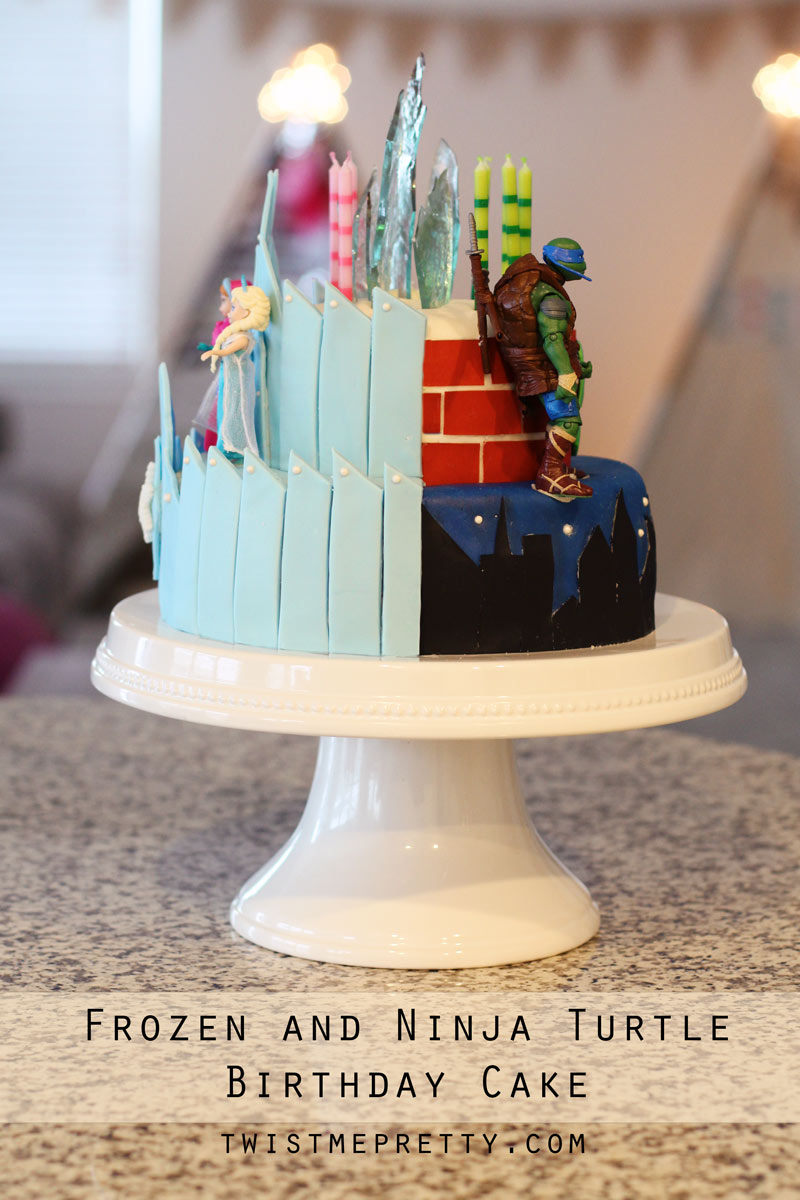
My kids have birthdays in the same week and naturally we celebrate them with family and friends on the same day. I wanted to give my kids each a cake that they would love separately but I wasn’t making more than one – ain’t nobody got time for that! So I scoured Pinterest (duh) and found a few different cakes I was inspired by and thought looked easy enough and came up with this. I’m super proud. It turned out more amazing than I had in my mind and when that happens it’s a total win! Behold, the Frozen and Ninja Turtle Birthday Cake –
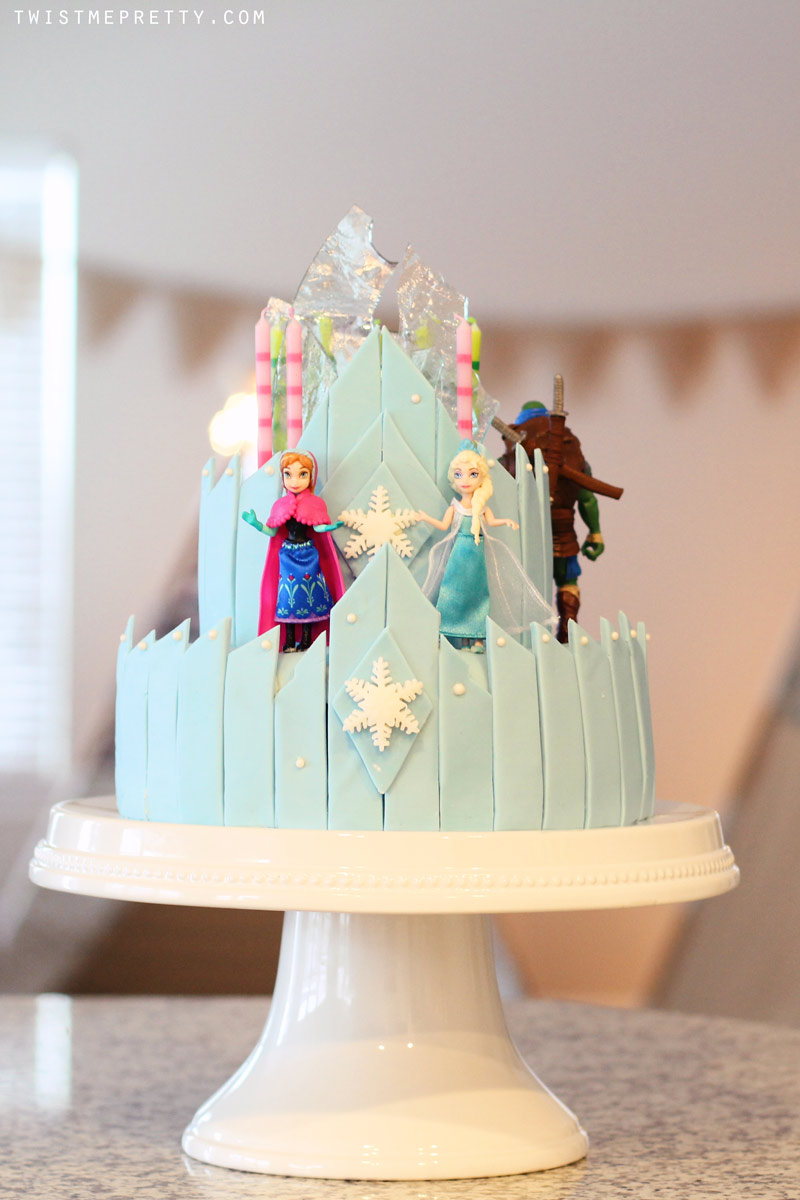
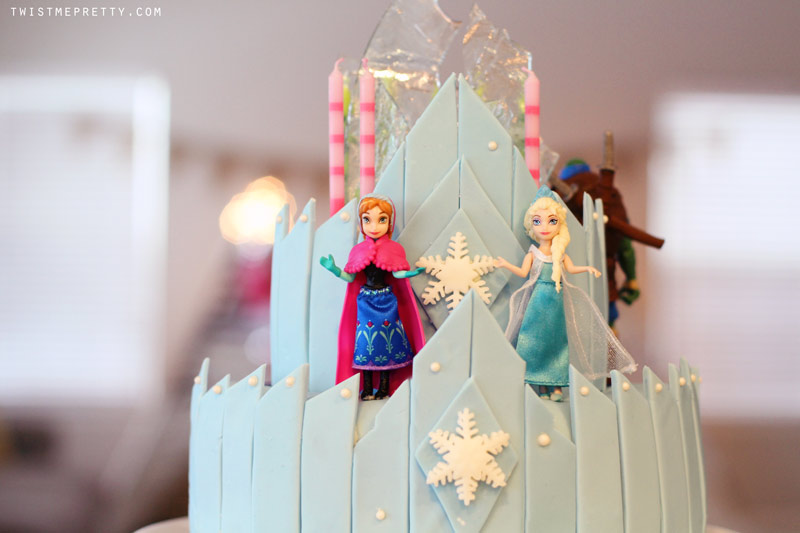
The Frozen Side:
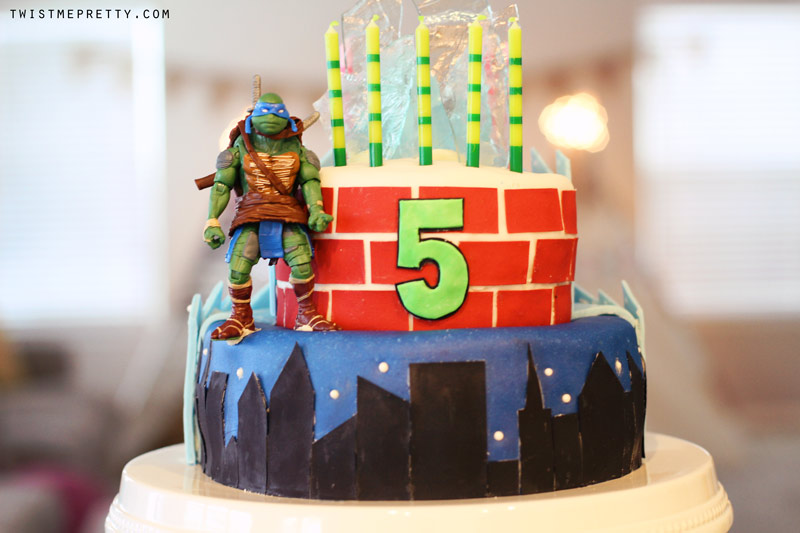
The Ninja Turtle Side:
I’m not going to get deep into a tutorial, if there’s an overwhelming response though I’ll be happy to dive in! For now though, I’ll just give you a few basics to get you started. I used these recipes for the cakes and buttercream and this tutorial and recipe for the fondant. If you’ve never made fondant before it’s not as scary as it looks but be prepared to mess up a recipe or two before you get the texture perfect. And if you hate fondant it’s most likely because you’ve never had home made. I promise you — it’s the most delicious thing on earth!
I used the Wilton food coloring gels for the dark blue and green on the TMNT side and the light blue on the Frozen side. The 3 bottom cakes are 9″ and I wrapped the whole cake with the blue fondant and the top 3 cakes are 6″ and I wrapped them with white. I think I ended up making two and half batches of fondant but I could be wrong. Make sure to read the bottom of this post if you need more info on how to freeze cakes and layer the cakes so they don’t fall in on each other! For the Frozen Cake I used this snowflake cutter and this Frozen play set from Amazon for the Anna and Elsa figures. I used this tutorial for the candy ice topper (one of my favorite parts!) and let me explain the strips of blue real fast. You’ll need to make your fondant and then either make or buy some gum paste from Michael’s. You’ll use 50/50 gum paste and fondant, roll it out, cut the strips out how you want and then let them harden over night. Then you can put them on your cake in the morning! For the TMNT Cake I used this Leonardo Action Figure and the black buildings and red brick are sugar paper I got from Michaels. Sugar paper is incredibly easy to use which is why I opted for that over fondant. I pasted it all onto the cakes using buttercream. The little white stars are just white sprinkle beads you can find in the baking section at your grocery store. Oh, and the cake stand is from Target! I thiiiiink that sums it up! Let me know if you have any other questions!!
TMNT Cookies:
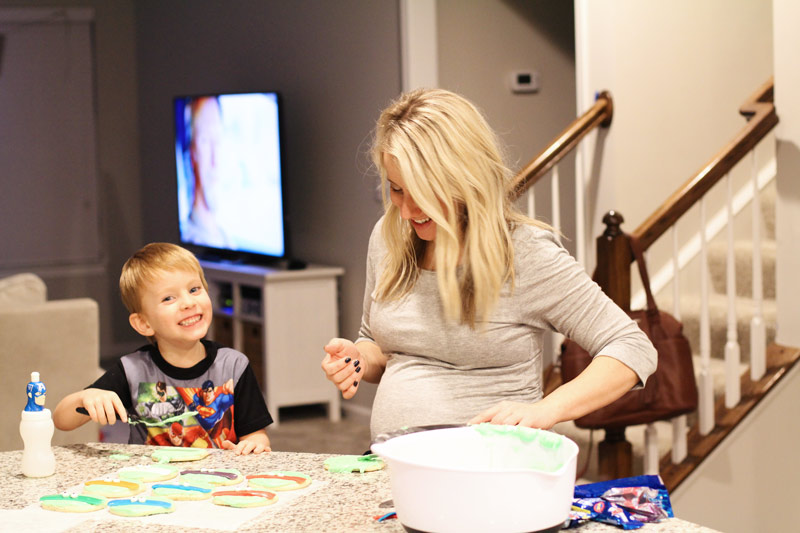
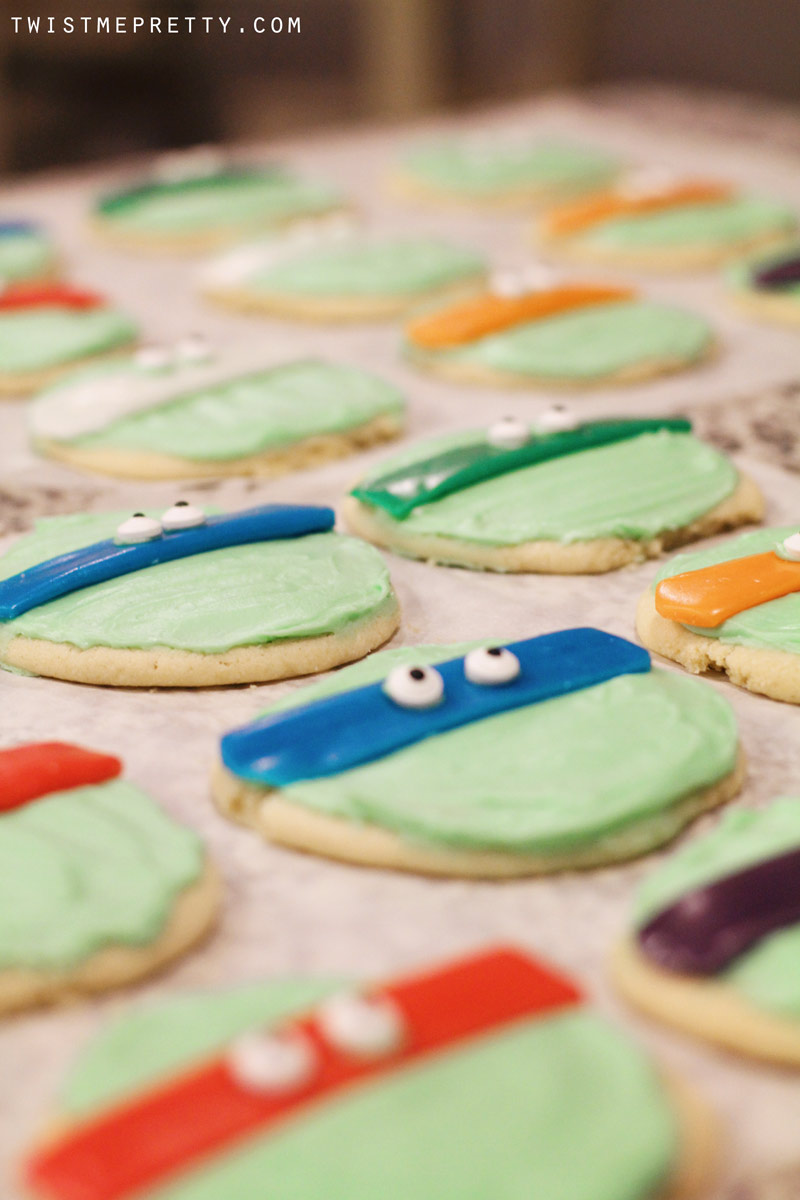
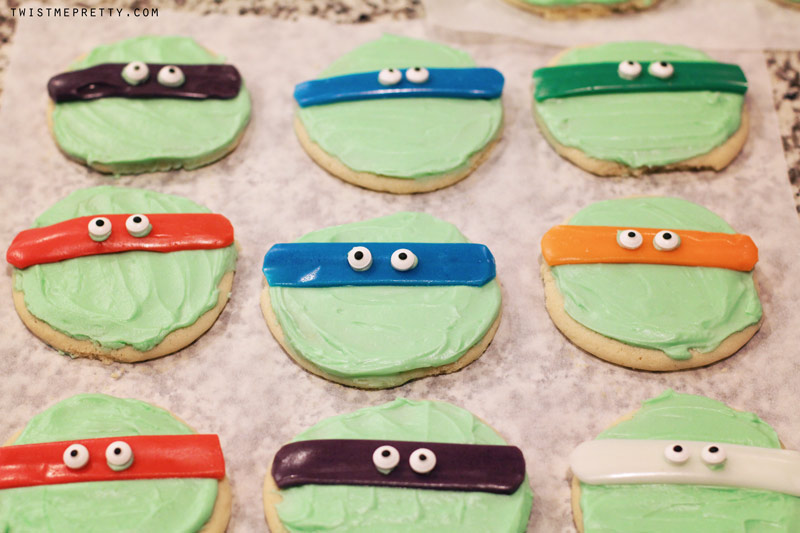
Boston needed to bring treats to class for his birthday so I found this tutorial on Pinterest and thought they looked easy enough. Sunday night we spent a couple hours putting them together and honestly had so much fun. I let him put on the initial layer of green frosting so he felt needed and involved and then he’d pass the cookie over to me, I’d fix it up a bit and cut the airheads to fit. We used a home made sugar cookie recipe, this buttercream recipe and we got the candy eyes at Target! Suuuper easy and fun! The kids in his class loved them!
Awesome! this is a good idea. I would try for my little kids.:)
Amazing! Sounds like a lot of effort but it was definitely worth it!! 🙂
https://en.emoi-emoi.com/blog/
gah! how cute!
That cake is seriously amazing! I am so impressed that you made it yourself
Dresses & Denim
That is so interesting, and so creative! I could never have the ability or effort like you to make it <3
xx Bash | Bash Says Hey | bloglovin’
Thank You so much for sharing this! I have been wanting to try fondant forever and have been too scared! You have inspired me:)
Oh my goodness I love this! I could never make something like this. You go girl!
I love this! I think it’s awesome that you gave them such a unique cake for their birthdays.