
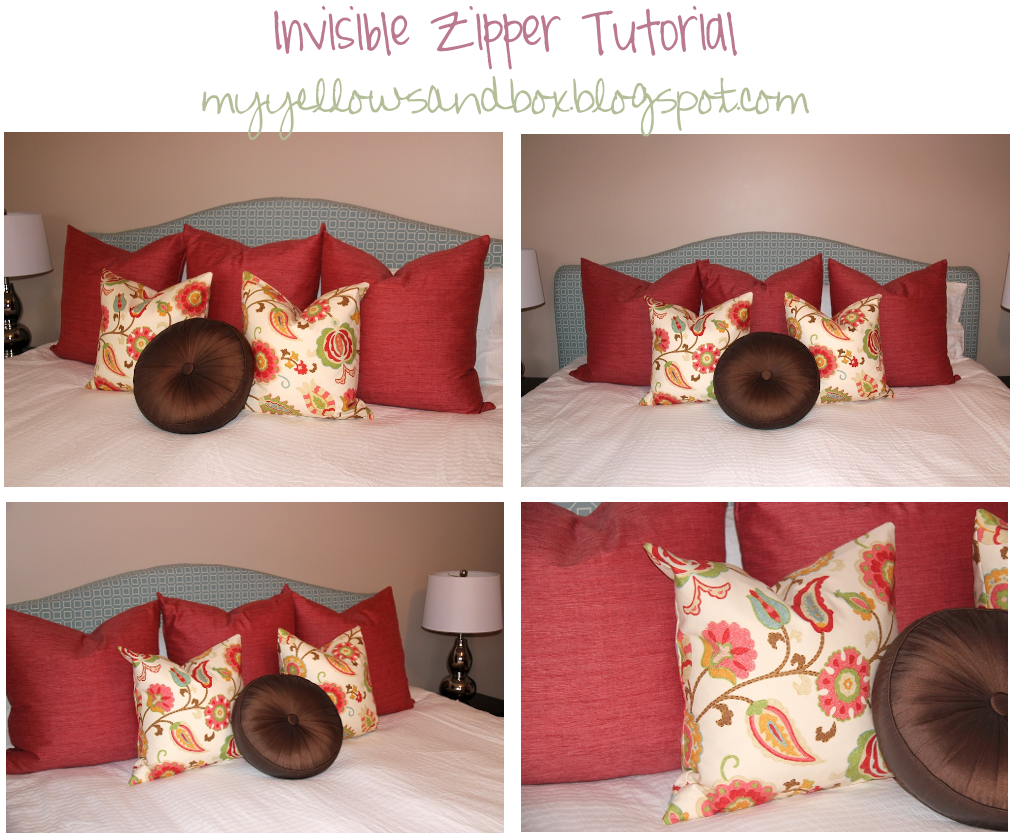
I decided to throw this tutorial up on my blog because all the tutorials I looked at online were just not detailed enough. I kept screwing up and was getting so frustrated! I finally made my mom teach me. It’s honestly not as hard as it looks and by pillow three I was flying through them! This is your standard invisible zipper pillow tutorial. Enjoy! If you’re looking for the headboard tutorial click here.
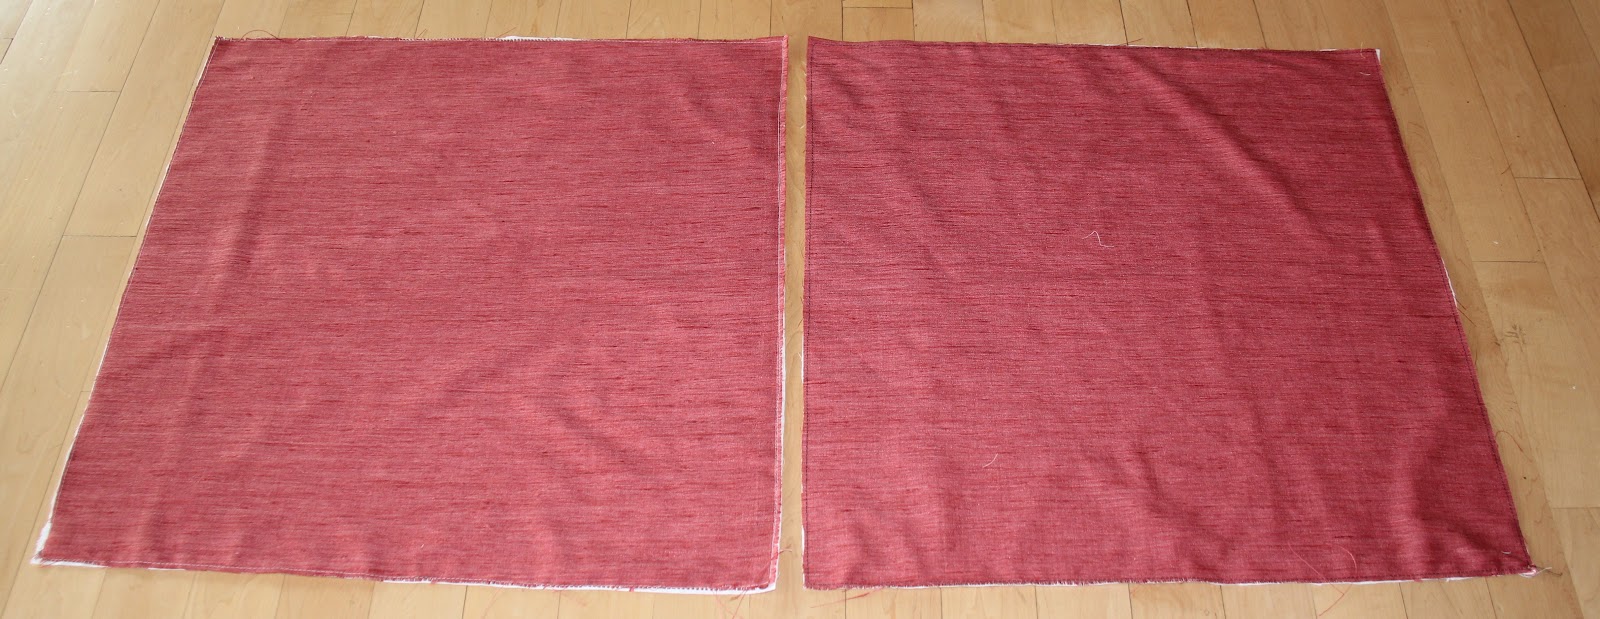
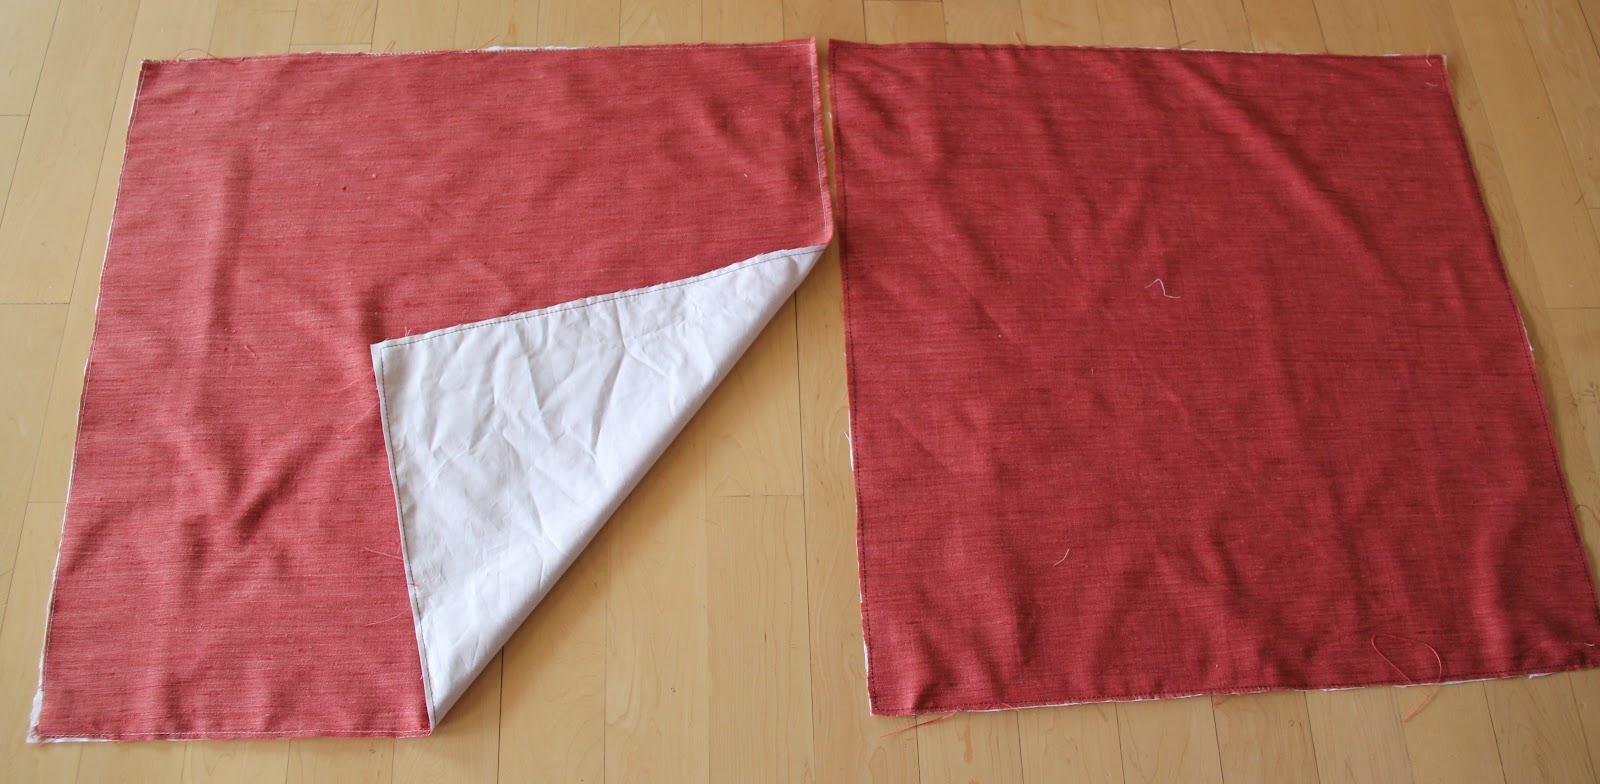
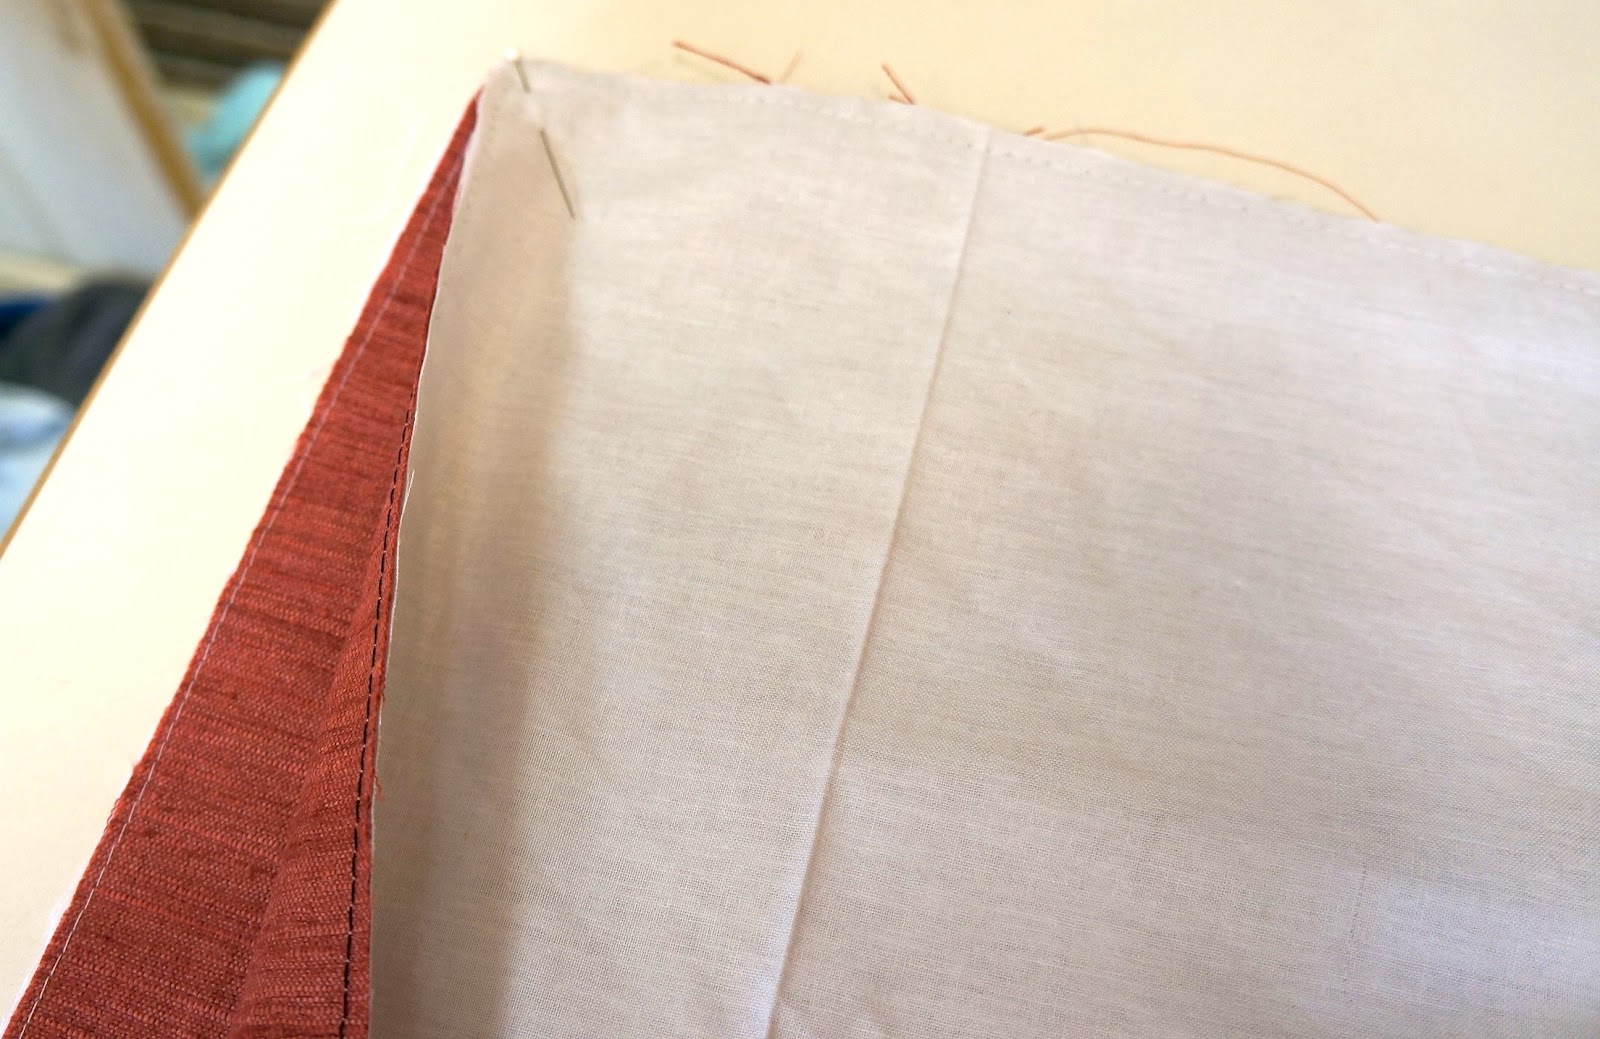
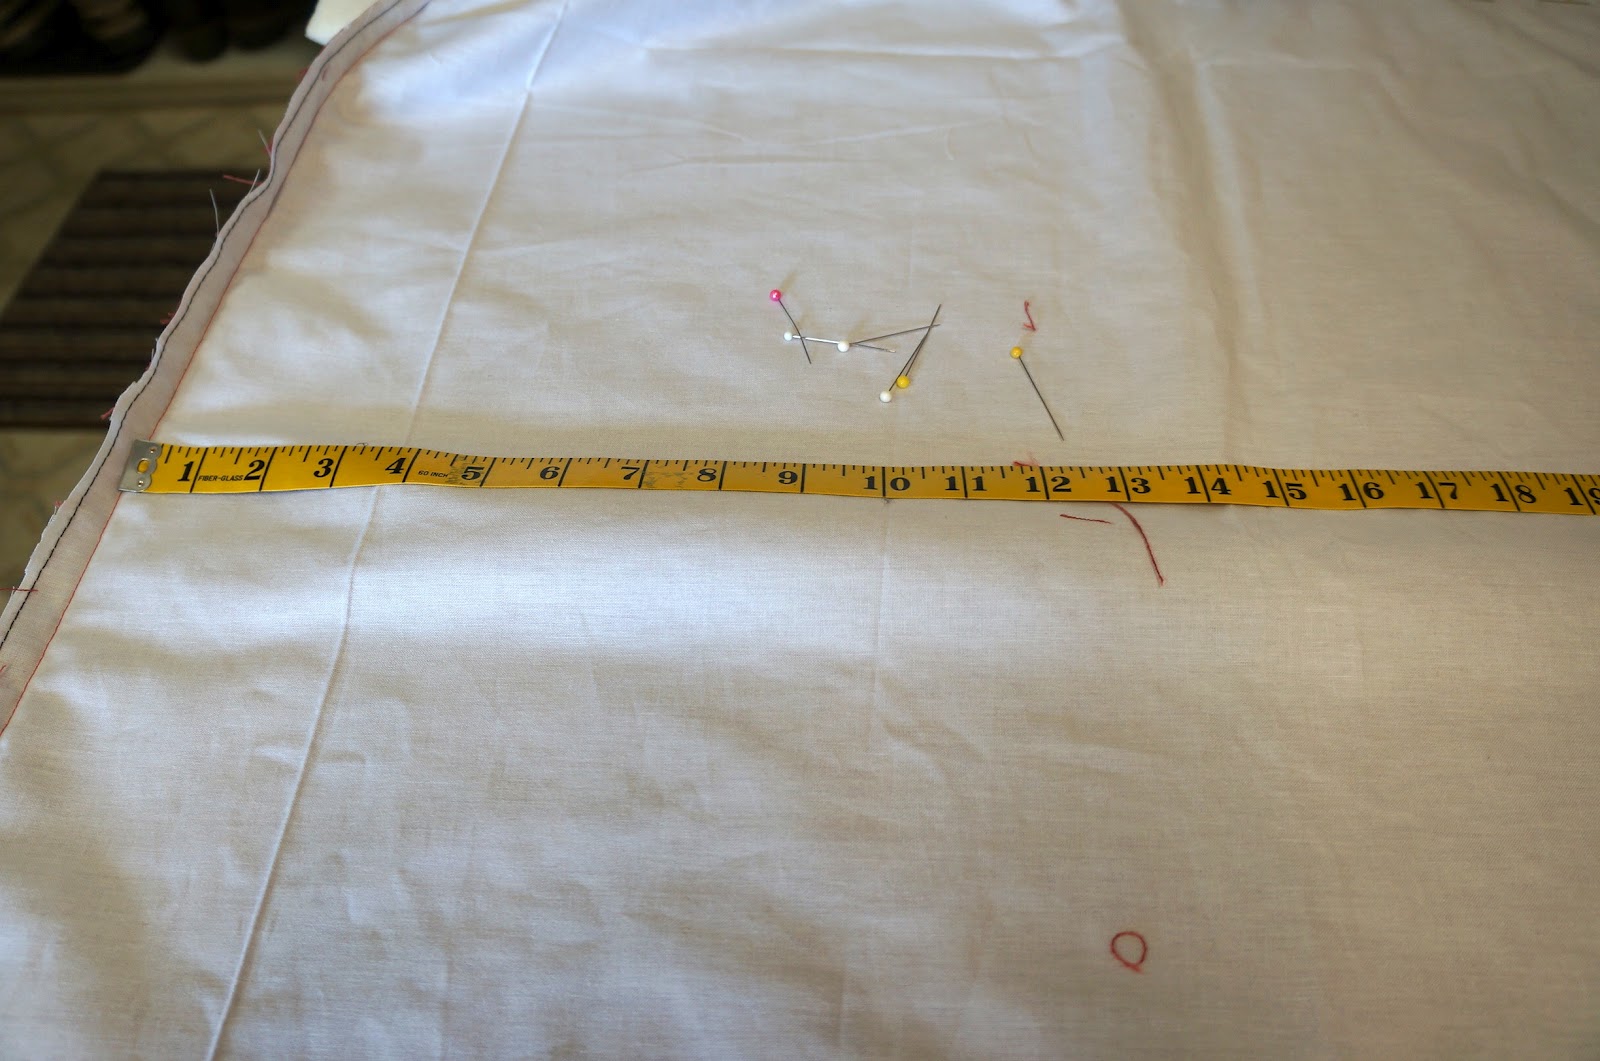
Step 1: Cut out your fabric and sew it to some cheap muslin. My pillow insides are 26×26″ so I cut my fabric 26×26″ taking into account seam allowances. It’s nice to have a smaller cover so that the insides are nice and fluffy! So if your pillows are 20×20″, cut out your fabric 20×20″… get it?!
Once your two pieces are sewn together trim off the excess fabric
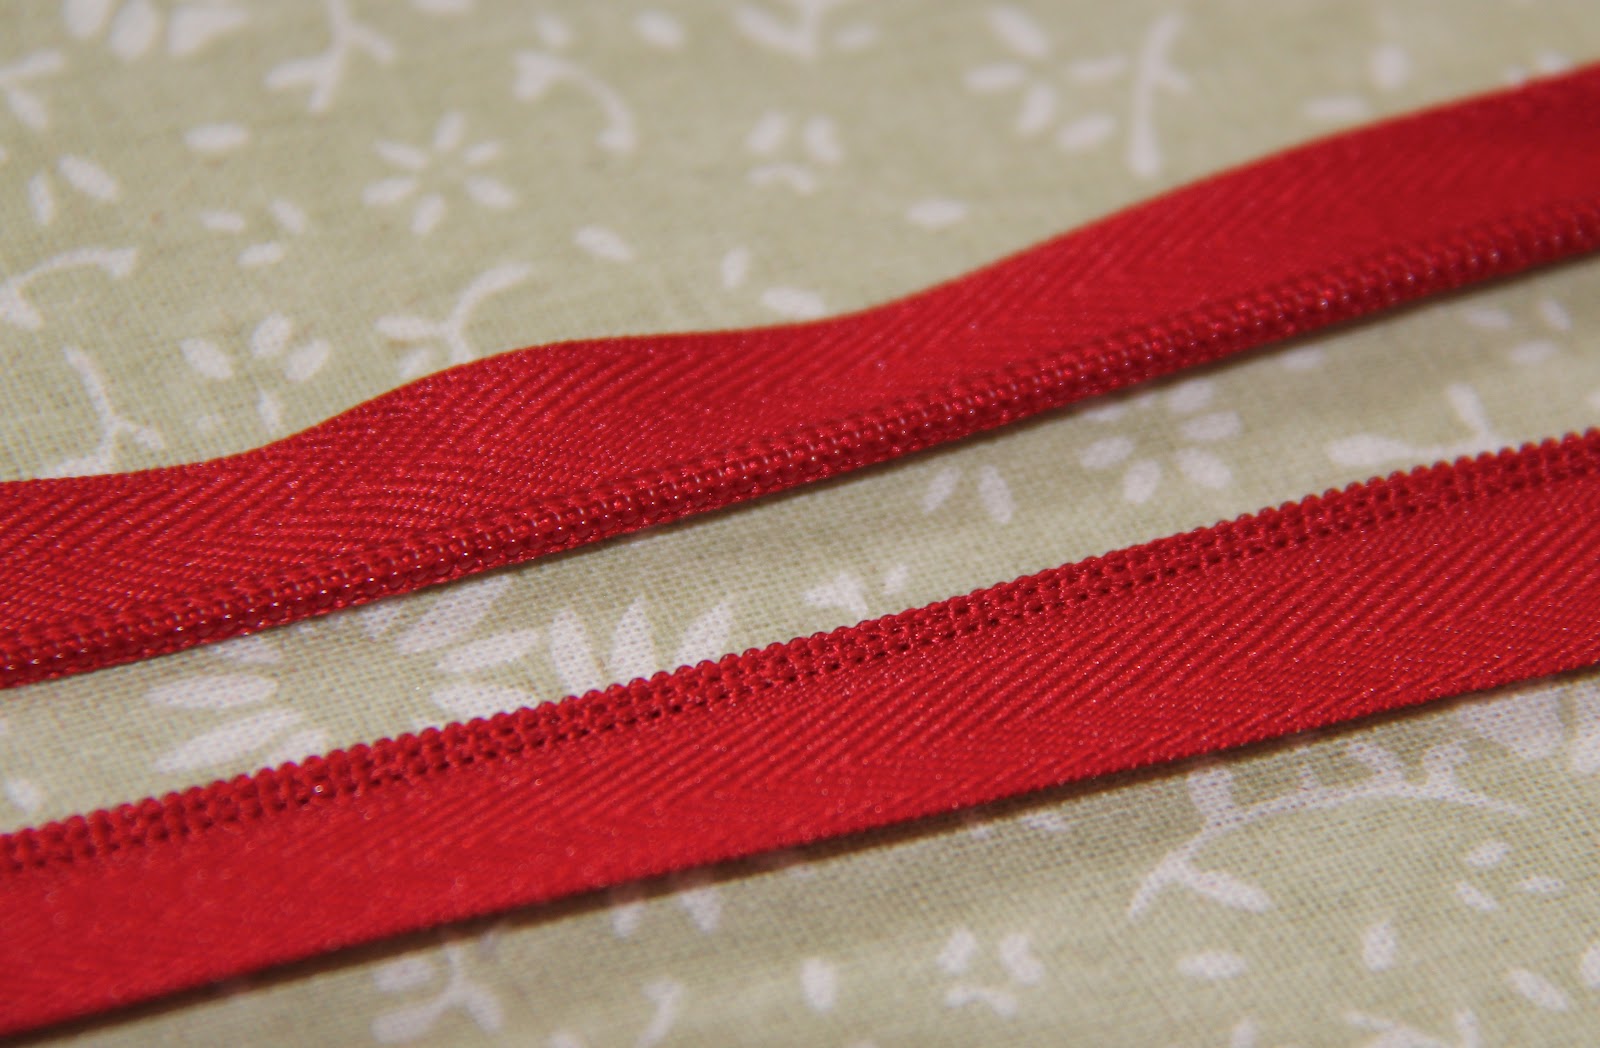
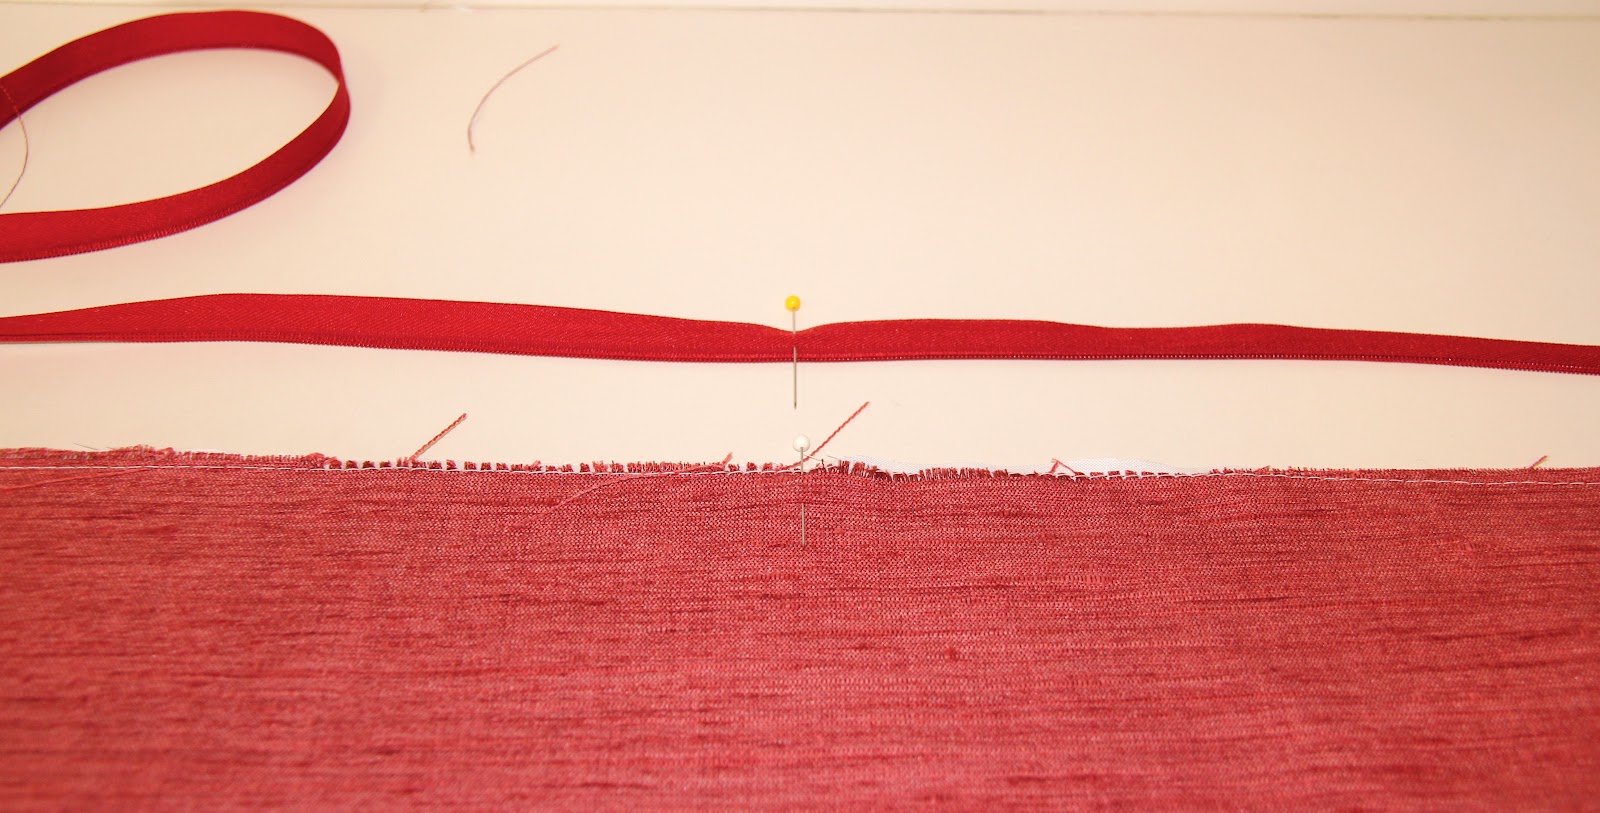
Step 2: Iron your invisible zipper. If you have a regular zipper foot you need to uncurl the teeth of zipper with your iron. If you have the special invisible zipper foot you can skip this step. If you’ve never done this before it might be hard to see what I’m doing. Compare the top zipper to the bottom zipper- the bottom zipper’s teeth have been ironed and uncurled.
Now for the fun part
Step 3: Find the middle of your zipper and find the middle of one of your squares of fabric. You can eyeball it- you really aren’t going to be able to tell.
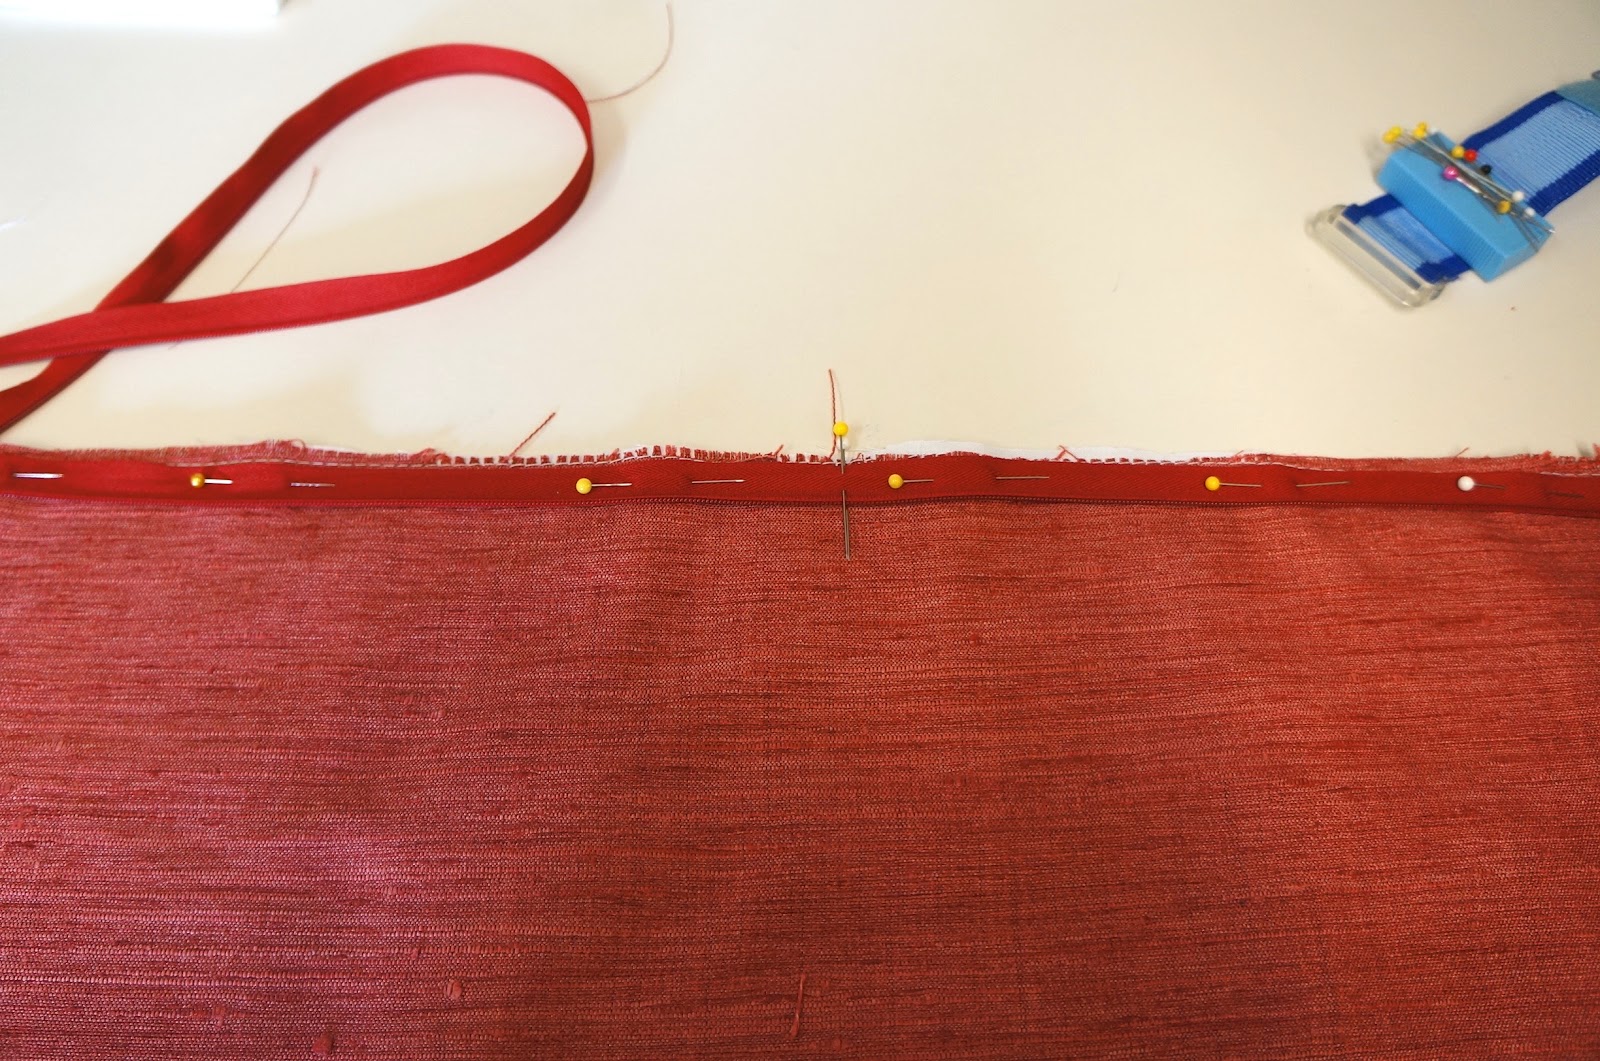
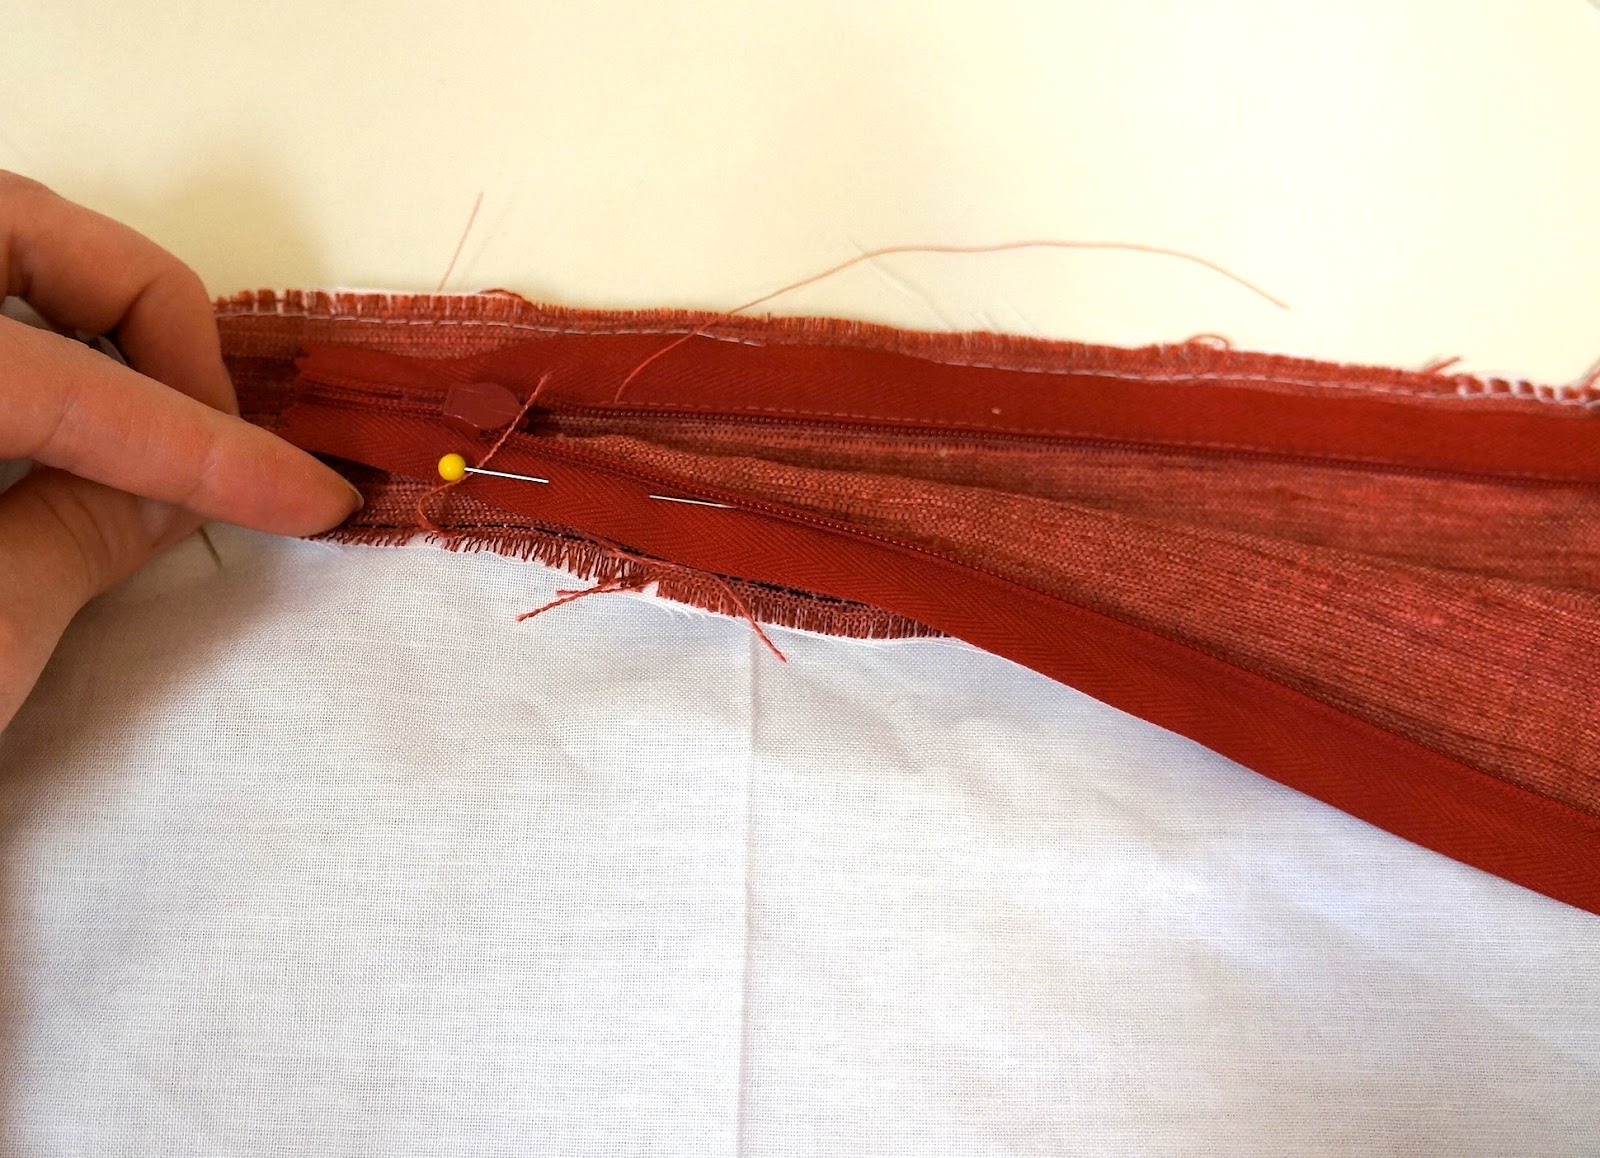
Now, making sure your zipper is unzipped lay it upside down on the right side of your fabric and pin it. The entire zipper should be laying on your fabric and you should be able to see the seams in your zipper where you uncurled the teeth.
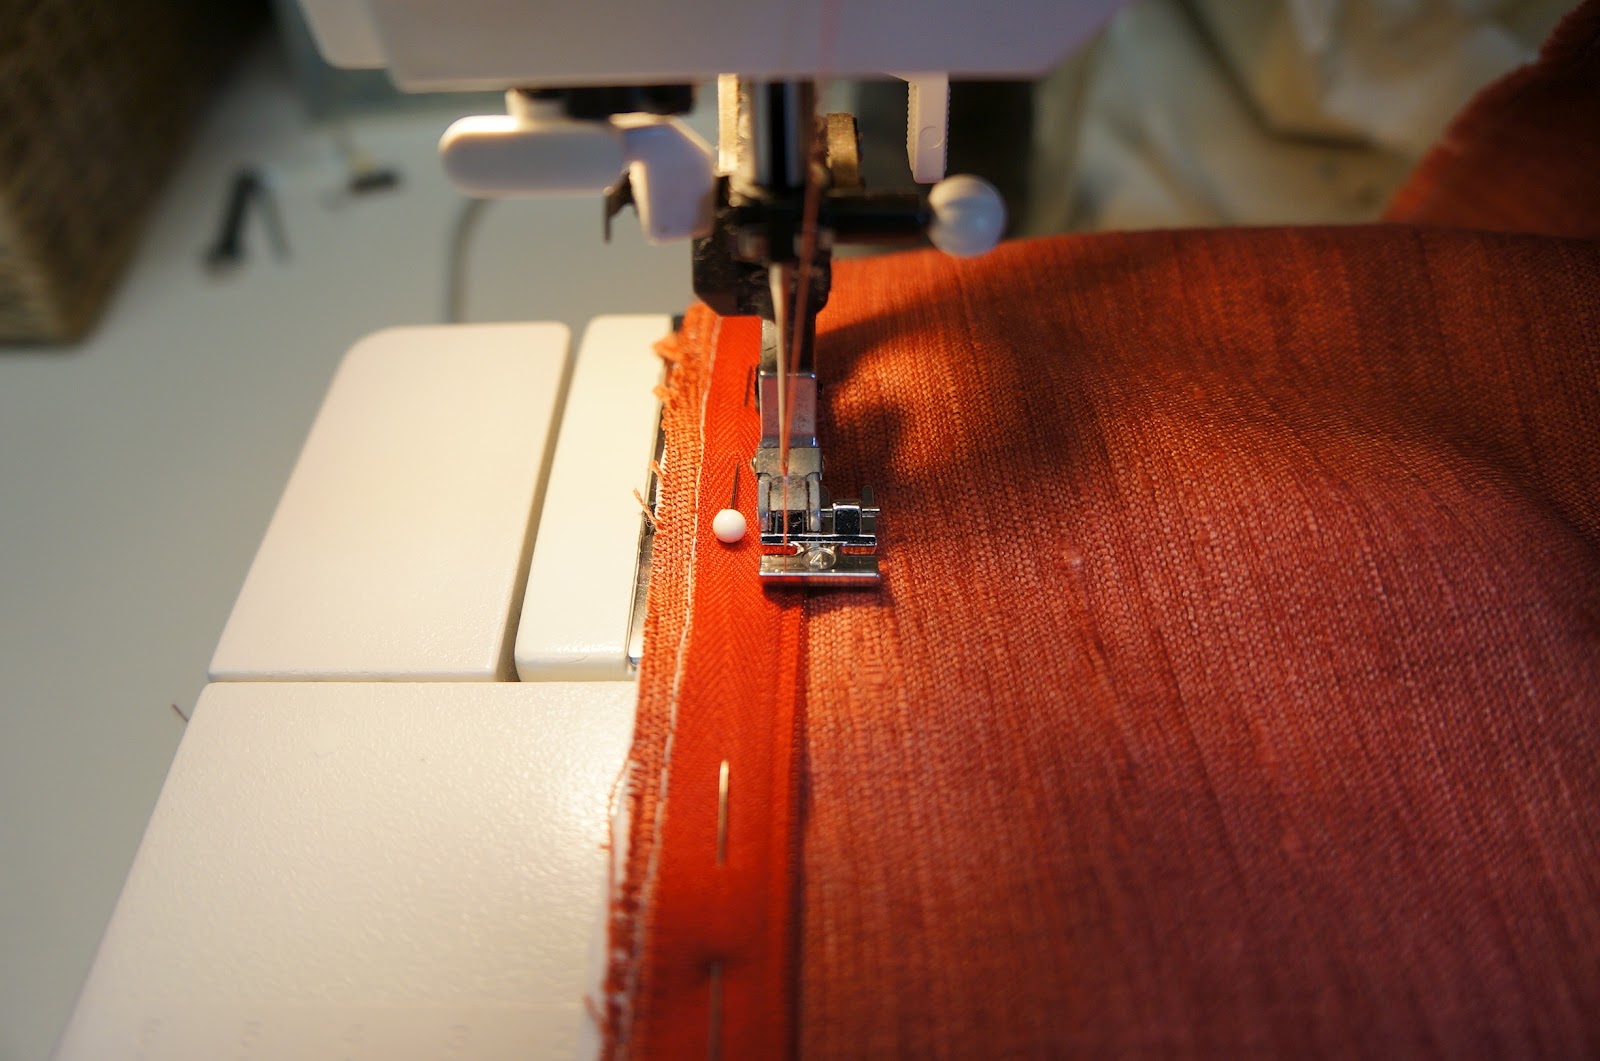
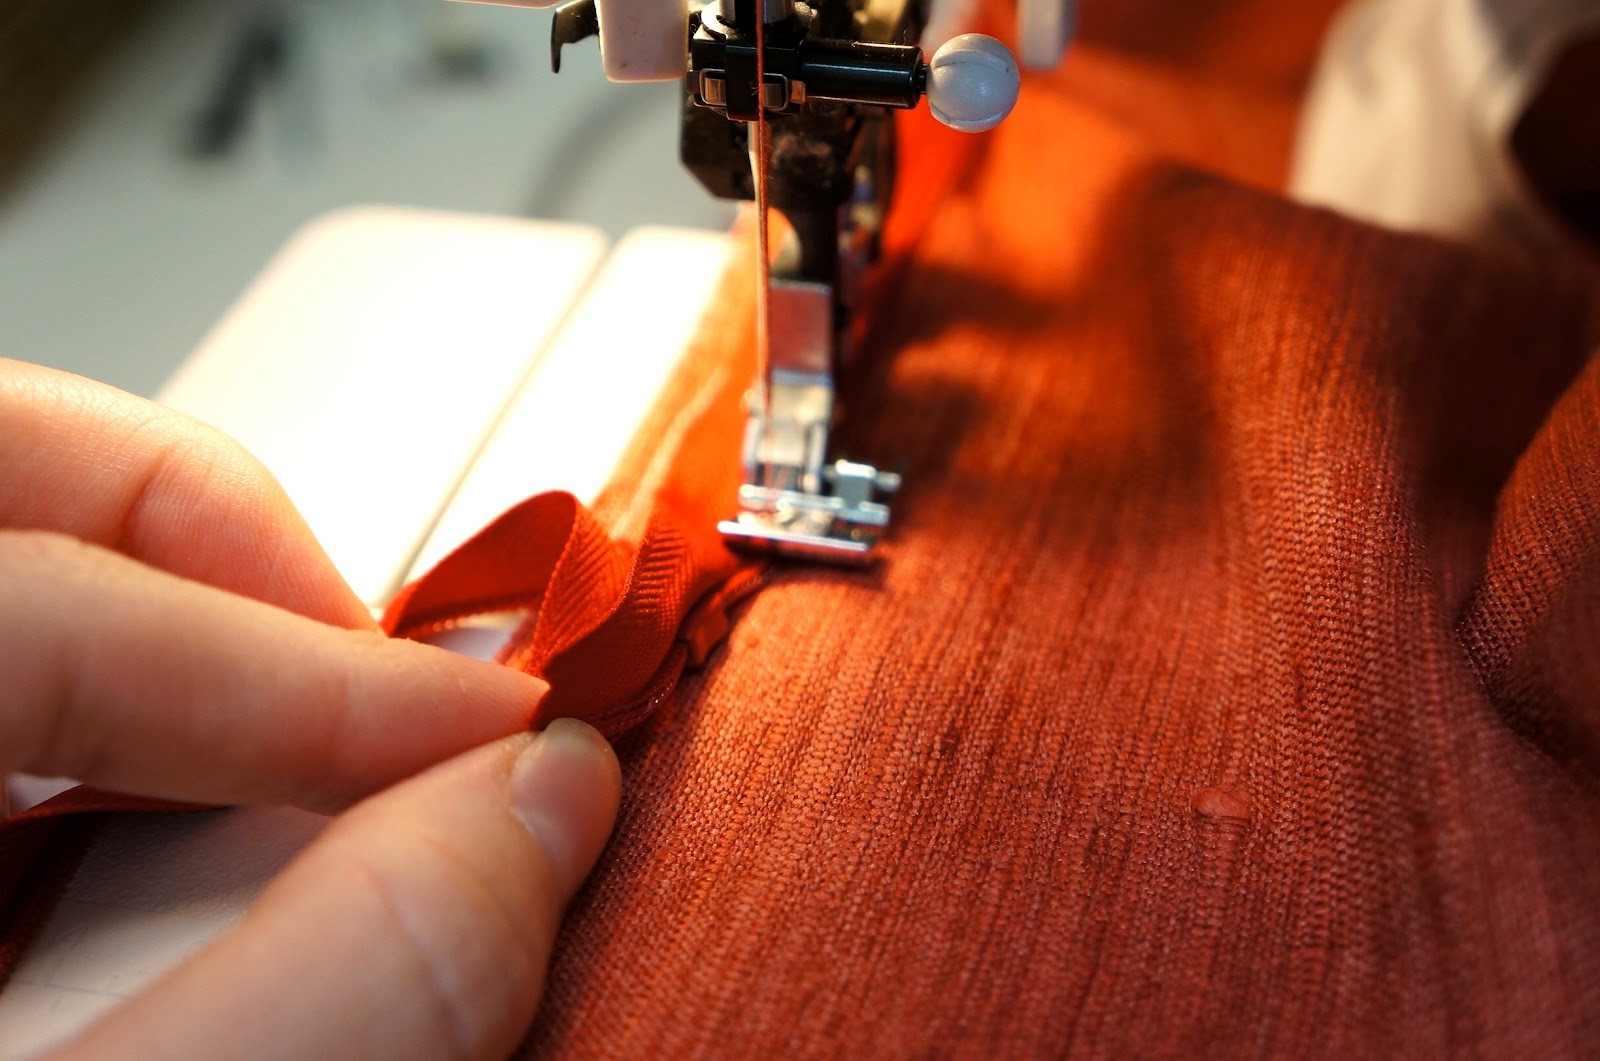
Sew right along the edge of the zipper. If you get too close the zipper won’t close. You can always go back and sew it closer. I just sewed right on top of the zipper seam. You should be able to see the threads on your zipper… ya know, where you uncurled the teeth?! Just look at the picture!
Get as far as you can and then backstitch
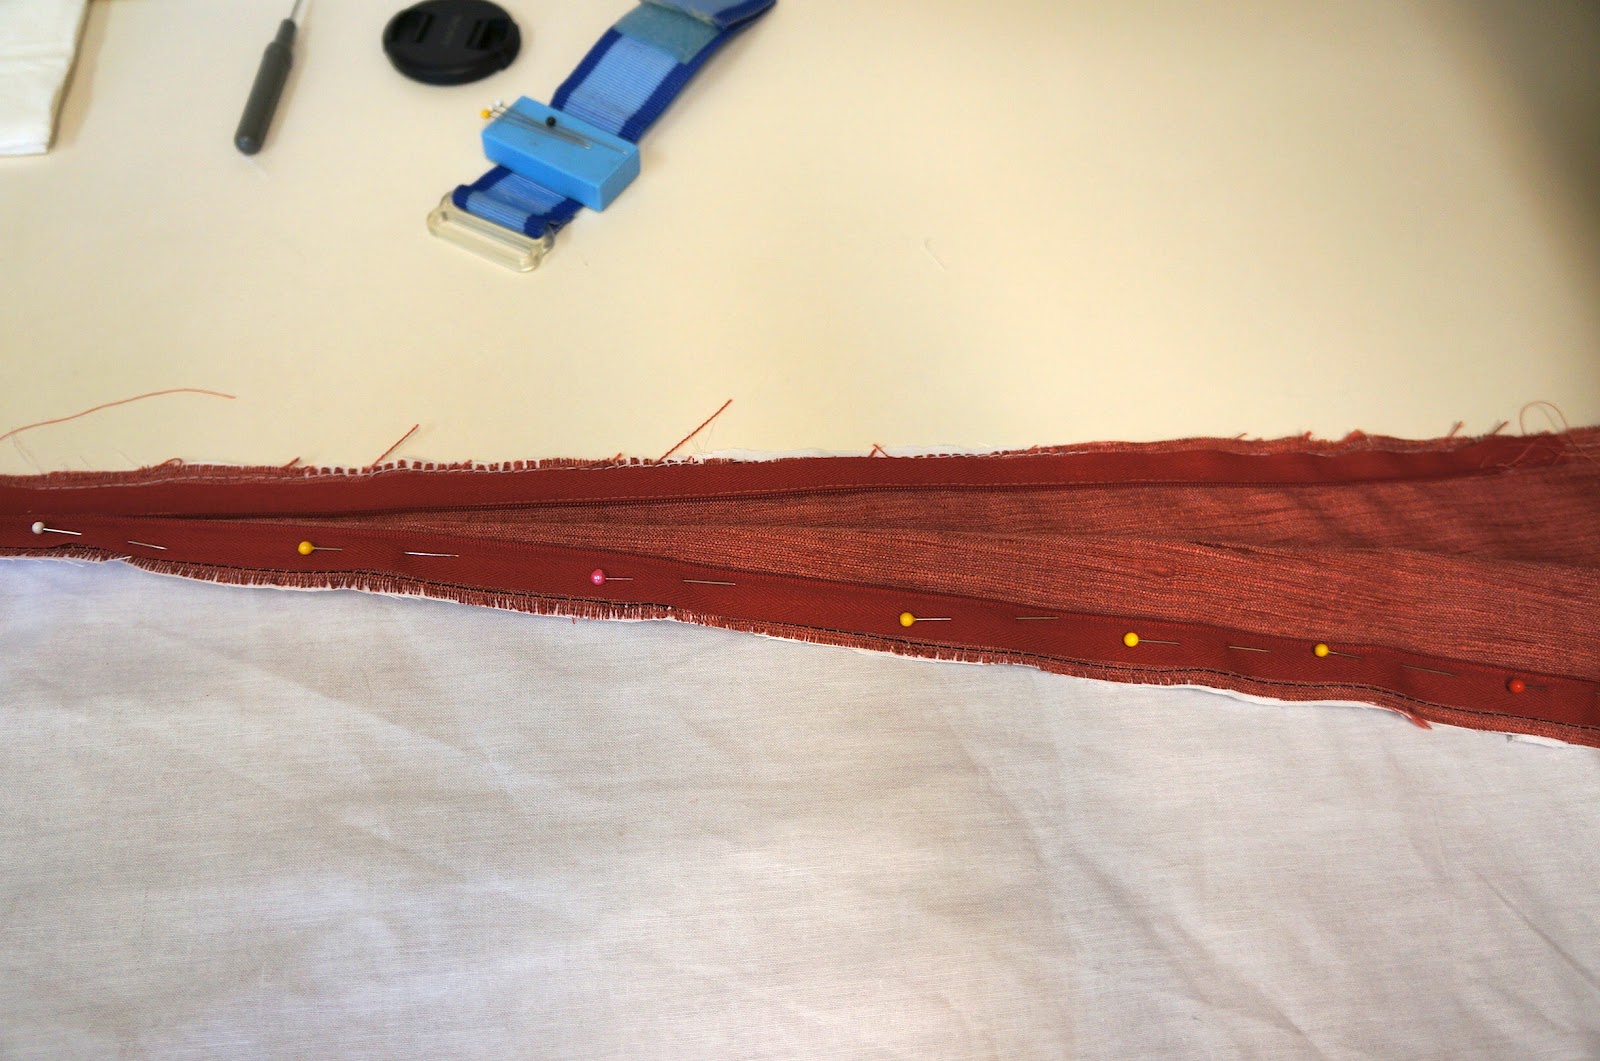
Step 4:Pin the other half of the zipper in place. Now this part is a little tricky. You have to make sure you’re pinning the zipper on the right way or you’ll end up unpicking.
Lay the zipper flat like in the picture below. The zipper is face down (notice the zipper pull on the left side) and the top half is sewn onto the bottom piece of fabric. With me so far?!

Next you’re going to get your other side of fabric and put right sides together. That means you put the two sides of your fabric that will show together and pin. If you backed your fabric in muslin, you should see the muslin.
Now you’re going to fold back the fabric on top just a little bit so you can see the zipper. You now want to pin the other half of your zipper to your new fabric side. It MUST look like this picture below. No twists in the zipper and right sides together.
Another closer look
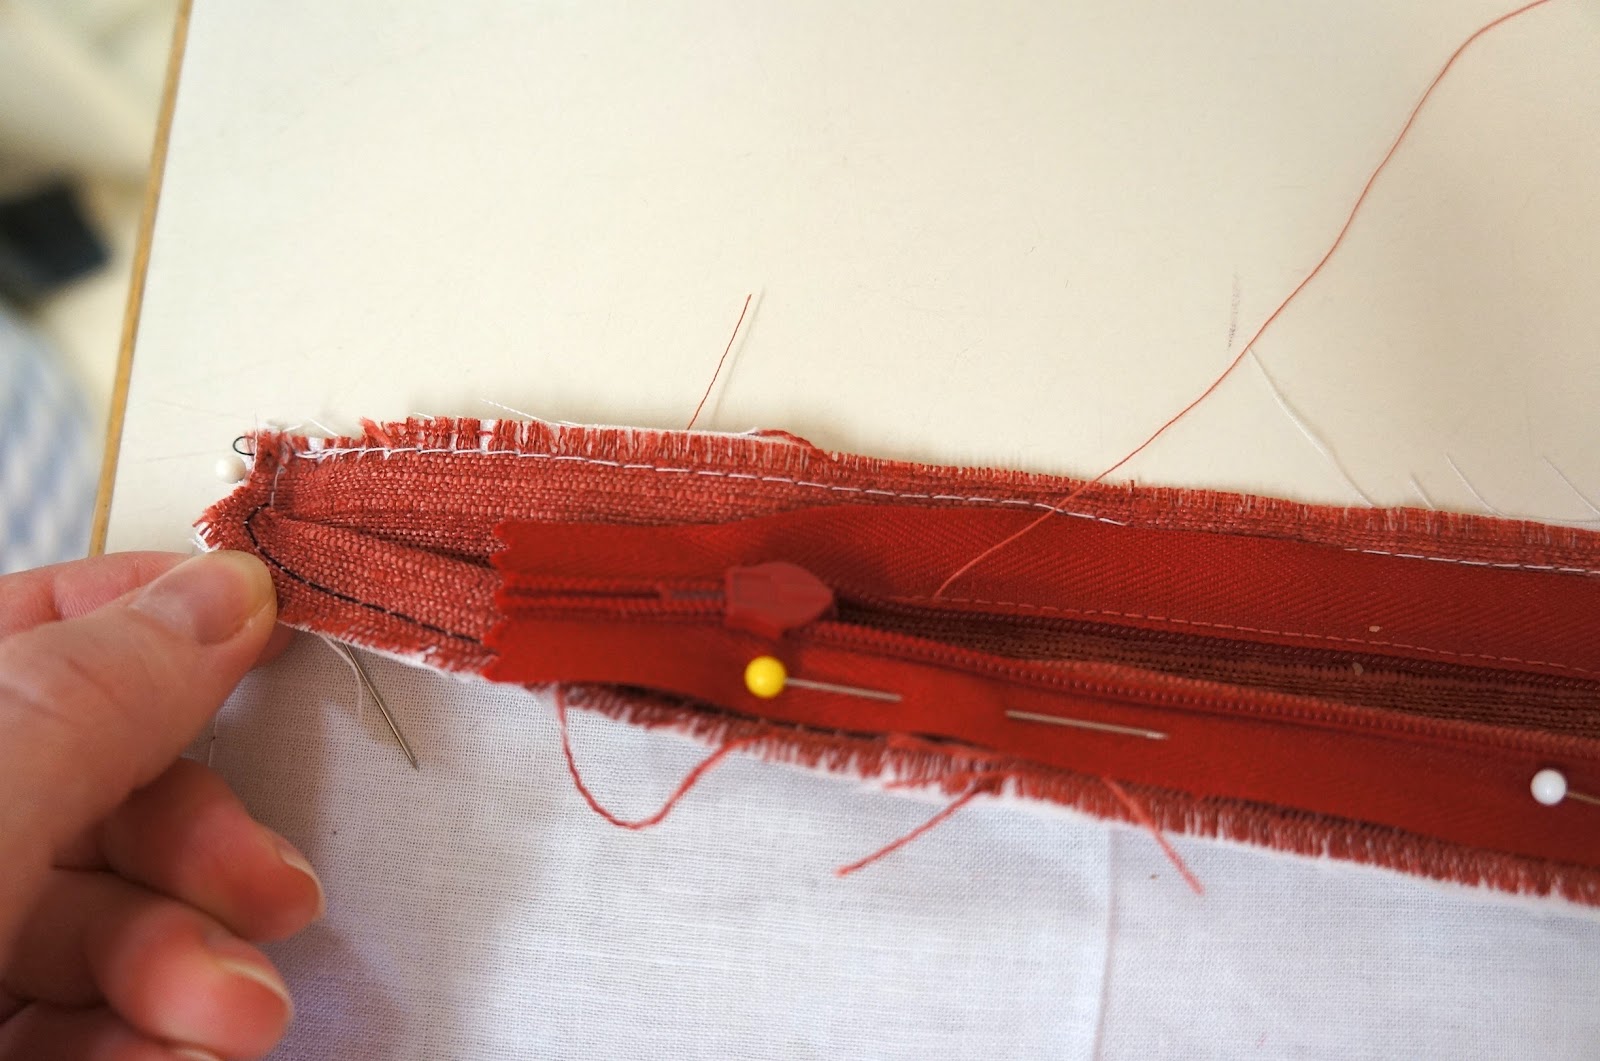
Now finish pinning and sew the zipper on just like you did with the first one.
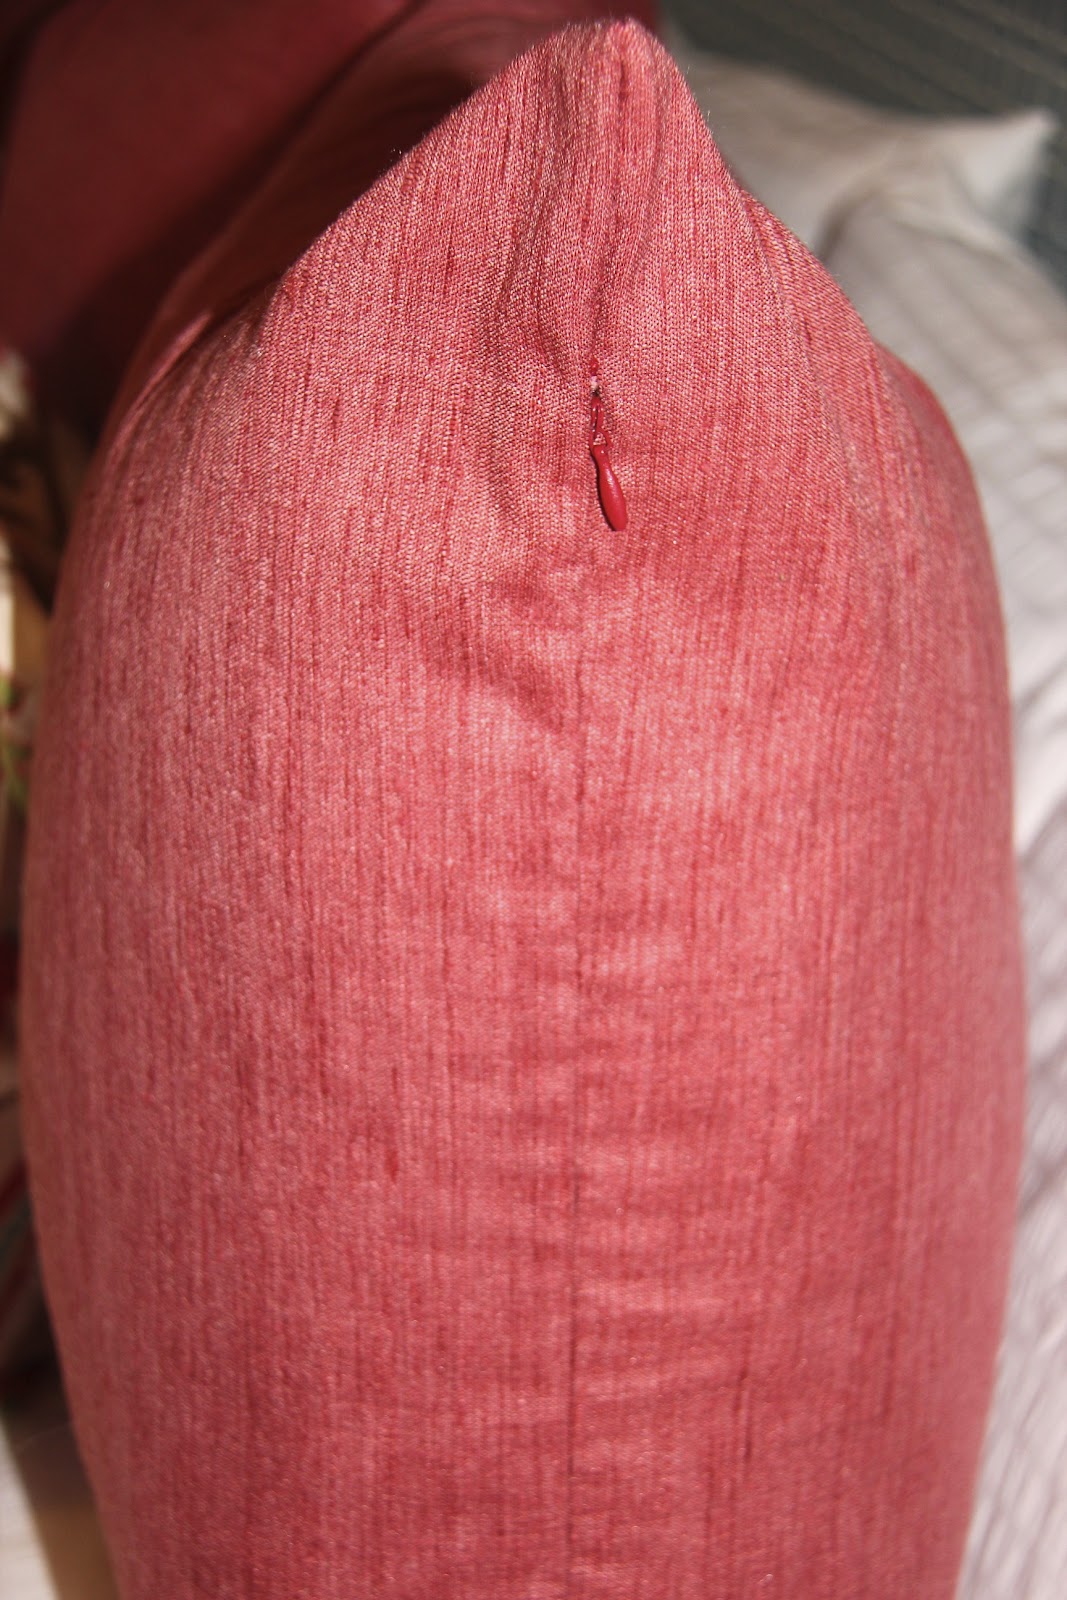
YAAAY! Your invisible zipper is in and should be working!
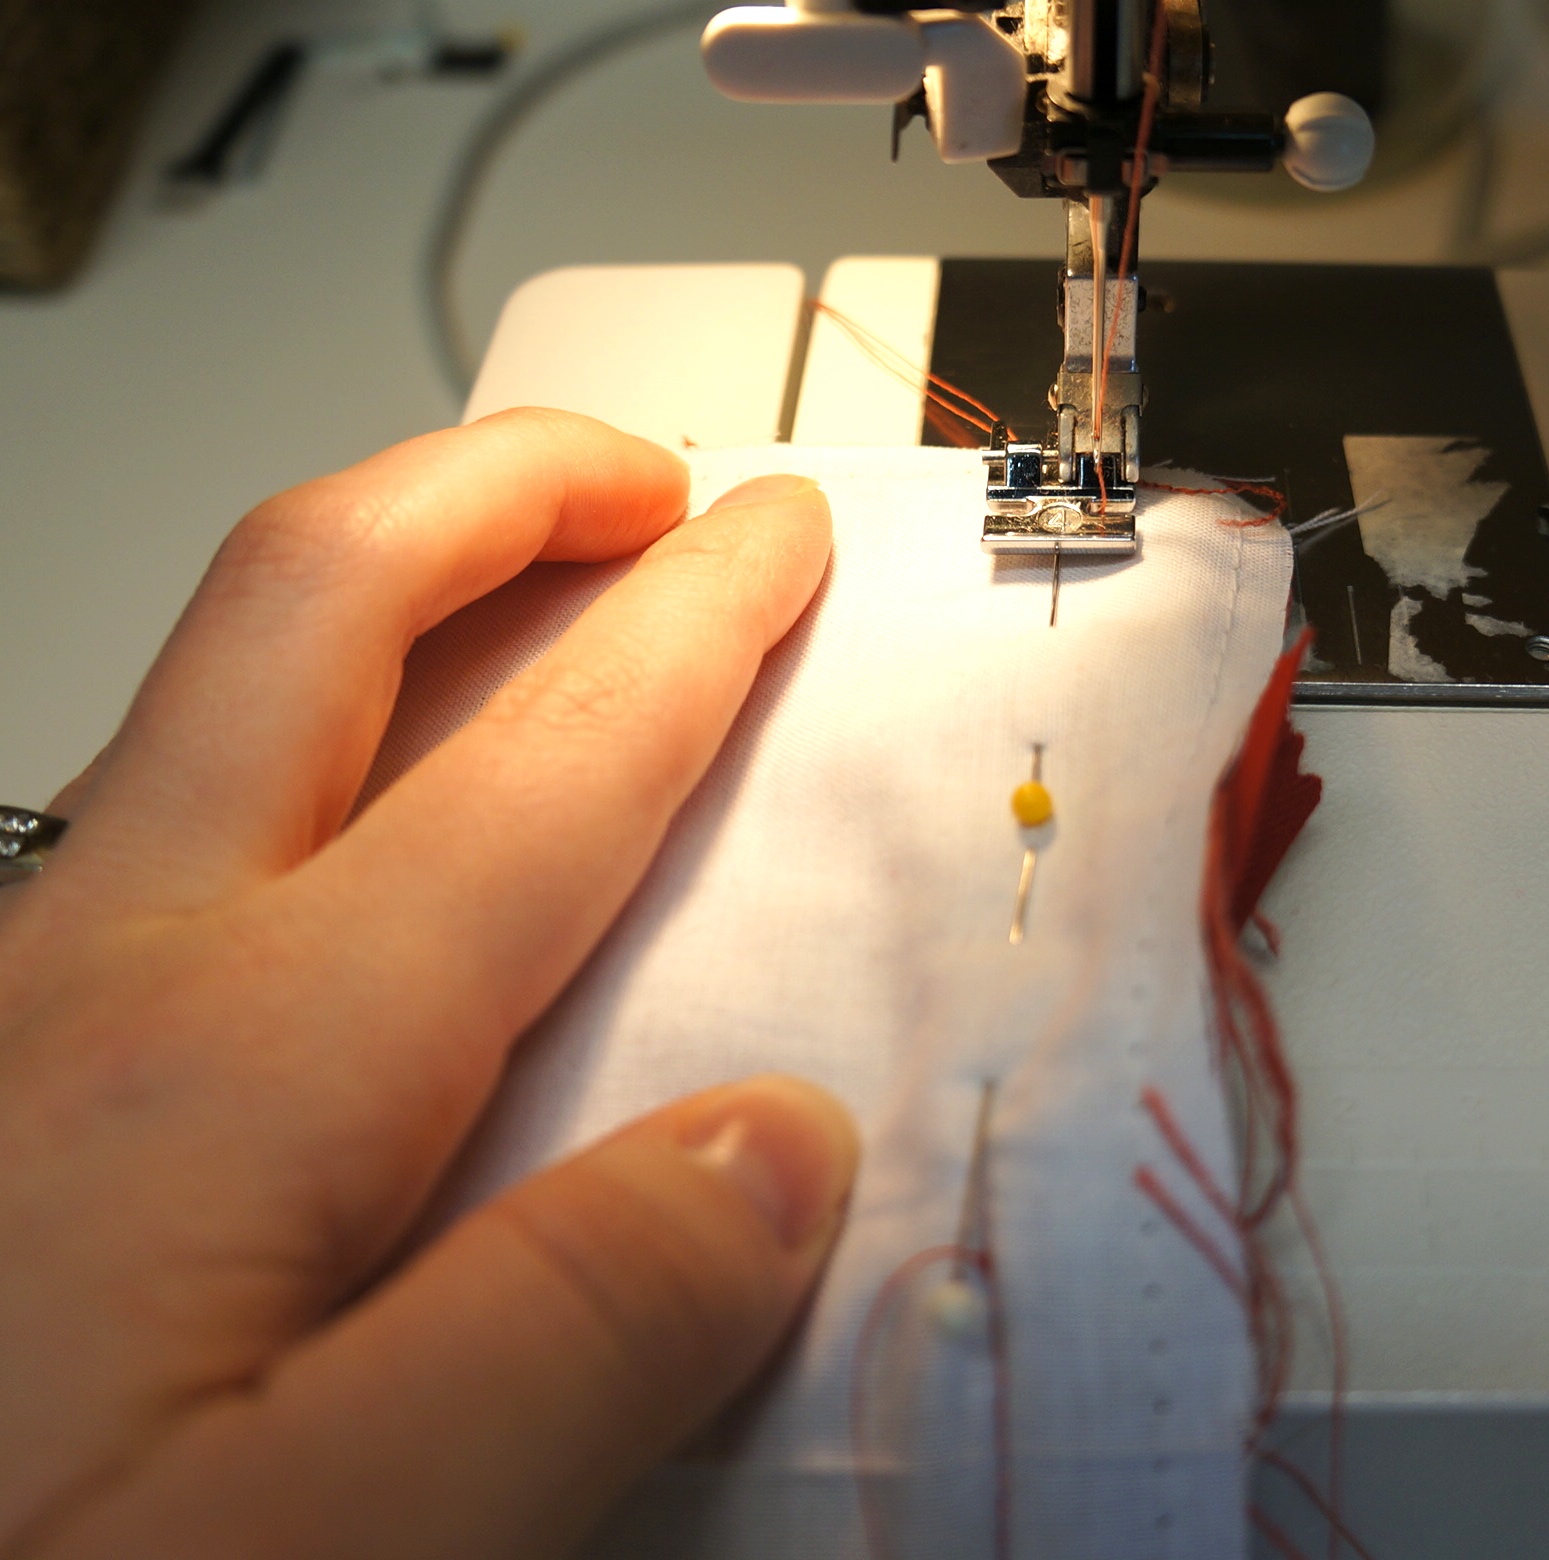
Step 5: Now go ahead and pin and sew the rest of your zipper side together like in the pictures below.
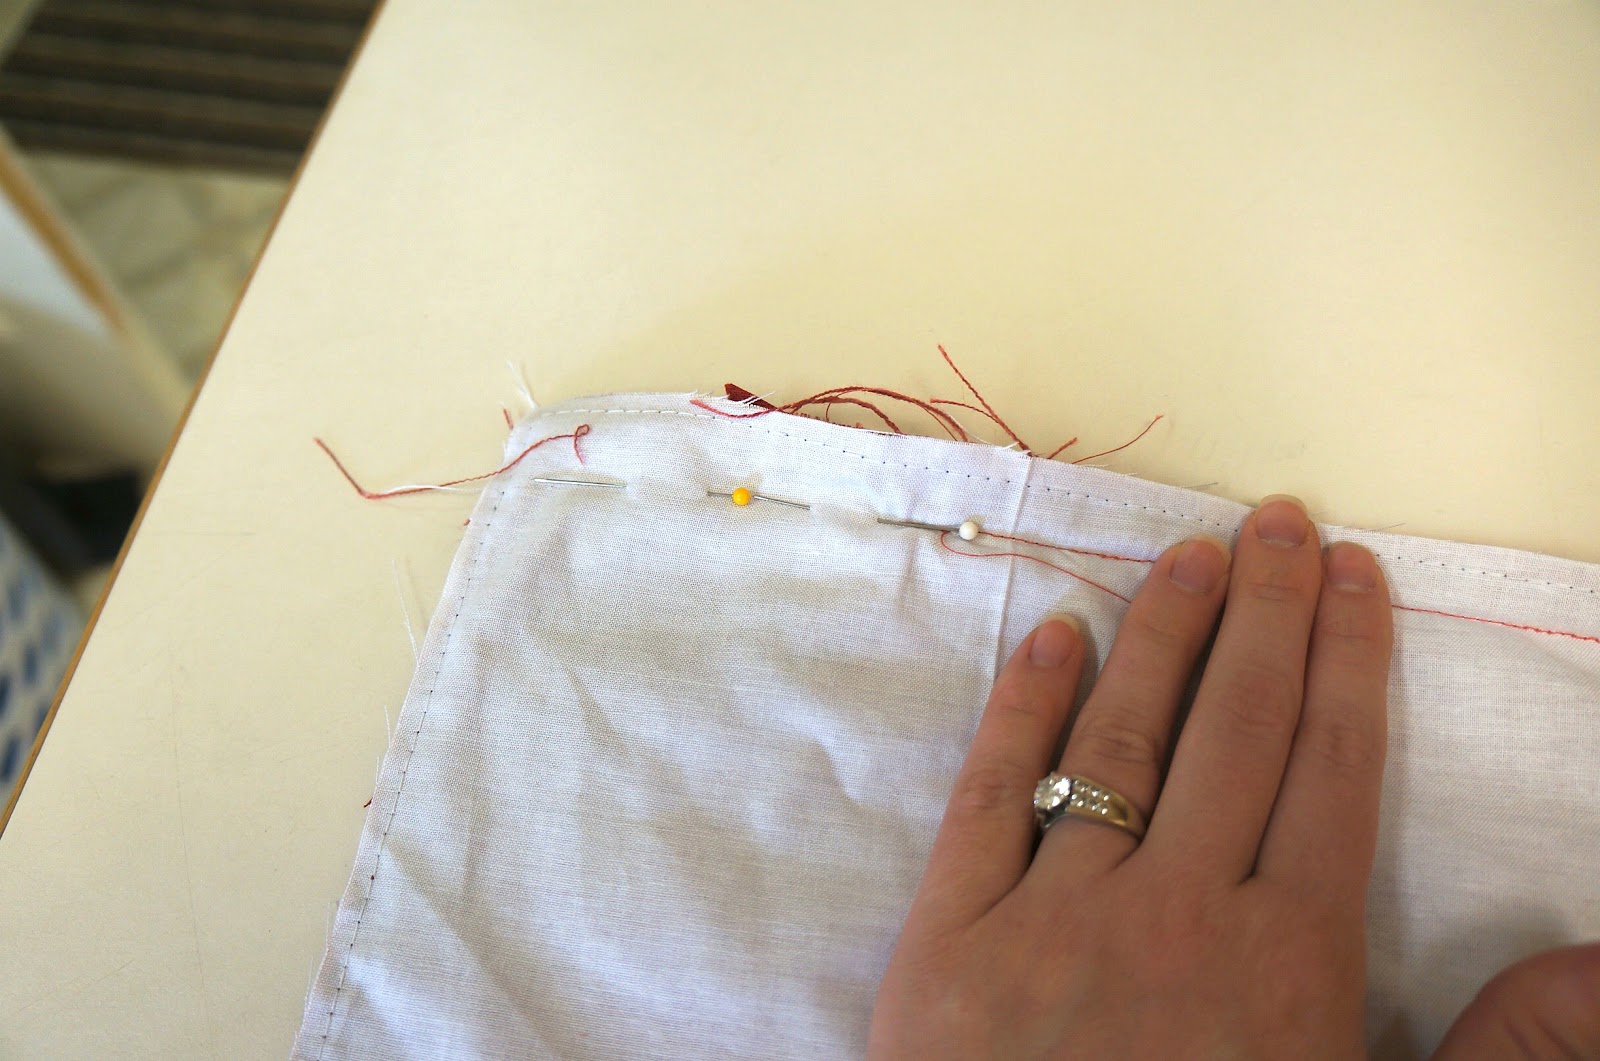
Sew until it meets up with the zipper.
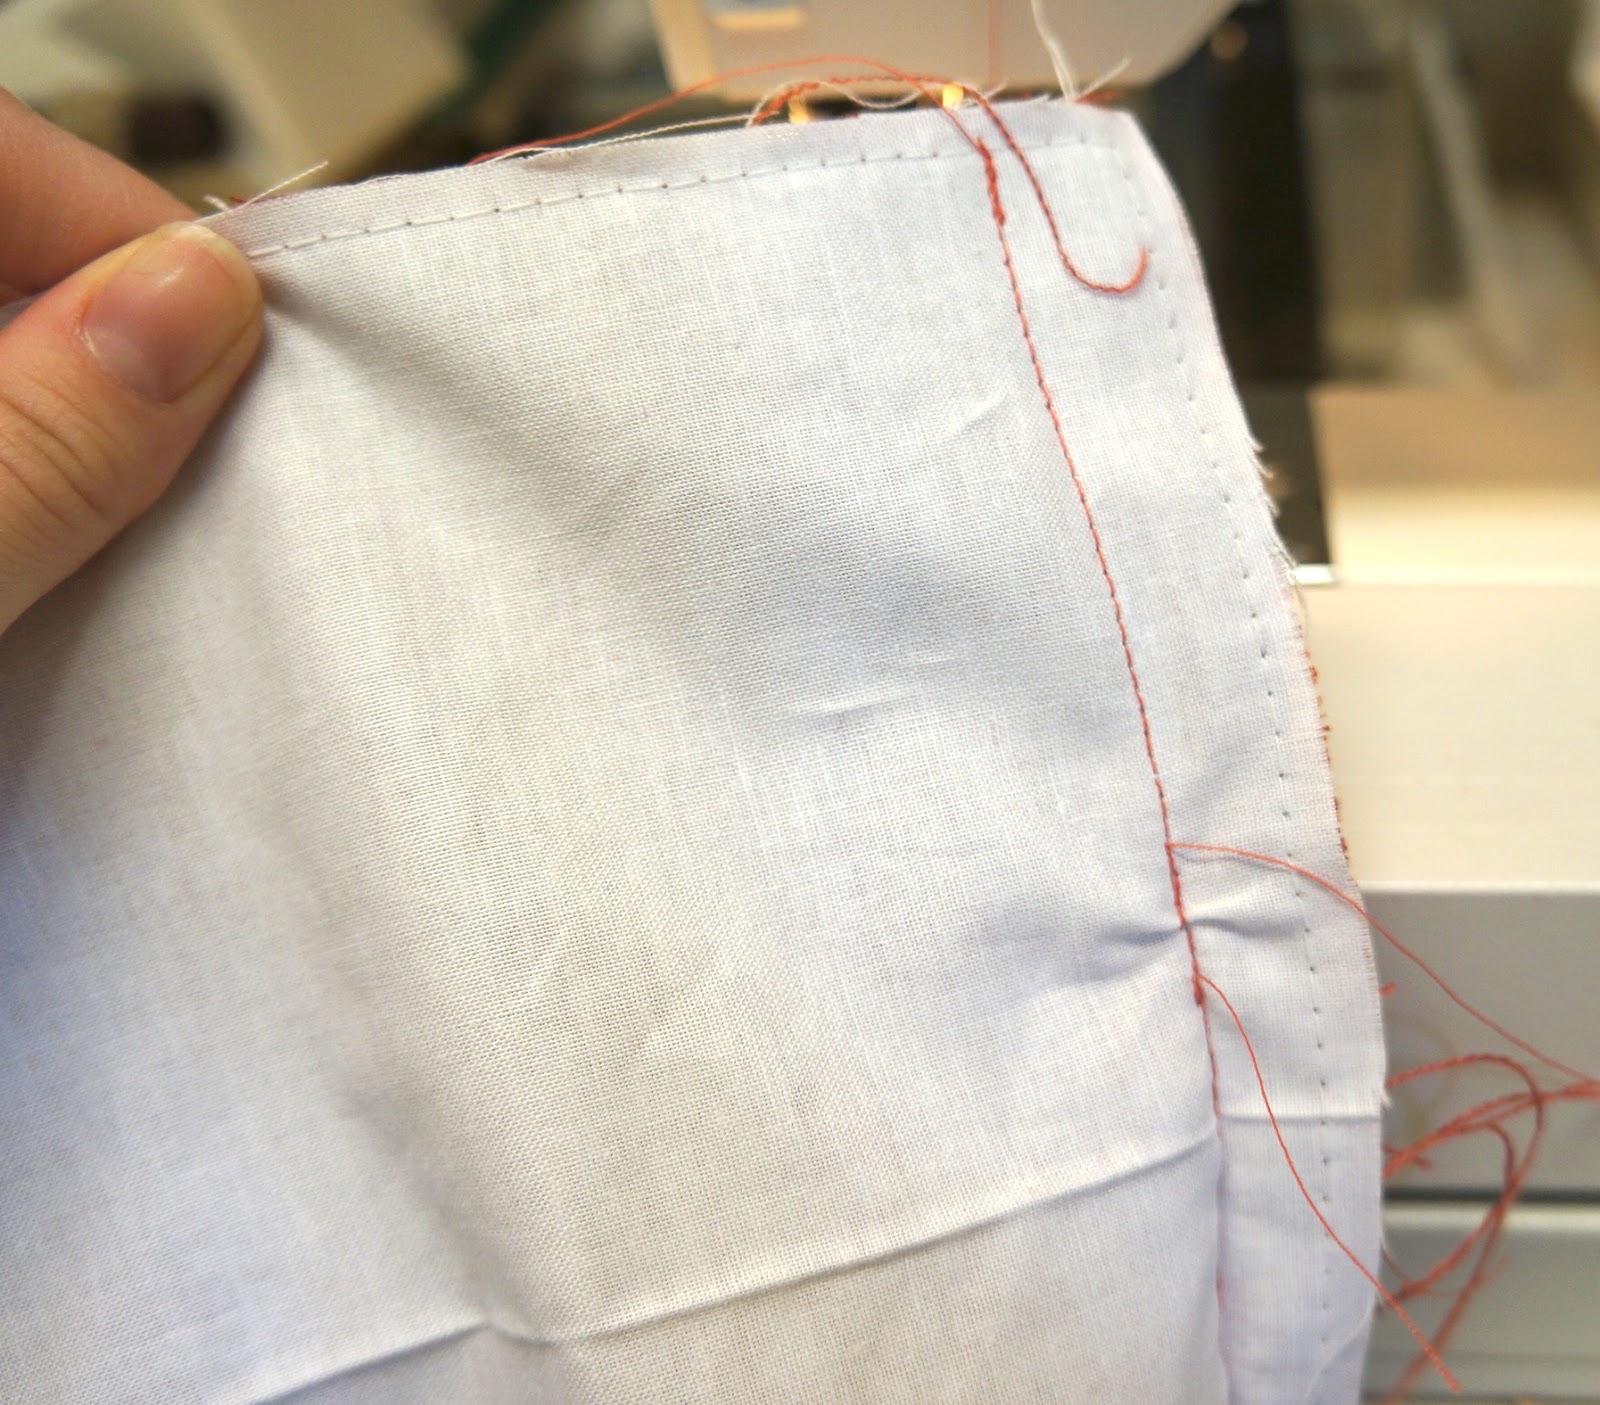
See how there is a little tuck in mine? It honestly doesn’t show, so if it’s not perfect don’t worry.
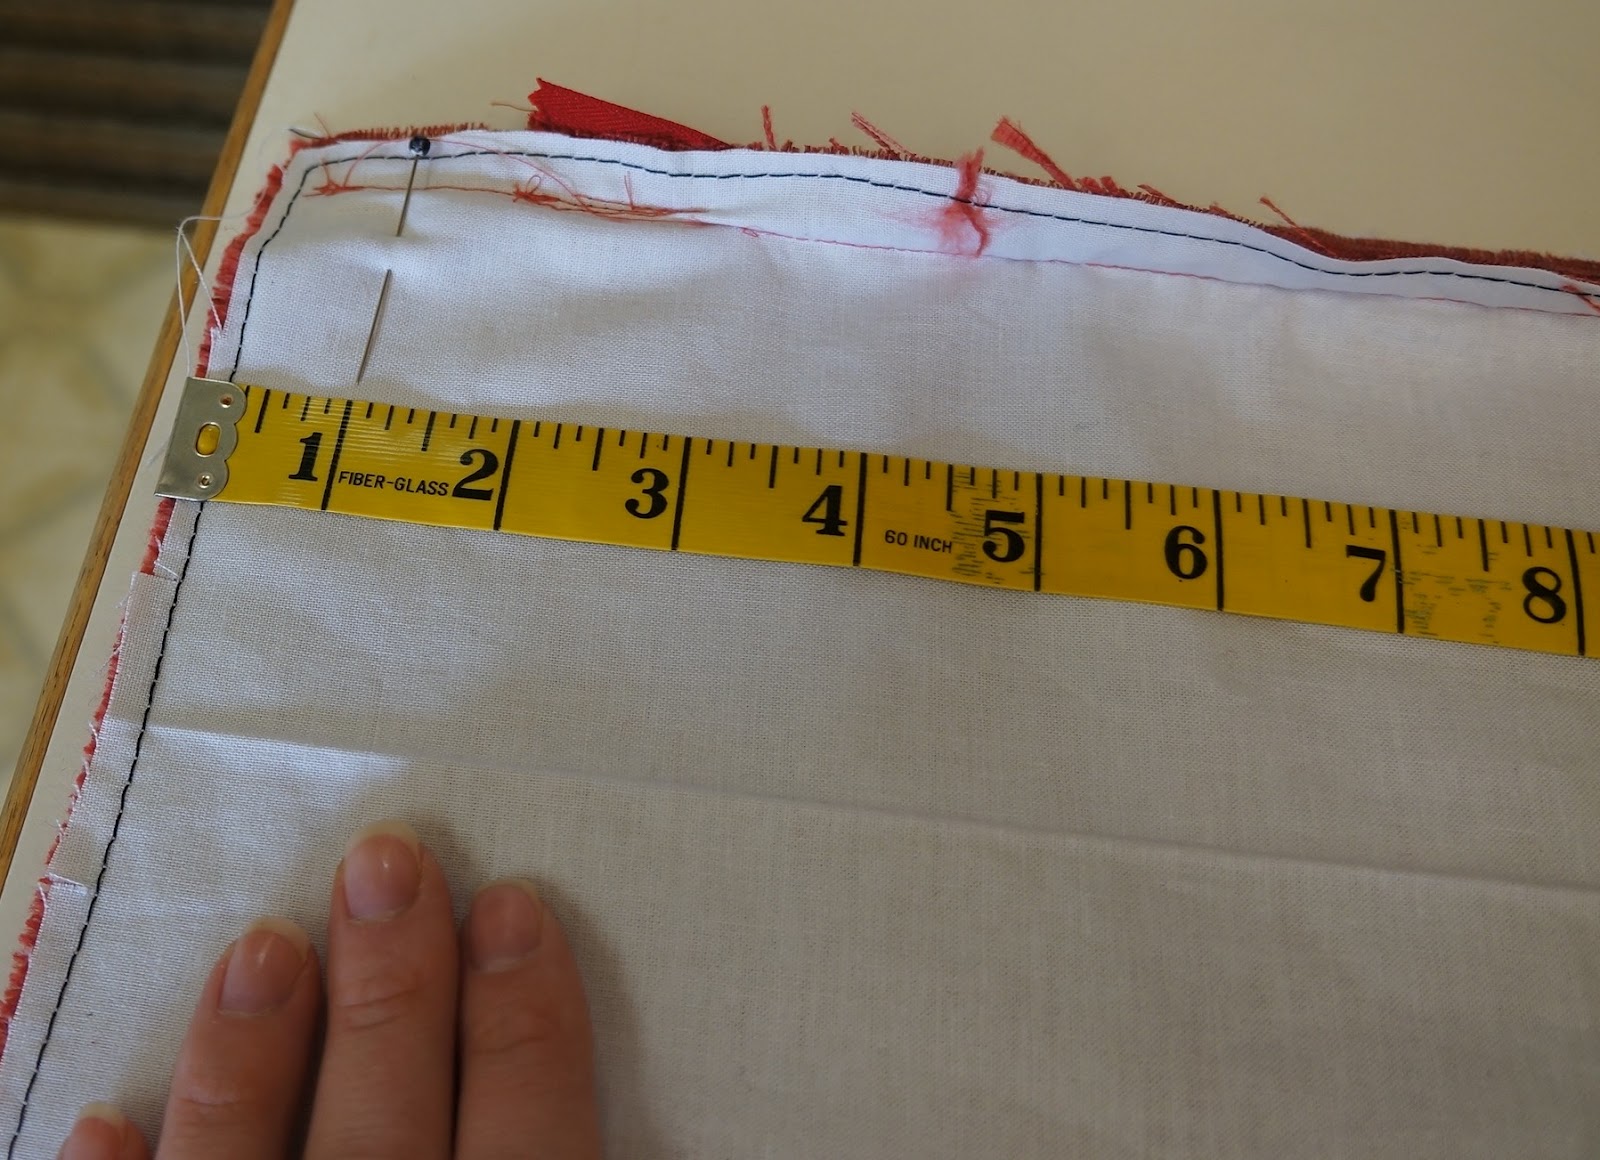
Step 6: UNZIP your zipper a little bit and sew the rest of your pillow together. Don’t forget to unzip your zipper or you won’t be able to flip your pillow case right side out! Before you sew you cause measure your pillow. I wanted mine to be 24″. Turns out I didn’t need a full 2″ seam allowance so before I sewed it all together I measured my pillow and pinned where I needed to sew in order to make my pillow 24″.
Step 7: Once it’s all sewn, cut off the excess fabric and turn it right side out.
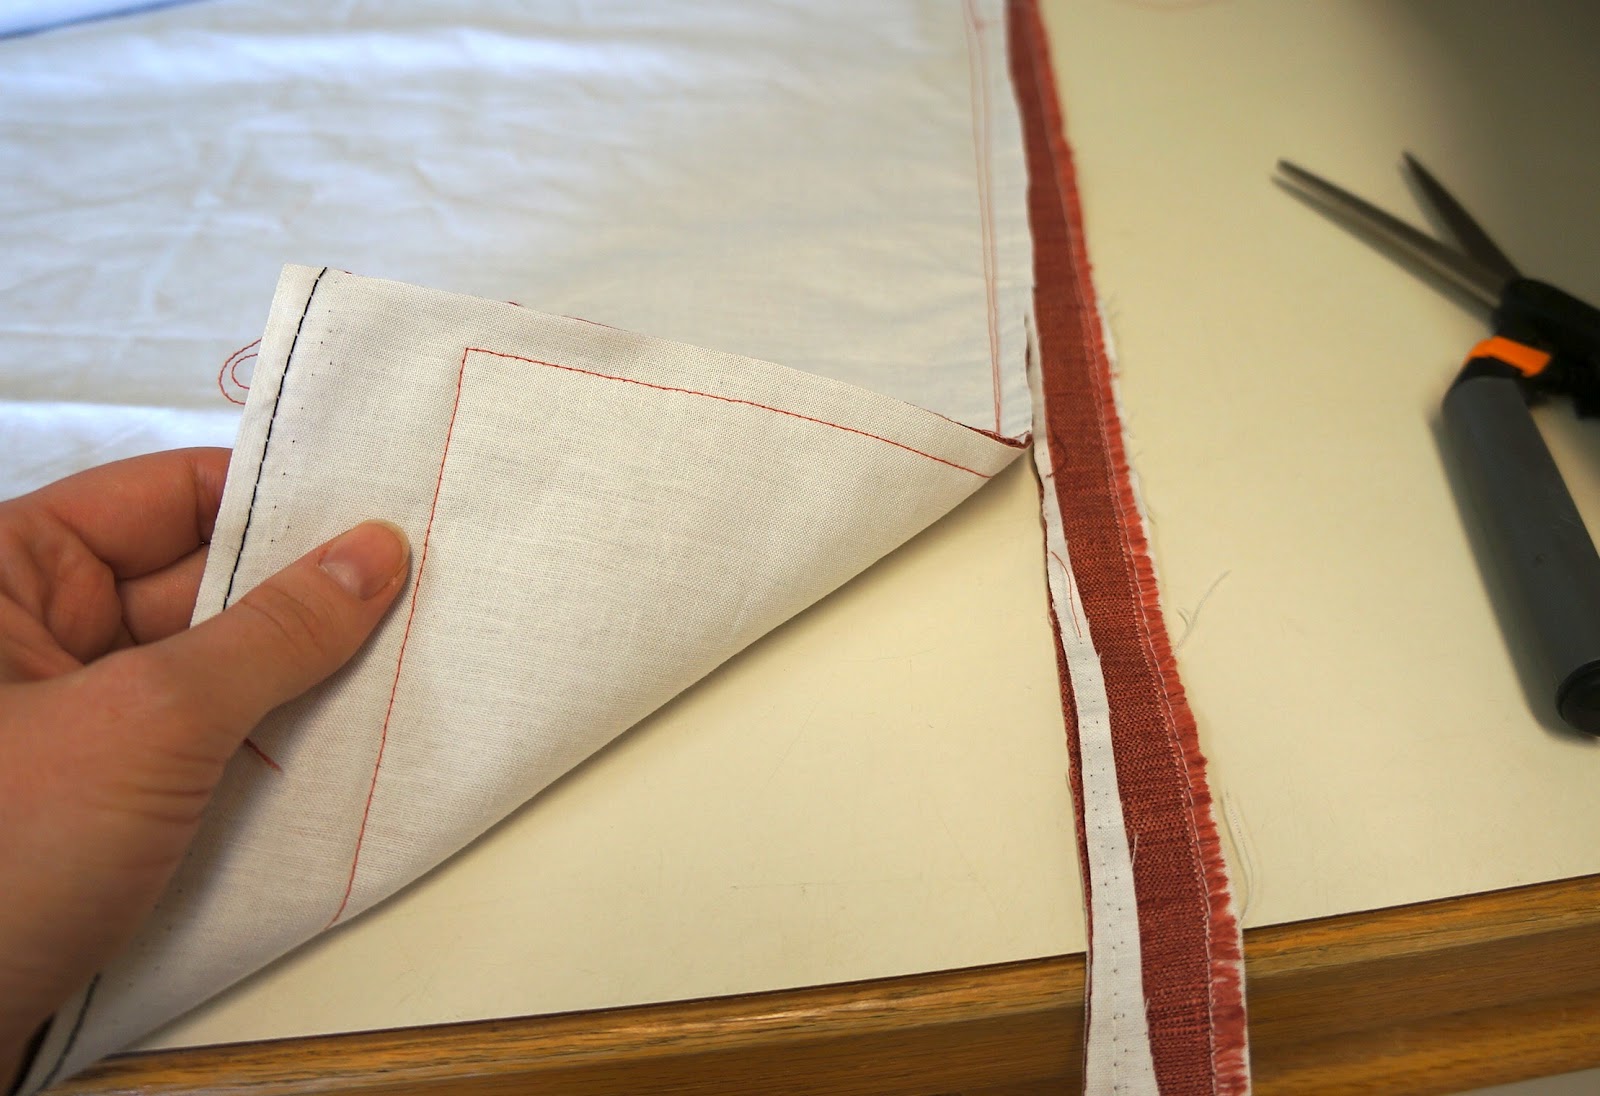
Step 8: Stuff your pillow form inside and VIOLA! A stinkin’ awesome pillow case that didn’t break the bank! And I’m serious- pillow cases can totally break the bank. The one I wanted on Etsy was $75 A PILLOW! Are you out of your mind?!

I hope this tutorial helps. I know there are millions out there but like I said- all the ones I looked at were not detailed enough. This seems super time consuming and looks pretty difficult but it’s not. PROMISE! From cutting the fabric out to stuffing the pillow form inside the pillow case, it took me roughly an hour per pillow and I kept getting faster and faster!
Good luck and if you make any pillows from this tutorial I’d love for you tag My Yellow Sandbox in them on Facebook!
When I first started reading these instructions, I thought you – Abby – must be about 14 years old and I was kind of upset when I read that you ‘made’ your mother teach you how to make the pillow cases. Then I read ‘about’ you. I can’t wait to see what your four children MAKE you do. This was a terrible tutorial!
Hi Nonnie! Sorry you didn’t like the tutorial. And sorry that you have time to tear other people down. Hope you have a wonderful day.
OMG – can’t believe how nasty, bitter and twisted you present with that comment! Why would someone come here and make such mean spirited remarks? All you had to do was move on, instead you chose to leave a little bit more ‘mean’ in the world!
I was looking for info on how to make an invisible zipper. I was overwhelmed by the amount of “selfie” info instead. I wasn’t mean and I’m certainly not twisted or bitter. I’m just disappointed by the amount of “ego” one has to wade through to get simple information. On the plus side, she is articulate and had few grammatical errors on her blog. She is very young -just turned 30 – YIKES! and she has plenty of room to grow. When Abby turns 40, she’ll understand more about info vs ego. And cazzie10? only 10 year olds are still using OMG!
Yep – first impression was right – nasty, bitter twisted.
You just confirmed that.
First impression was correct.
You mean she really is only 14??
Thanks for the tutorial!! It doesn’t look as hard as I thought. I’ll definately try it! 🙂
I am definitely gonna try! As u said the others aren’t detailed enough! 🙂
Thnx
I love this post! When people at work ask me how to put in a zipper now I have a direct place to send them, fabulous tutorial.