
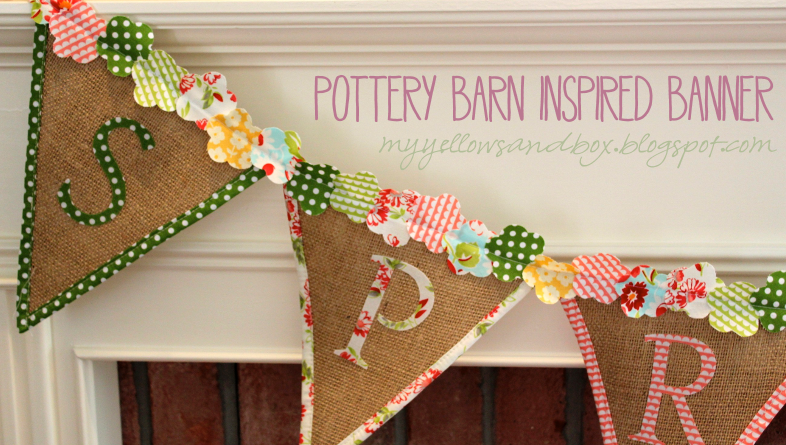
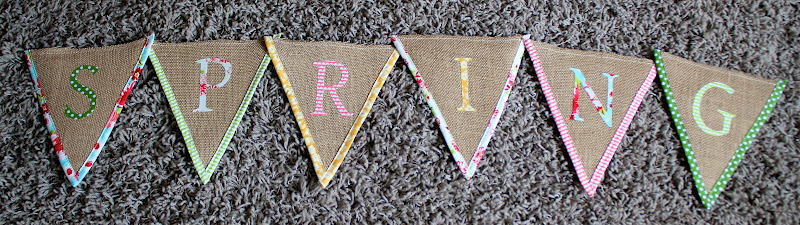
CUTE HUH?! Oh we totally love it! We got the idea from Our Cozy Nest. Go check out her blog- she is super crafty and has great tutorials! If you would like to buy one, let me know. My sister and I are thinking we’ll make a bunch and sell them for $30. If there’s no interest though, no worries!


Ingredients haha:
- 1/2 yard of burlap
- 1/6 yard of 6 coordinating pieces of fabric
- 1/3 yard heavy heat and bond
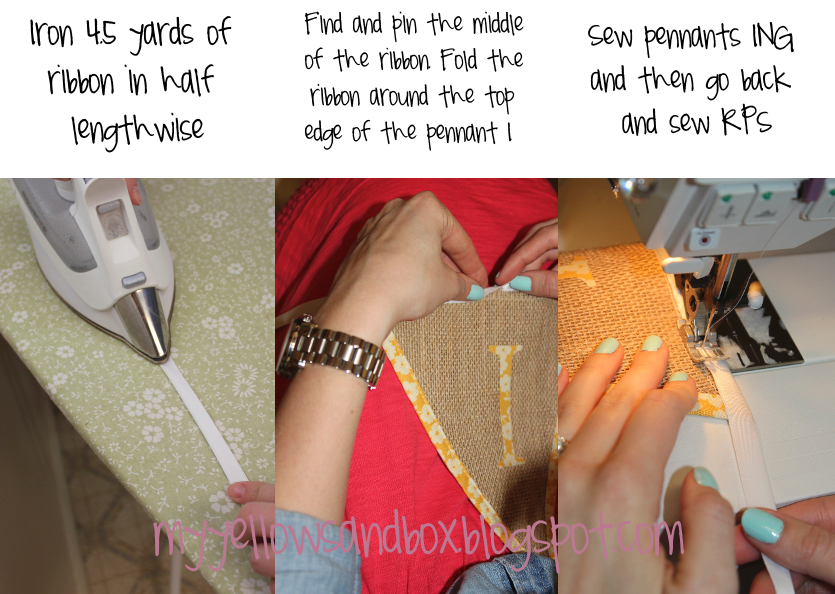
- 4.5 yards of 1 inch wide cream or white ribbon
- thread
- sewing machine
- iron and ironing board
Step 1:
Make your pennant template
HA. I put these instructions in here because it took us forever to figure out how to make a triangle out of a piece of paper. Seriously?! It sounded easy! You should have seen us- we were laughing our heads off at how stupid we were! So, in case you wanted to know! ha ha!!

Step 2:
Use your template to cut out 12 burlap triangles. We used a pencil to help us trace.
Step 3:

Step 4:
Cut one strip from each piece of fabric that is 1 1/3 inches by 22 inches

Step 5:
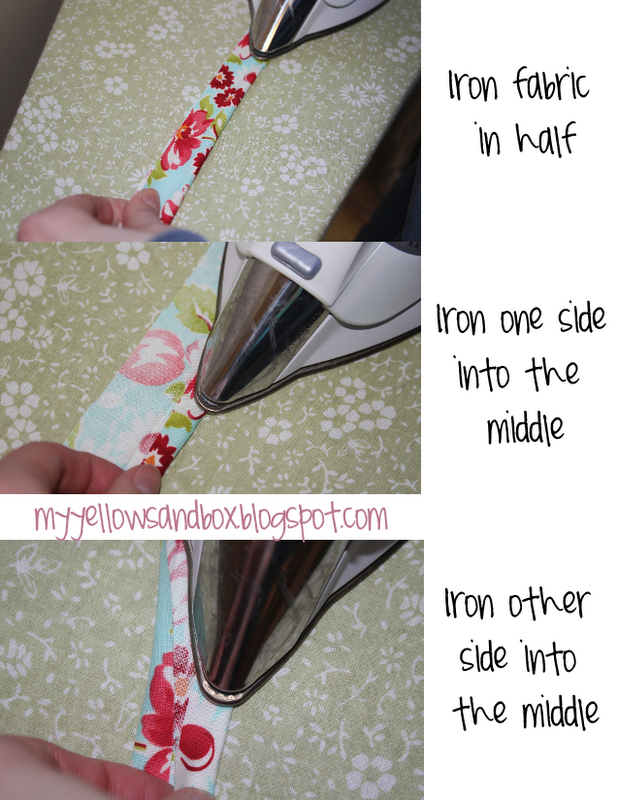
Make your bias tape

Step 6:
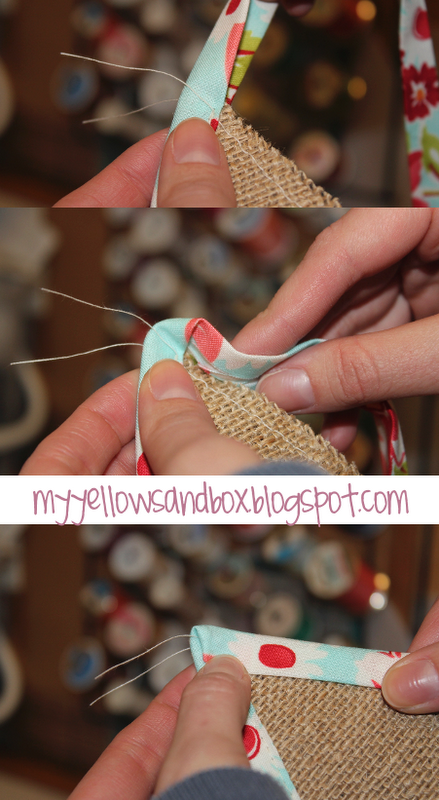
Sew your bias tape onto your burlap pennants

Hint: tricky point
Step 7:
Print this bad boy out. Right click and download link. Then open up in Word or Pages
 |
| Courtesy of Our Cozy Nest |
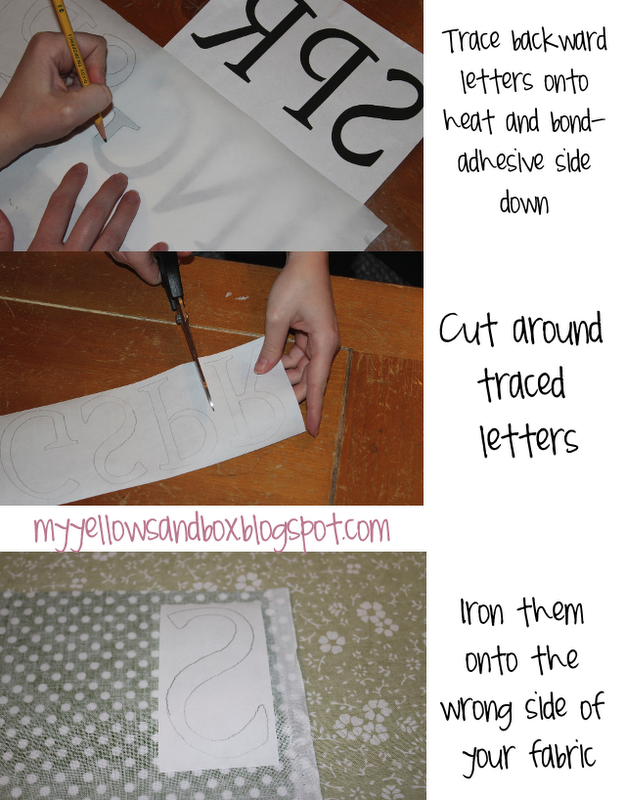
Once the heat and bond is ironed onto your fabric, cut the letters out, peel off the paper backing and iron them onto your pennants
Step 8:
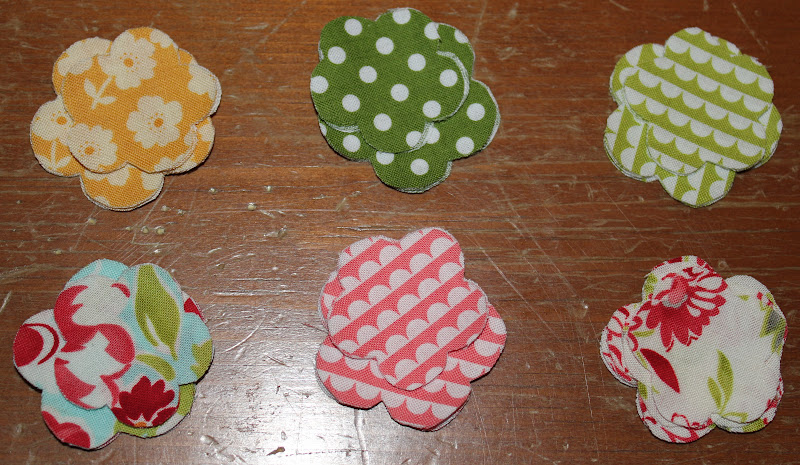
Cut out a bunch of these guys.
I threw this flower into pages/word and using the document rulers sized it to 1 3/4″ square. You should cut out about 7 flowers per fabric. The easiest way to do it is to fold your material over itself, put the flower template on top and cut them all out and once. We thought this would take forever, but it only took about 15 minutes.
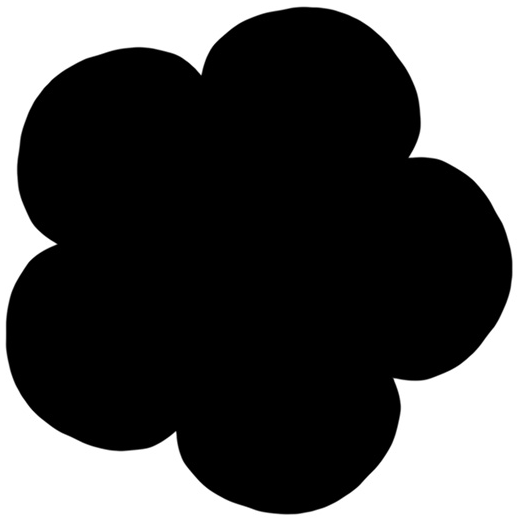 |
| Image Source |
Step 9:
Sew the pennants together
Step 10:
Now for the fun part

And then YAAAAY you are all finished. This is quite an extensive project. It took us like… oh three or four hours. But had we not had a needy baby and an even needier toddler running around we could have buckled down and finished it faster. This project was so worth it though. The finished product just… well it just makes me so darn happy!
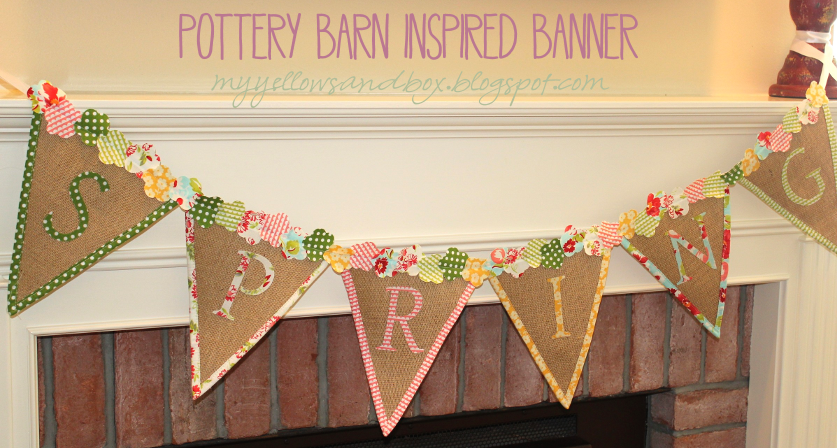
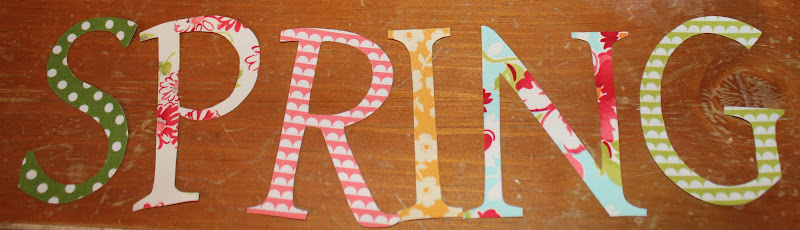
NOTE: The above picture is my sisters banner. Most of the pictures we took of mine were fuzzy except the second photo at the top. You’ll notice my SPRING letters do not match the pennant material. We forgot that’s how Our Cozy Nest did hers and by the time we remembered, Hayley had already ironed hers on. Anyway, I think both are cute so whatever you choose- it’s totally up to you!
Hope you love it! If you make your own, I’d love to see it!
Hello.This post was extremely motivating, particularly since I was investigating for thoughts on this subject last
Friday.
I want that nailpolish. What is it!!???
All I know is that it’s Essie. Those are my sisters fingers in that picture!! I went to buy it at Walmart and they were all out of that color. Hayley said The Daybook listed it as one of her favorite spring something or others. Maybe check out her blog? Good luck!
What nail polish are you wearing!!?? It’s so awesome. 🙂
Haha I love how this took us a couple days because of your cute babies! My nails change colors through out our project haha. Love you sister and love my banner!
Sister. Everyone wants to know what Essie nailpolish color you’re wearing?!!
I love this, I want one 🙂 — do you have esty shop?
[email protected]
So cute, love it! = )
Wow…. that is a lot of work! But the end result is beautiful!:)
Ohhh myyy!!! So adorable 🙂 ! I love the colors with the burlap. Awesome job.
love love love it i think i will make one