

I did it. I wallpapered a room!! I was so nervous to start this project, my mom basically raised me on wallpaper horror stories. I vividly remember her making my sister and I pick it off the walls or the frustrated sounds from the rooms she was working on when the paper wasn’t wet enough and wouldn’t stick or was too wrinkled. The recent wallpaper trend though has been getting to me and when I spotted this floral paper from Walls Need Love I knew I had to have it for my daughters room!! She’s my only girl! I absolutely must have a bright floral wall for her haha!! I kept reminding myself that wallpaper has come a long way since the 90’s and that I was going to be fine. I’LL BE FIIIIIINE!!!! Right?
So I measured the space, went online and ordered the amount I needed and then I held my breath until it showed up. I’ll be honest… I brought it in the house and then let it stare at me for a good week before mustering up the courage to start the project. Was I being dramatic? Possibly. But maybe I wasn’t being dramatic enough ?
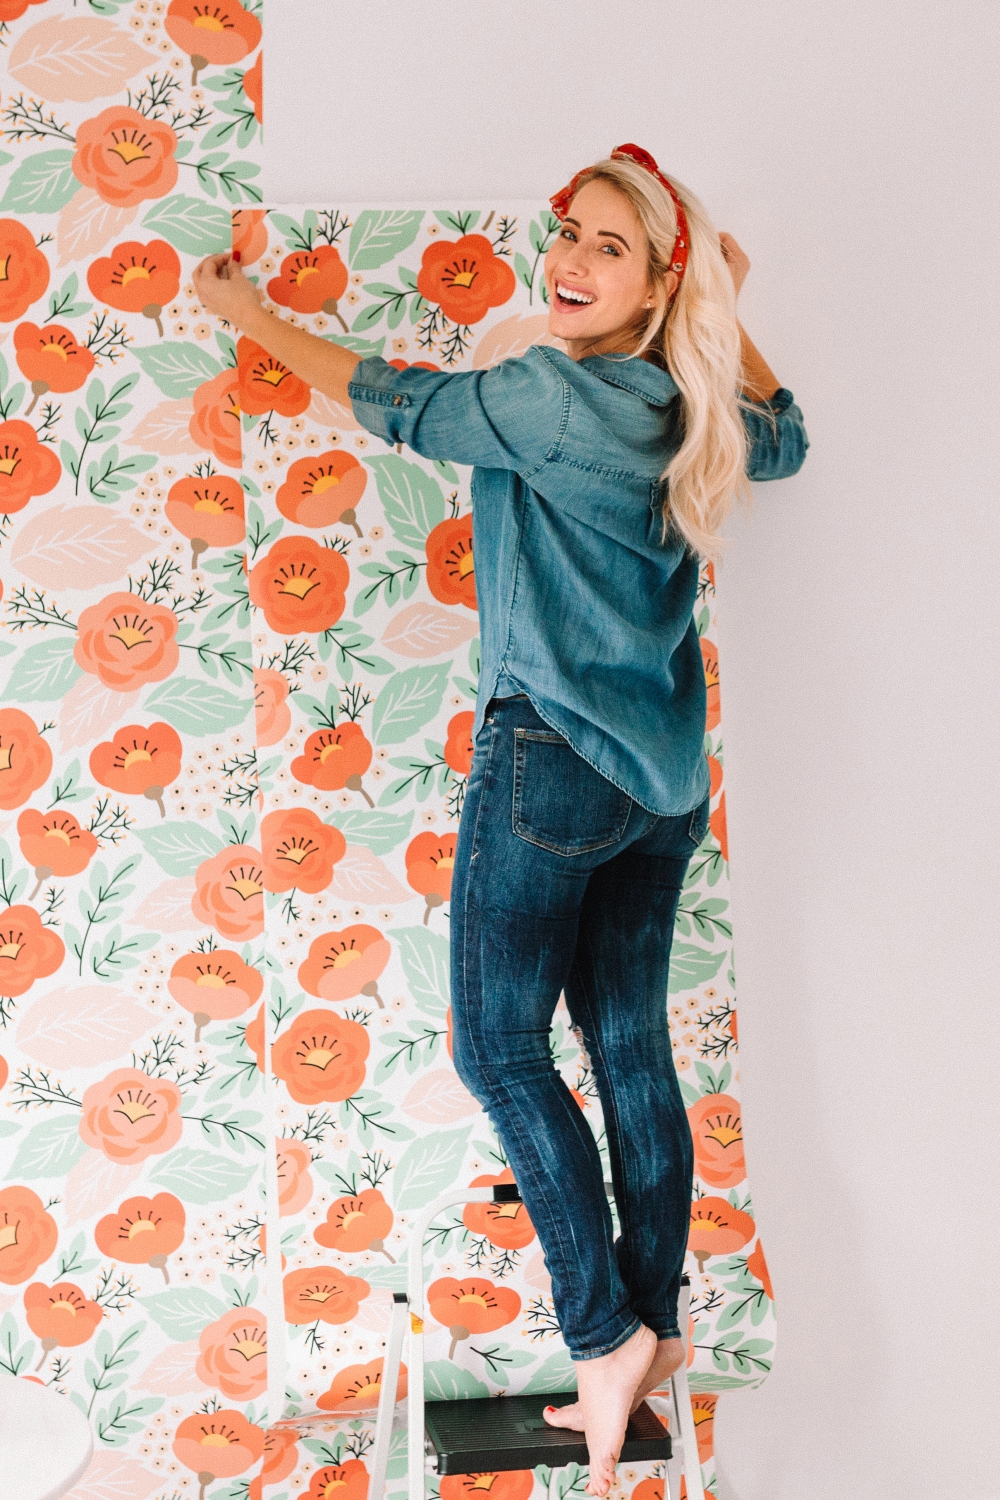
Fast forward and GUYS!!!! I WALLPAPERED A ROOM!!!! Walls Need Love is LEGIT the best thing that’s ever happened to wall paper. It was so easy. There was a slight learning curve on those first two panels, but once you get the hang of it it basically puts itself up. The wallpaper is peel and stick, there’s no wetting paper or weird sticky glue. It’s completely removable, leaves no residue and can be repositioned over and over again. I could essentially put it up in Savy’s new room and then rip it down and put it up in a completely different room, it’s that awesome. It’s perfect if you’re renting or want to add pops of color to a space without committing to paint. I learned a few little tricks along the way and I thought I’d share the process so that when you’re thinking about wallpapering a room, you can smack that paper in the face when it arrives and not be scared of it!
ALSO — before we get started. I reached out to Walls Need Love on your behalf and snagged you a 25% off coupon for purchases over $100. YESSSSS!!!! I was so so excited and they were so swee to work with. The code is “Twist25”. Go ahead, share it with all your friends, that’s what it’s there for!
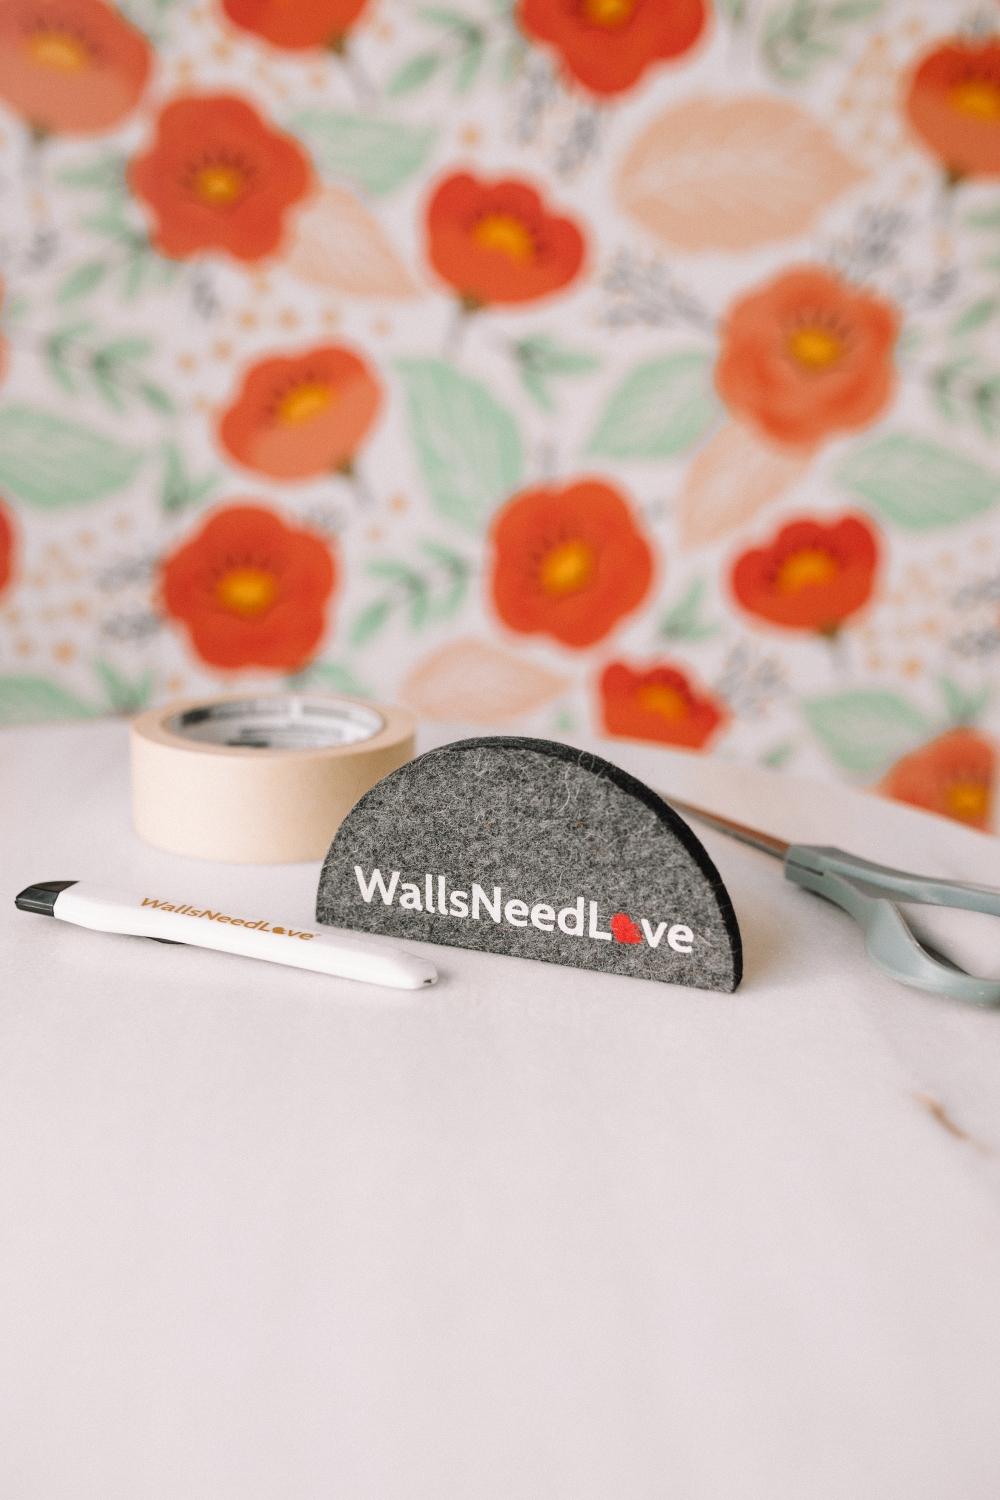
Step one: Get out your supplies. You’re going to need some scissors, scotch tape, a step stool and then your wallpaper will come with a little felt squeegee and craft knife.
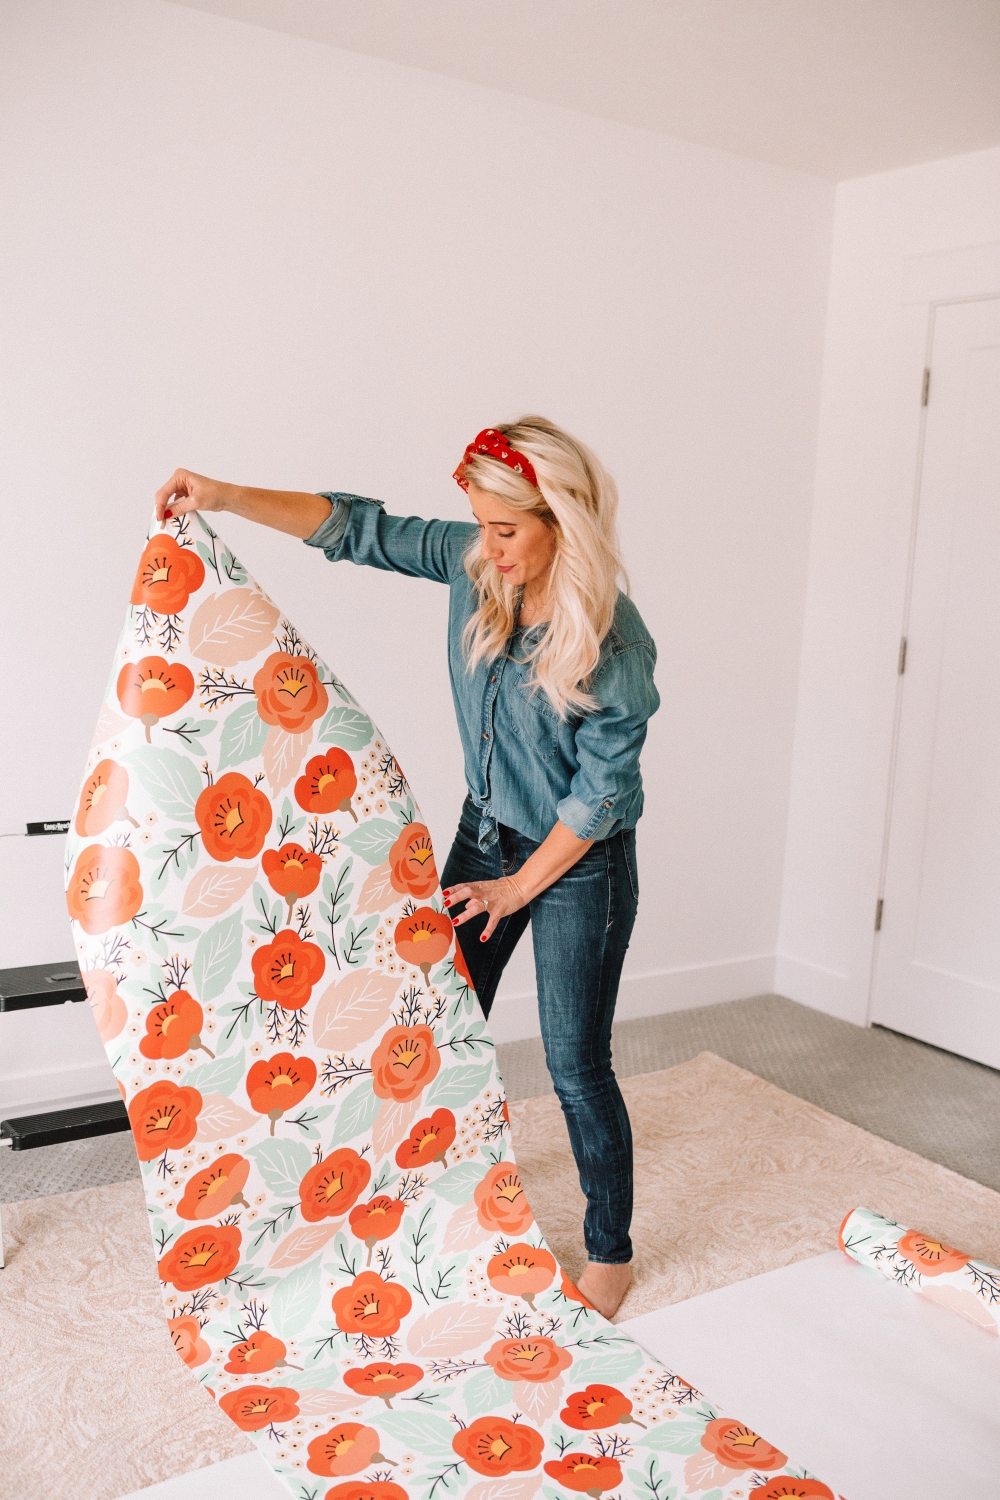
Step two: The wallpaper comes in a roll that’s cut into long strips. The strips make it so much easier to work with because they fit the height of your wall and then you just trim off the excess when you’re done. So unroll the paper face down…
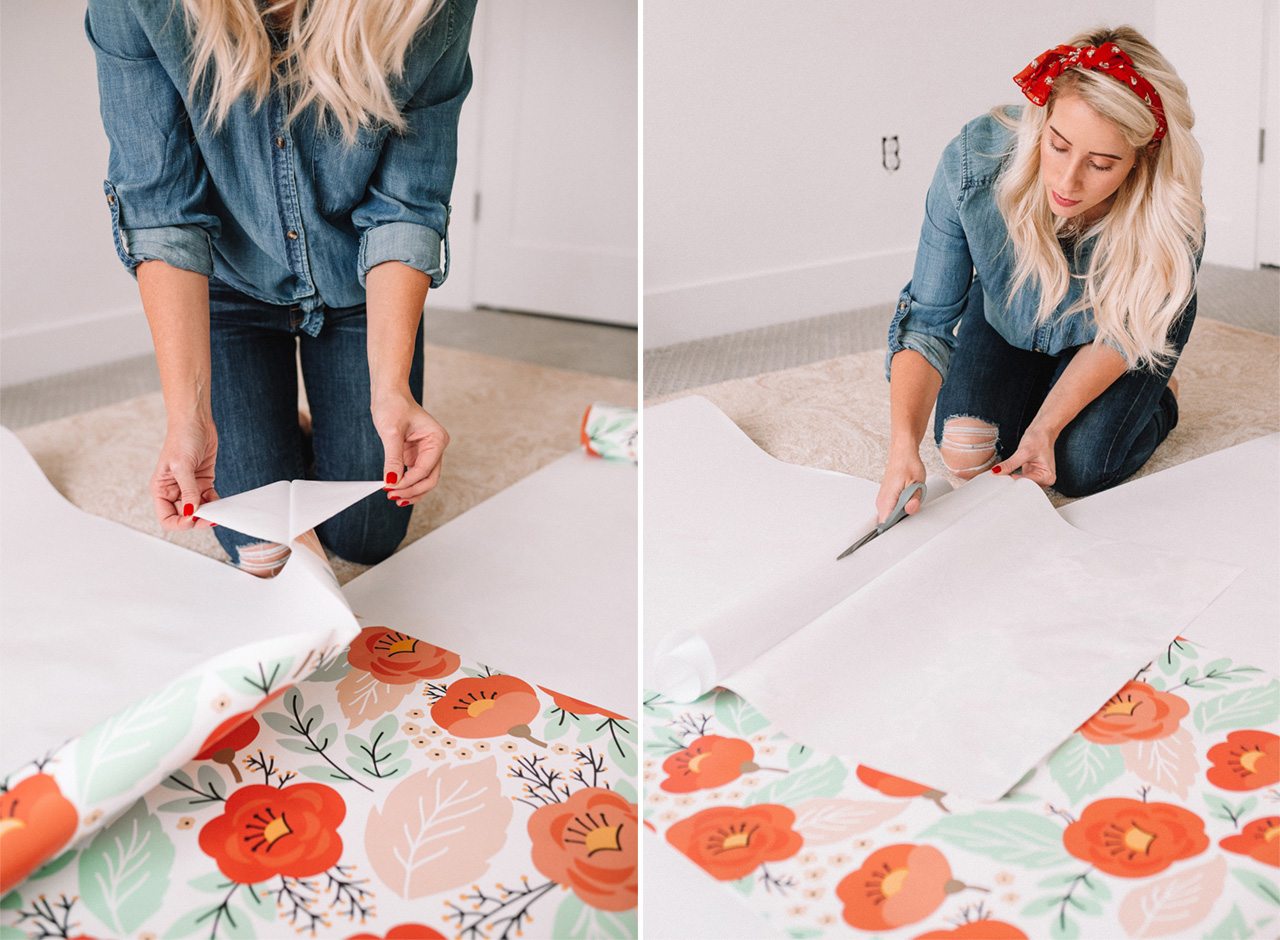
Step three: Peel the backing off the top of the paper so you have a couple feet of exposed wallpaper. Then you’re going to cut off the backing so it’s not in the way when you go to put it up.
Step four: Get ready to put it up! There’s a white strip at the very top of the paper, do you see it? That’s going to go on the ceiling and then you’re going to press the first few inches onto the wall. The first foot of paper is going to determine how straight the paper will lay and if it’s going to match up with the pattern next to it. I actually had to have Brian help me because I’m too short to reach the ceiling even with a step stool haha so he’d work on making sure it was even up top with the ceiling and then I’d match up one of the flowers further down the length of the paper to make sure we were on track with the pattern matching up.
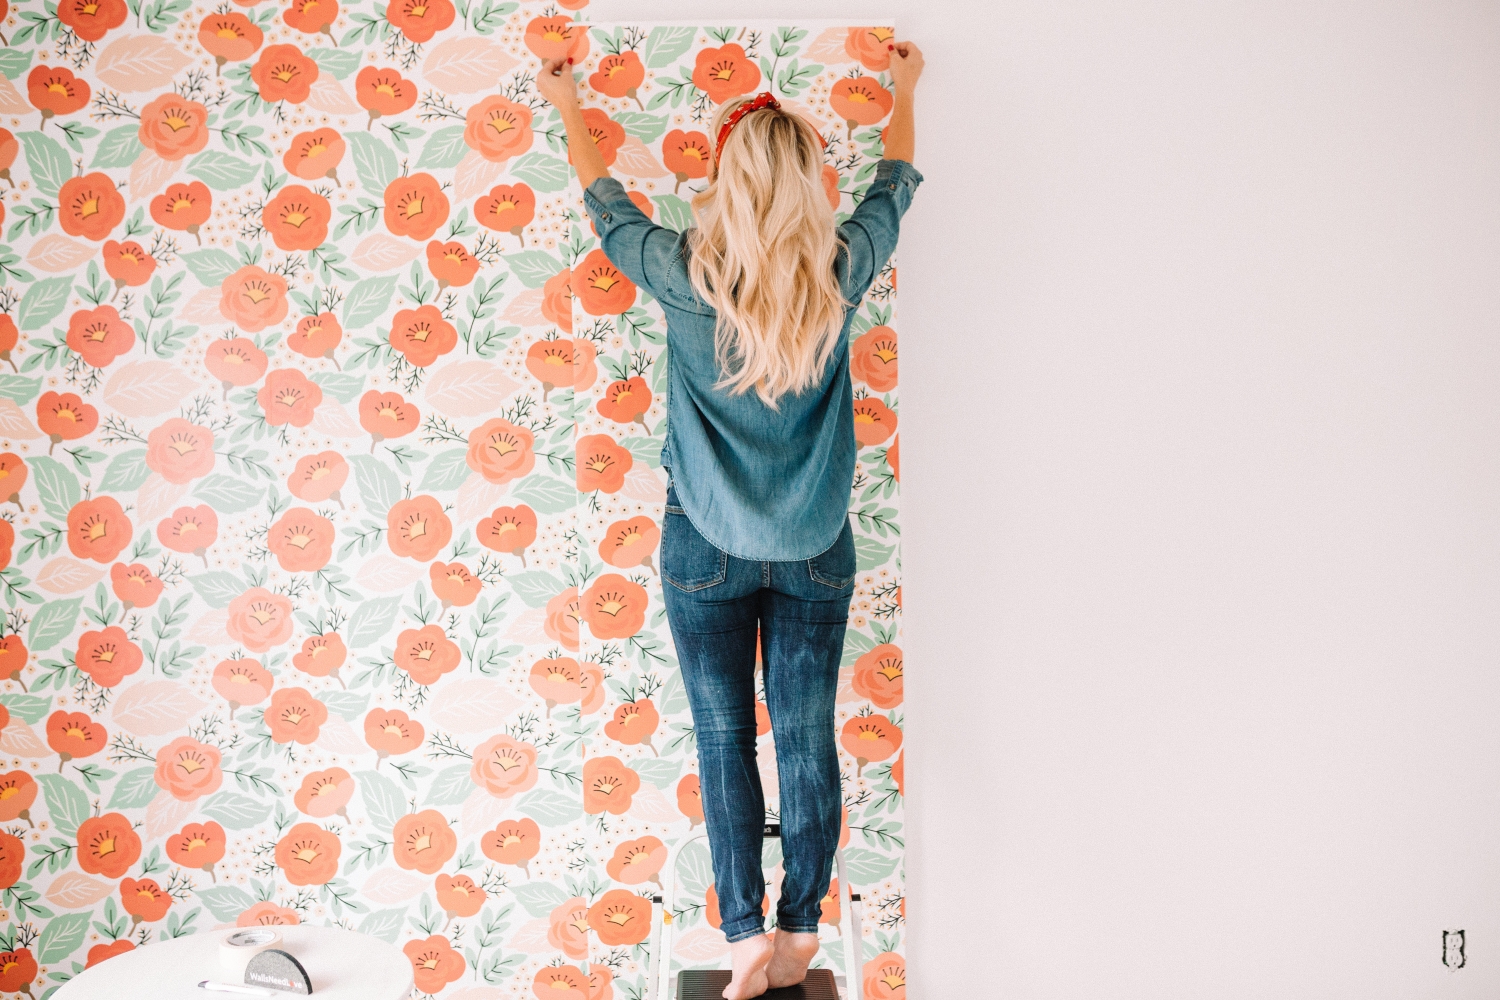
Thing to note: you cannot be a perfectionist with this! There are a few spots where no matter how hard I tried, the pattern just wouldn’t perfectly align. So do your best and when you stand back, you will not be able to see the flaws, I promise!
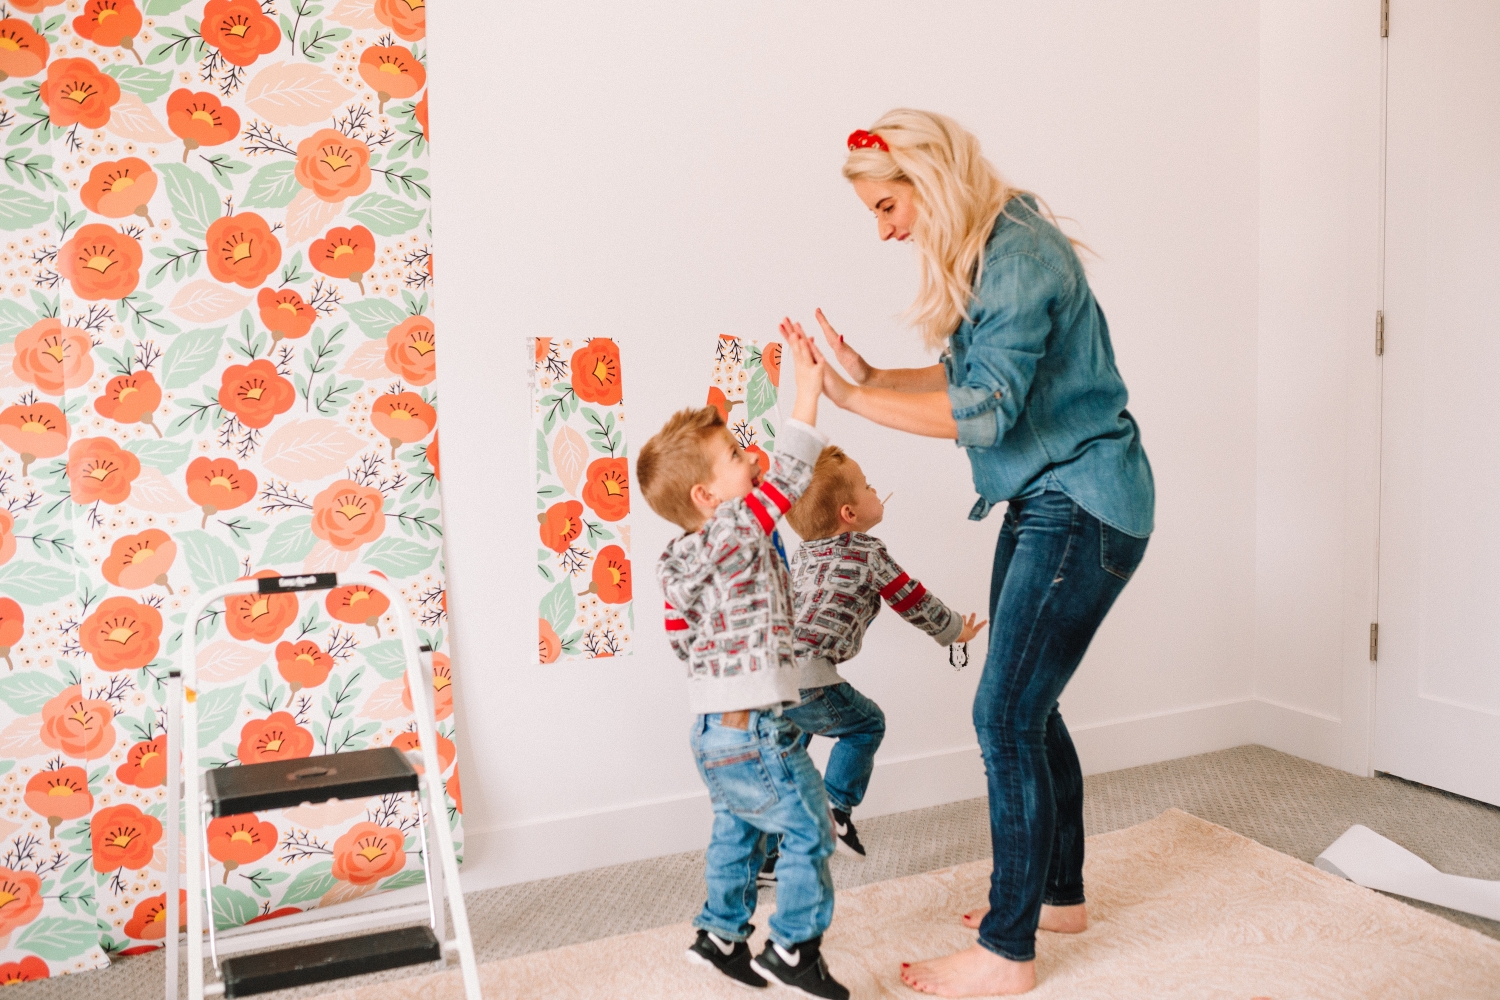
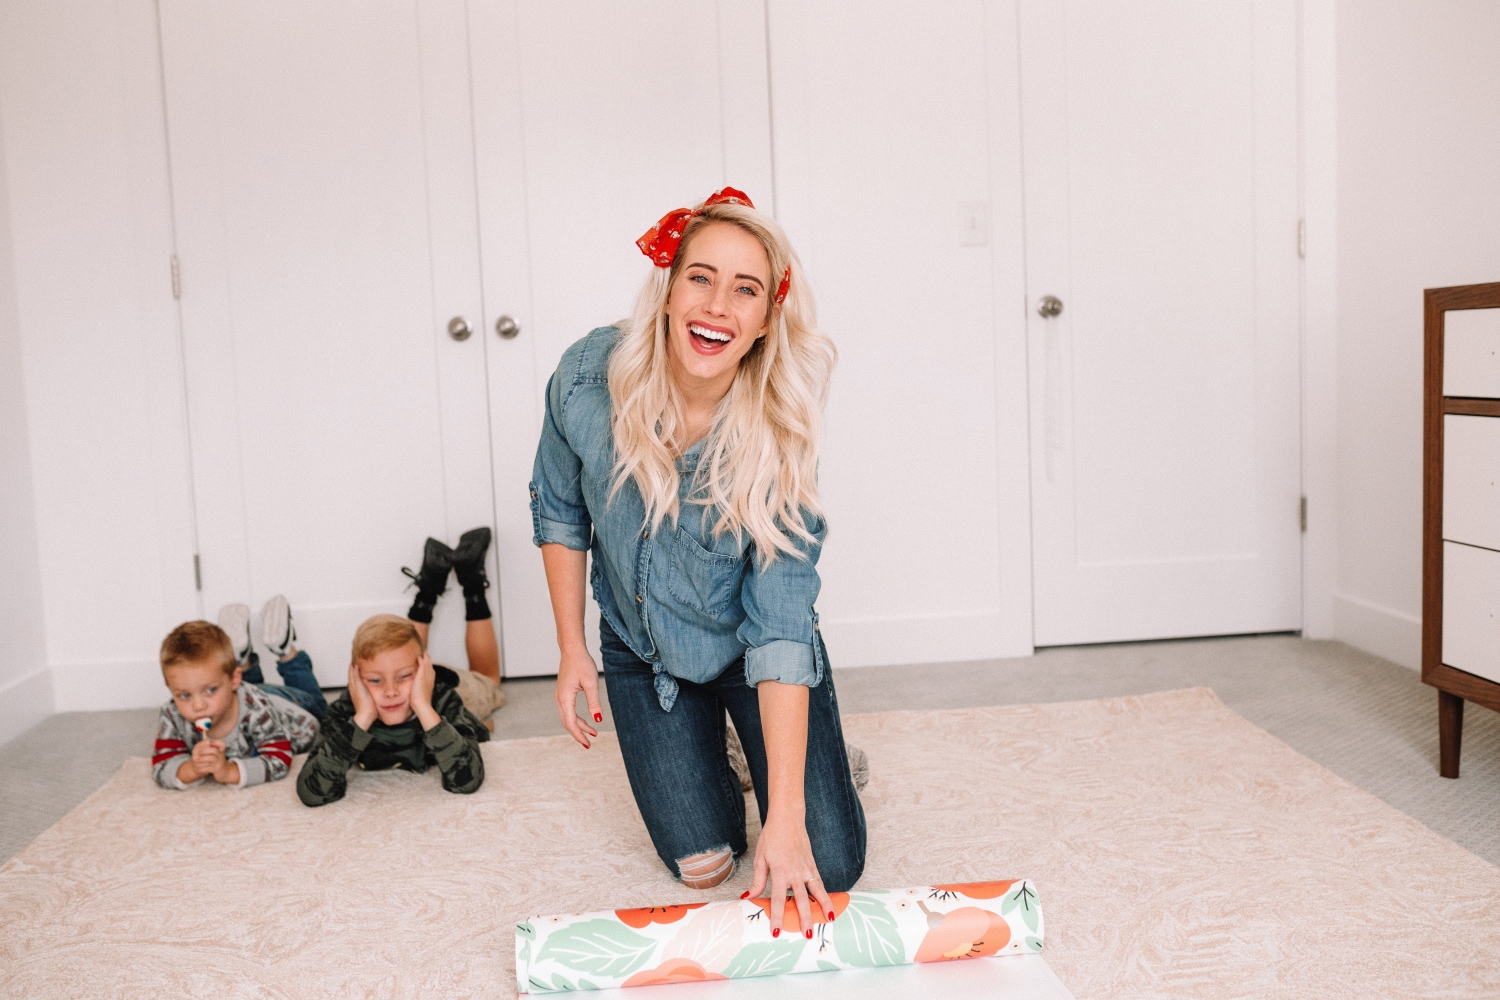
** and then the boys came in and wanted to play so I gave them some extra paper and they “helped” me. Which I was totally fine with because the paper just peels right off and when they were done playing that’s what I did.
Step five: Now that you have the first foot or so adhered onto the wall, you’re going to pull down more of the backing. I pulled down a couple feet at a time and you don’t need to cut off the backing at this point.
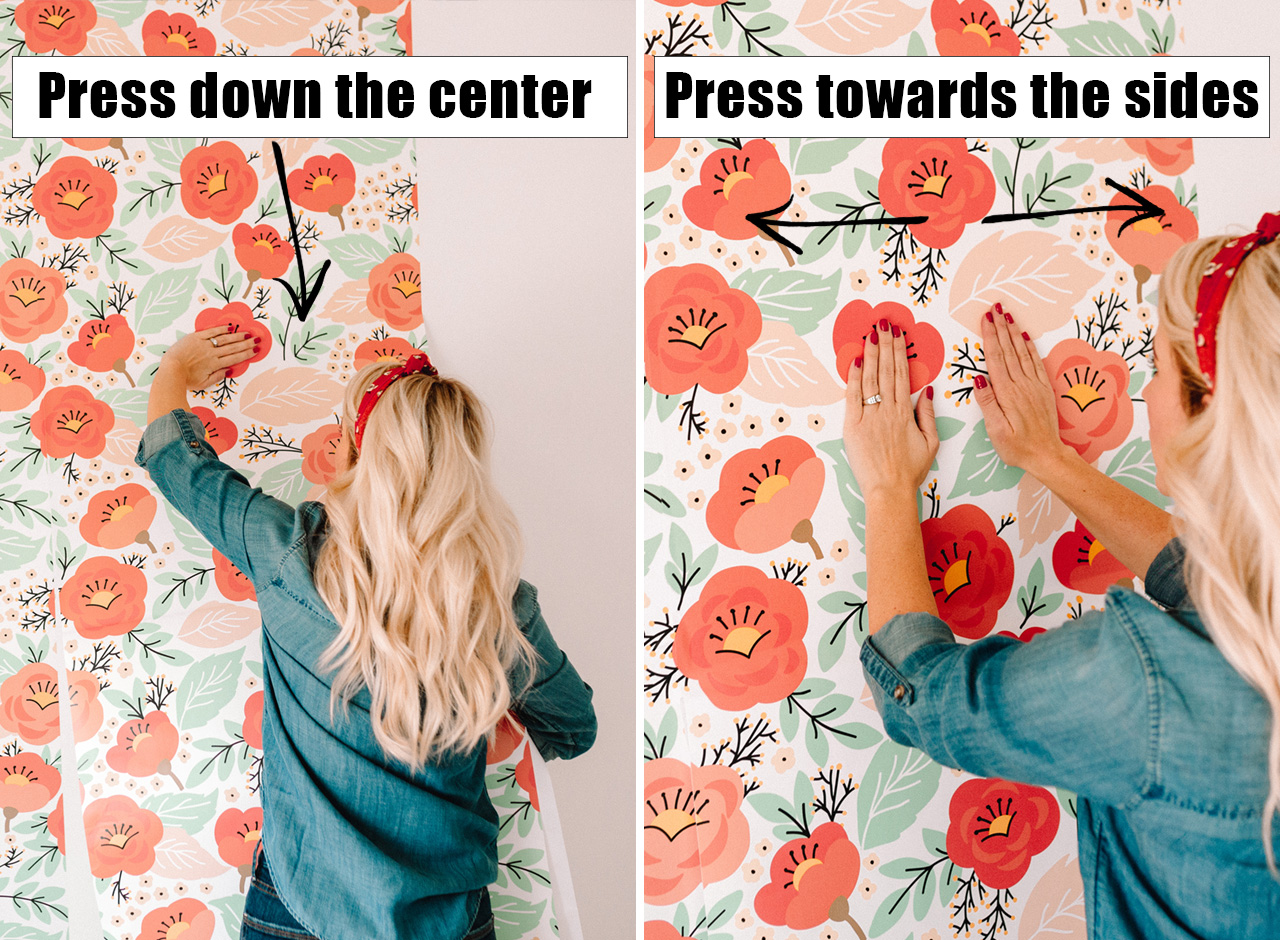
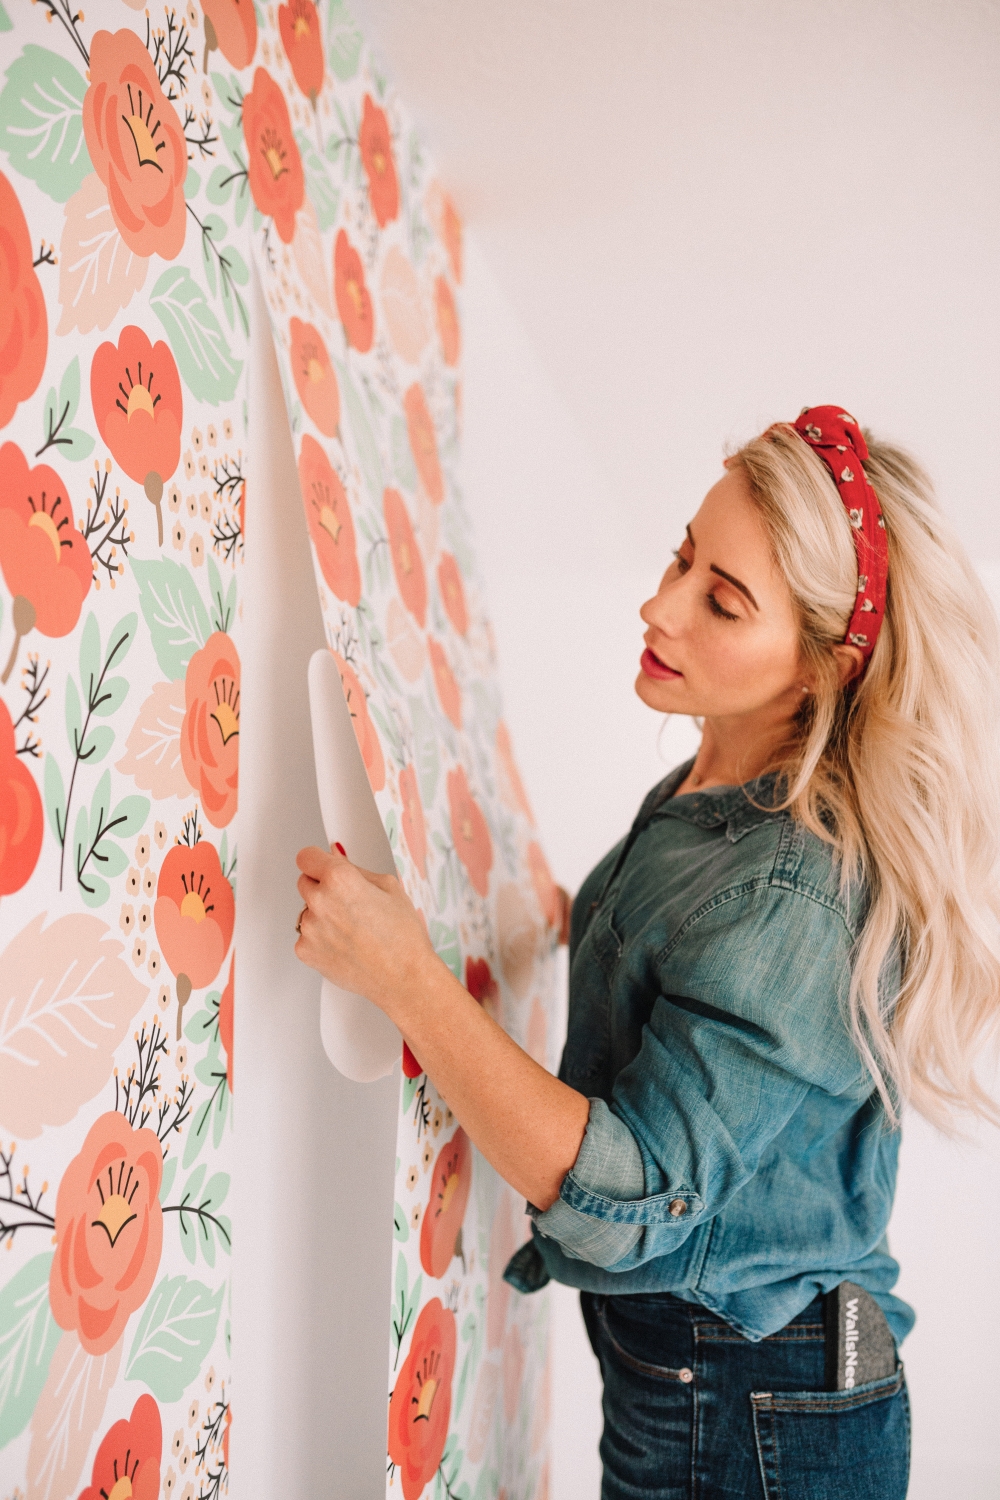
Step six: Then holding the paper with your non dominant hand a few feet down, you’re going to press down the center of the paper and then immediately press towards the sides. You really want gravity to help you get that paper straight and then you’re pressing the air bubbles out by working it to the sides. I found doing it this way alleviated a lot of bubbles!
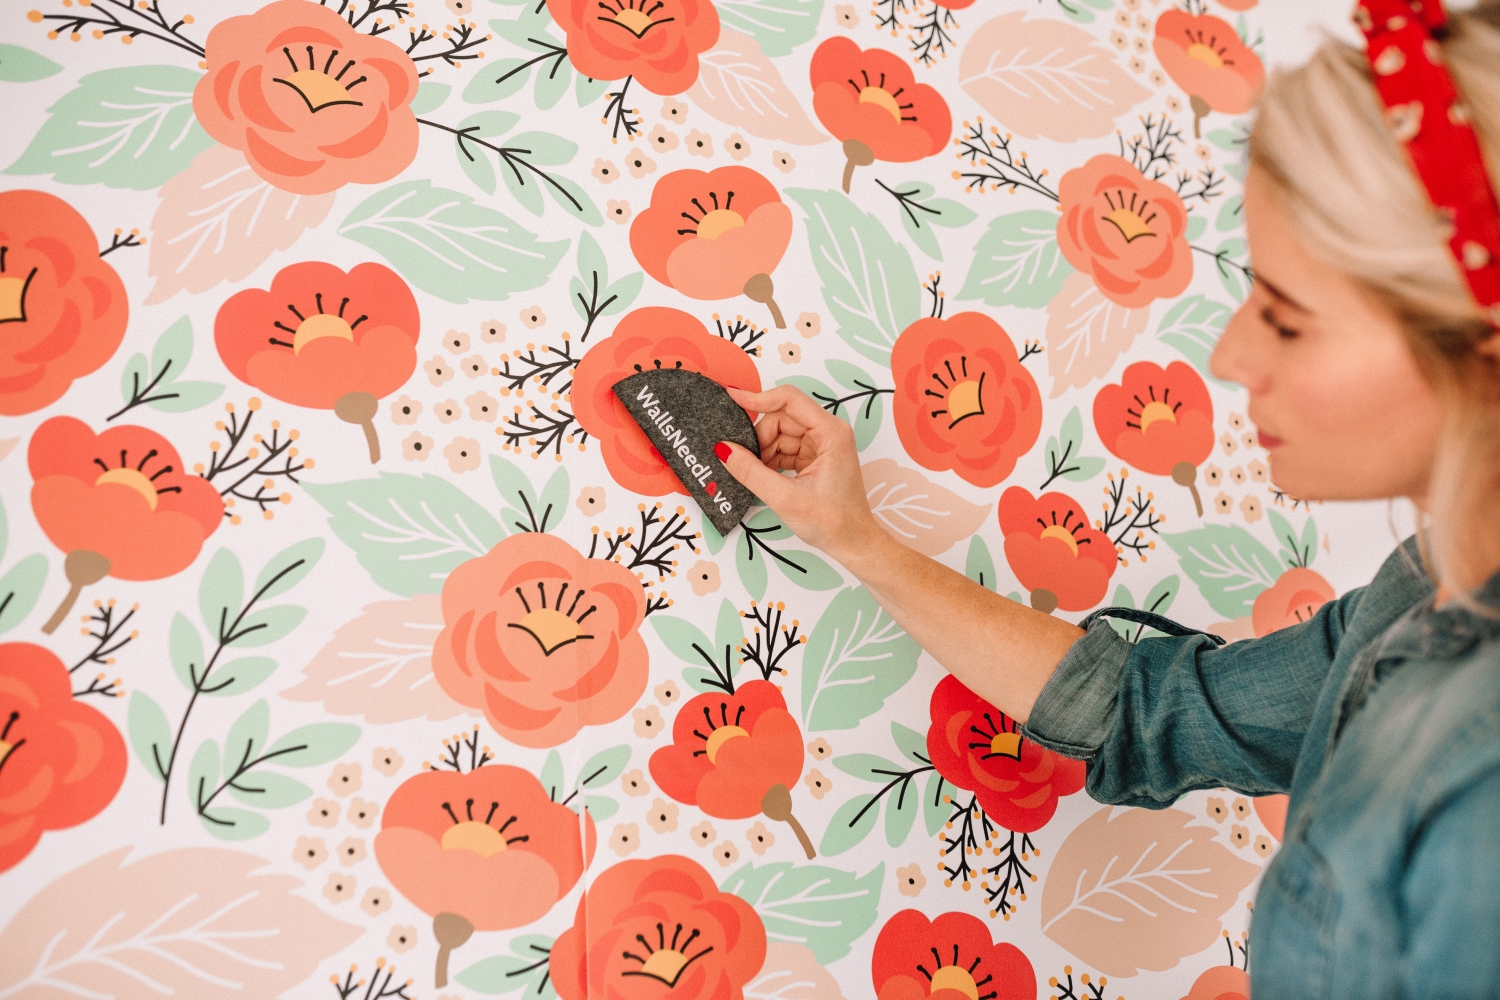
Step seven: If there was a wrinkle in the paper or a bubble I couldn’t get out, I’d lift up the paper and then use the felt squeegee to really fine tune the pattern or paper. There were a few spots I had to lift the paper up over and over again to work bubbles or wrinkles out of because we have textured walls, but it was totally fine because the paper never lost it’s stickiness and it just pulls right up. Massage those stubborn spots as much as you need and then repeat steps 3-7.
Step eight: When you’ve papered the whole wall you’re going to take the squeegee to all the corners and make sure the paper is completely adhered and then with the craft knife, cut off the excess paper.
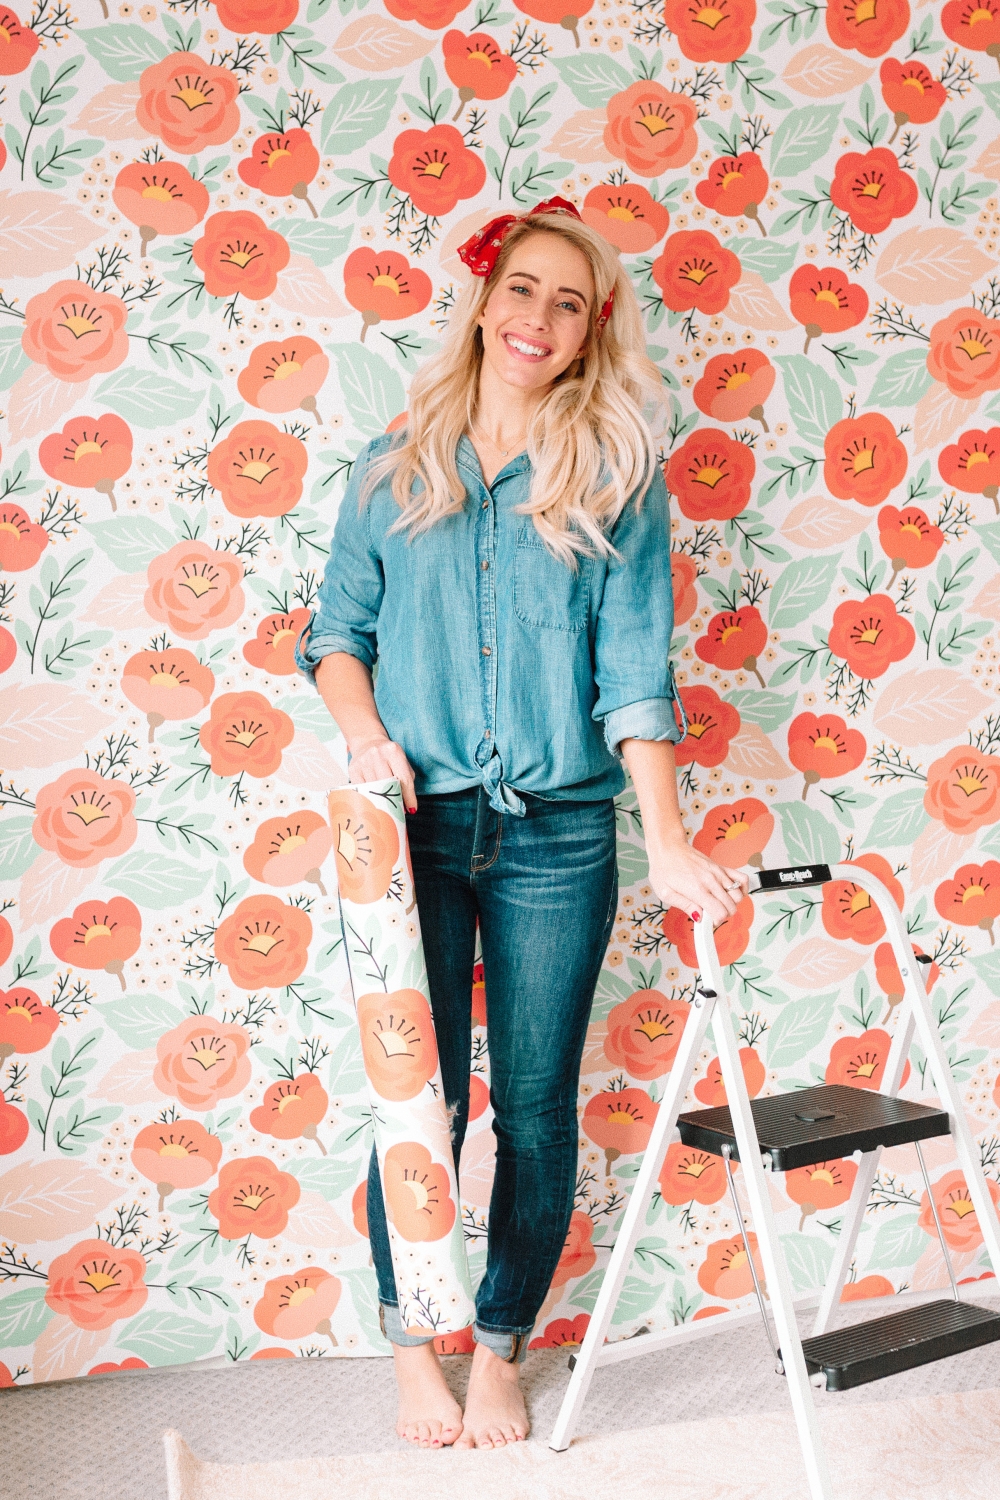
And you’re done!! I think it took me two hours from start to finish and I muttered ZERO swear words haha!!! It was sun a fun little project though and one I shouldn’t have been nervous for. The wallpaper is so forgiving and it’s so easy to put up. Give yourself a strip or two to get into a good groove and before you know it you’ll stand back and a beautiful, super girlie floral wall will be in front of you and all your childhood dreams will come true!!!
Have you heard of Walls Need Love? Go checkout their site, they have so many adorable patterns and now that I know how easy it is to put up I feel like I might need to wallpaper a few more spaces… ? Don’t forget the coupon code “Twist25” will get you 25% off your purchase of $100 or more!!
Kelsey from Alika Designs helped me figure out Savy’s space and I’m so excited to show you the finished room!!! We’re waiting on a few more pieces to show up but you’re going to DIE when you see the bed Kelsey found. If you’re looking for an affordable designer, check her out. She has such great taste and is so easy to work with. I showed her a few things I liked and a few days later she had an e-design ready for me and it was perfect. She listened to what I wanted for the space and understood my style and I can’t wait to show you how it comes together! In the meantime, check her out at Alika Design and visit Walls Need Love for some amazing inspiration!
Thank you Walls Need Love for sponsoring this post, all thoughts and opinions are my own.