GUESS WHAT I DID?! Holy crap guys I went and did it. I got my brows microbladed again. I contemplated for months and months, there were definitely reasons for pause as my first microblading experience nearly scarred me for life. Scroll through a few of my archives here and you’ll quickly understand why!
I pulled the trigger the beginning of March and I just knew I was going to have a completely different experience with Tiffany. I wasn’t even hopeful, I knew it. Enhance Artistry did my little sisters brows way back and over the last year and a half I’ve critiqued her tiny strokes and color retention and knew that if she could create a masterpiece like that on my little sister, she could do it on me too! So I made an appointment and WAS SO EXCITED!!!!! My brows have been a mess.
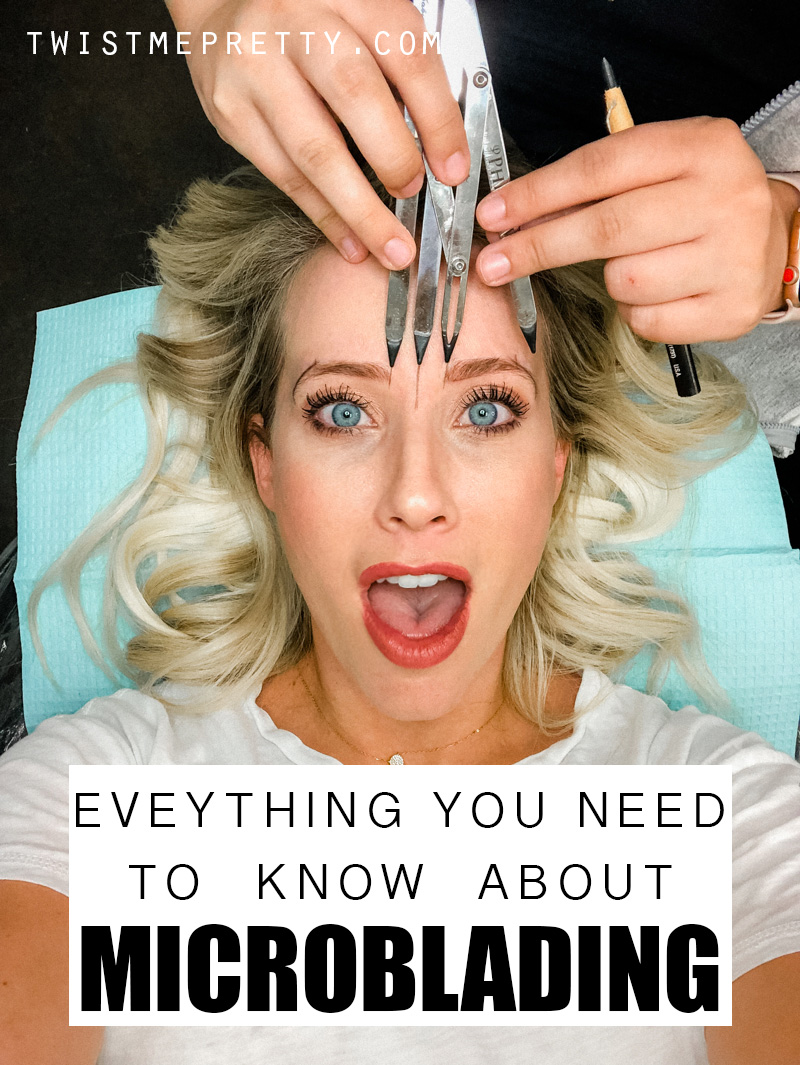
Everything You Need To Know About Microblading
Since I know a lot of you are invested in my story, I thought I’d make this post and show you what should happen at your microblading appointment. Everything you need to know about Microblading so that you have an even better understanding of what’s going to happen, should you choose to get your brows done! If this post doesn’t answer all your questions, THIS ONE will.
1. Numb
Alright, babes, the first step in microblading is numbing your brows. Trust me, you want it done. Microblading is not painful – if you do it right. I wasn’t numbed for my first experience and it was more painful than childbirth. If you are numbed, and you should be, it shouldn’t hurt. But it is annoying.

2. Map
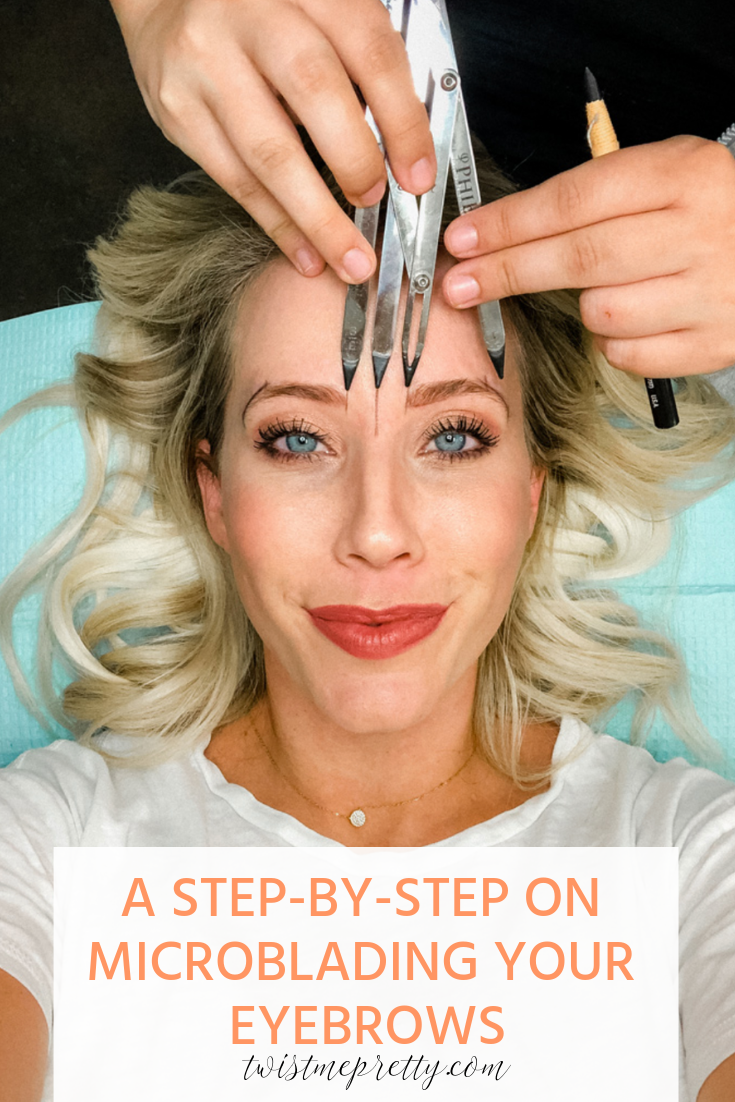
Next, you map! Tiffany uses golden ratio calipers to help her map the brow shape on the face. This should always be done. Do not let anyone touch your face with permanent makeup unless they have mapped and measured!! That doesn’t mean they eyeballed it or that they gave you a higher tail because they think it looks pretty. The human face is full of the golden ratio, it’s all very interesting if you want to google it! Basically, the “mouth and nose are each placed at golden sections of the distance between the eyes and the bottom of the chin”. Using the golden ratio helps artists enhance your natural shape and trust me if you want low maintenance brows, that’s what you want! You can read my first microblading experience here and what removal looks like here.
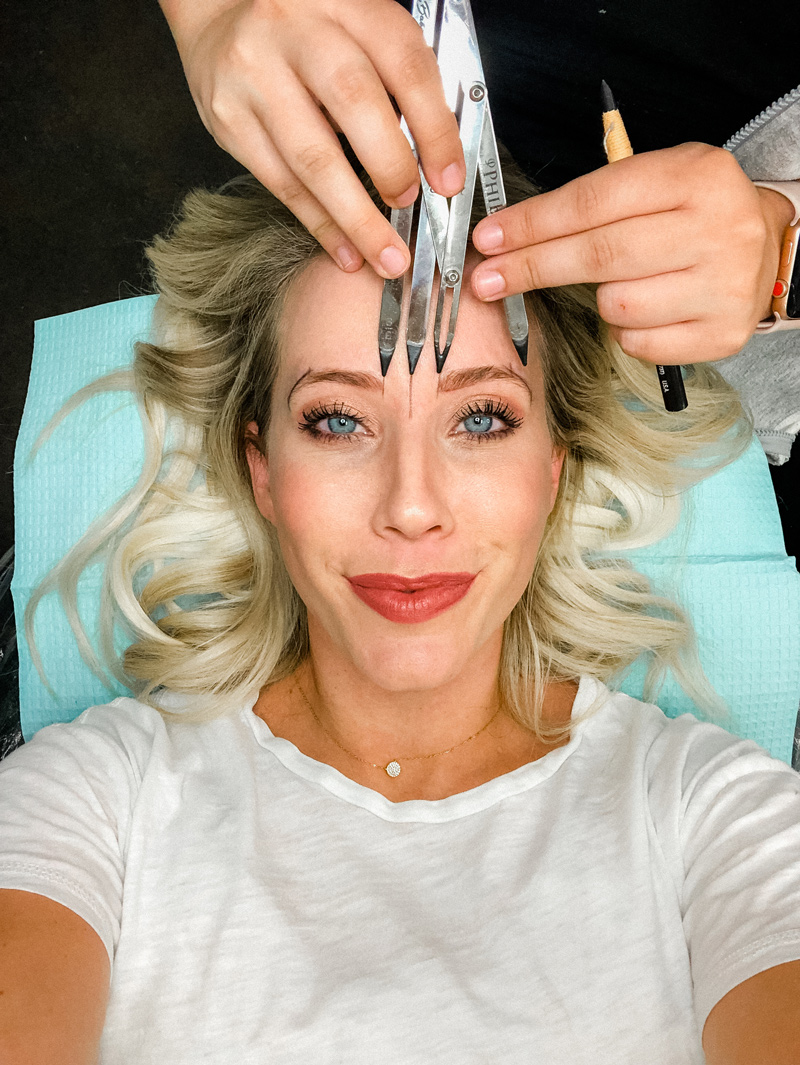
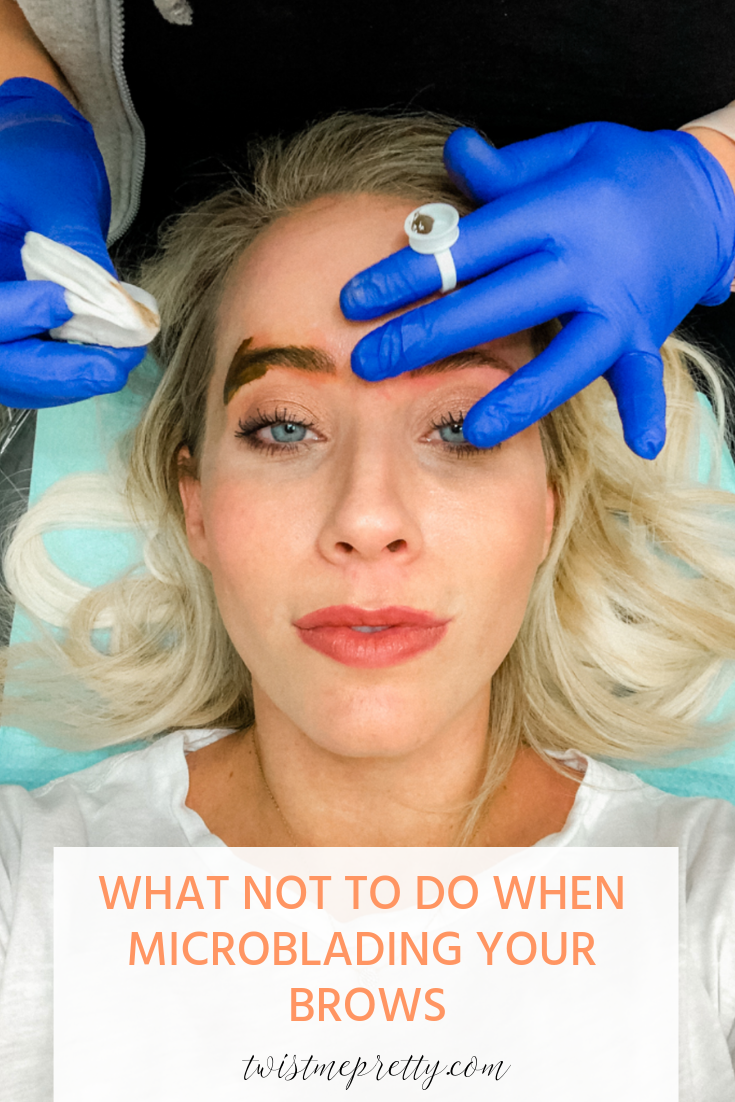
Mapping also includes revisions! This is something I think I would have been too afraid to ask unless I had been through the process before but you’re the boss! I had her make the shape a little more round because that was my preference and she was happy to do it. I wish I had a straight picture here of the final map but you can watch it in the video. Notice too in this picture below, she uses the calipers and then snaps a picture and puts it in a straightening app to make sure it’s 100% straight. I’ve seen other artists use tape and that’s fine too. Whatever the artist’s preference is fine, just make sure you’re mapped correctly.


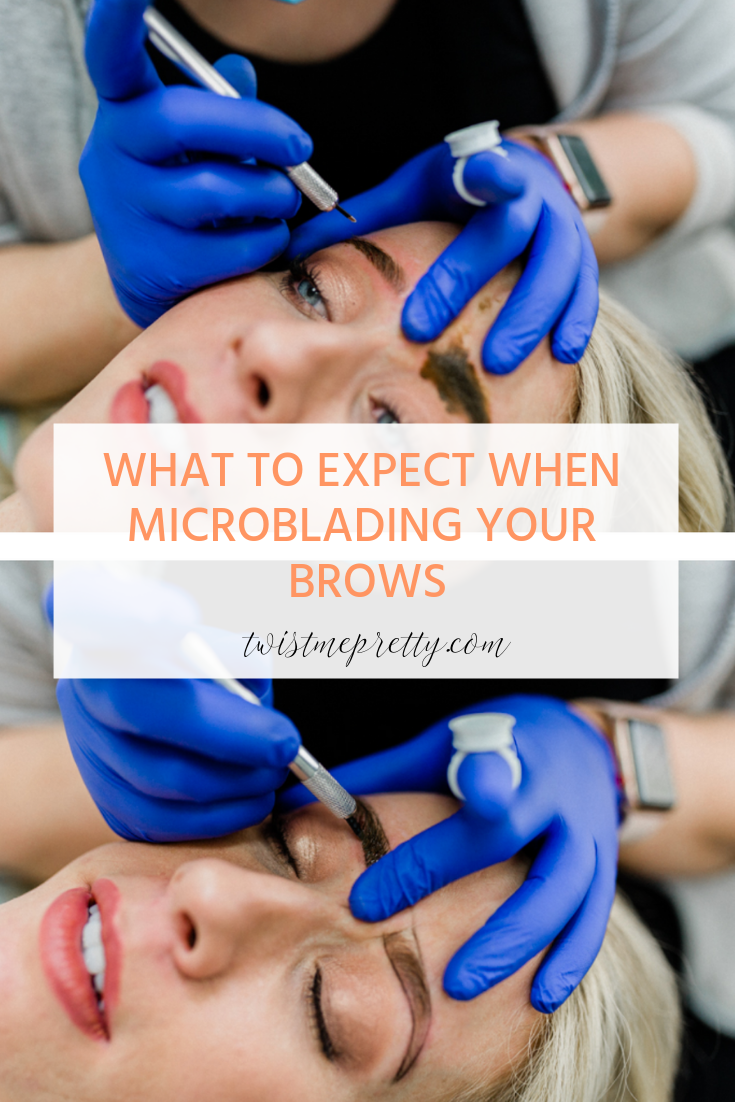
Step 3. Microblading
Microblading takes incredible skill and the makeup is PERMANENT. I still can’t believe how many people in my own circle who know of my experience are still willing to go to an artist who can get them in quick or who are having a sale. IT BOGGLES MY MIND! If you are contemplating microblading PLEASE, I BEG OF YOU, read the article I wrote called Ten Things You Should Know Before You Start Microblading.
I chose Tiffany because
1. I had a personal referral. My little sister had her brows done over a year ago and they still look amazing. I was very impressed.
2. Her clients’ brows look incredibly natural, she doesn’t over-edit her pictures and she shares lots of videos. I need to be able to see without any filters what the brows actually look like!
3. She shares client updates of what their brows look like when they came in for their yearly touch up. She’s very transparent about her clients.
4. She practices. All the time. She’s one of the best microbladers I’ve come across and she’s always, always practicing. To me that is huge. She doesn’t have an over-inflated ego and she’s willing to progress in her field of expertise
5. She’s certified and has 10 separate courses from world-renowned permanent makeup instructors.
Don’t let a big Instagram account fool you, or even an artist who has done all your favorite bloggers! Educate yourself on what you want and what works for you!!!


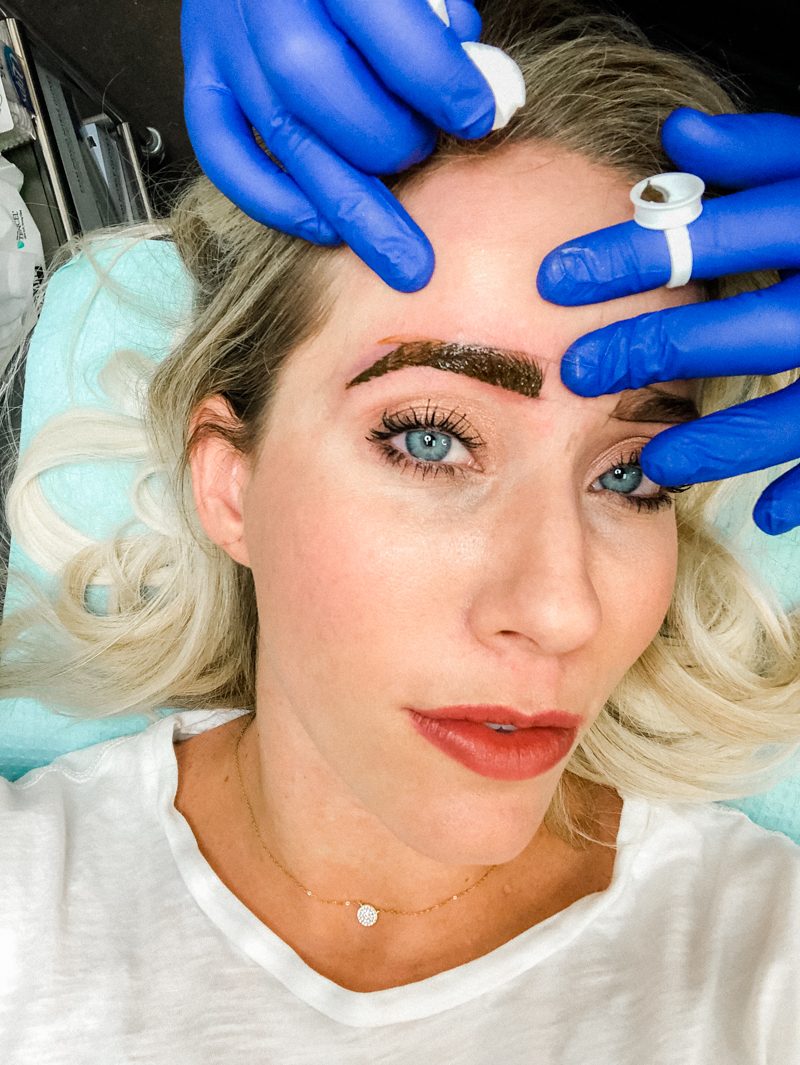
Step 4. Wipe away and repeat
Your artist will wipe away the excess pigment and then go over her original strokes a second time!
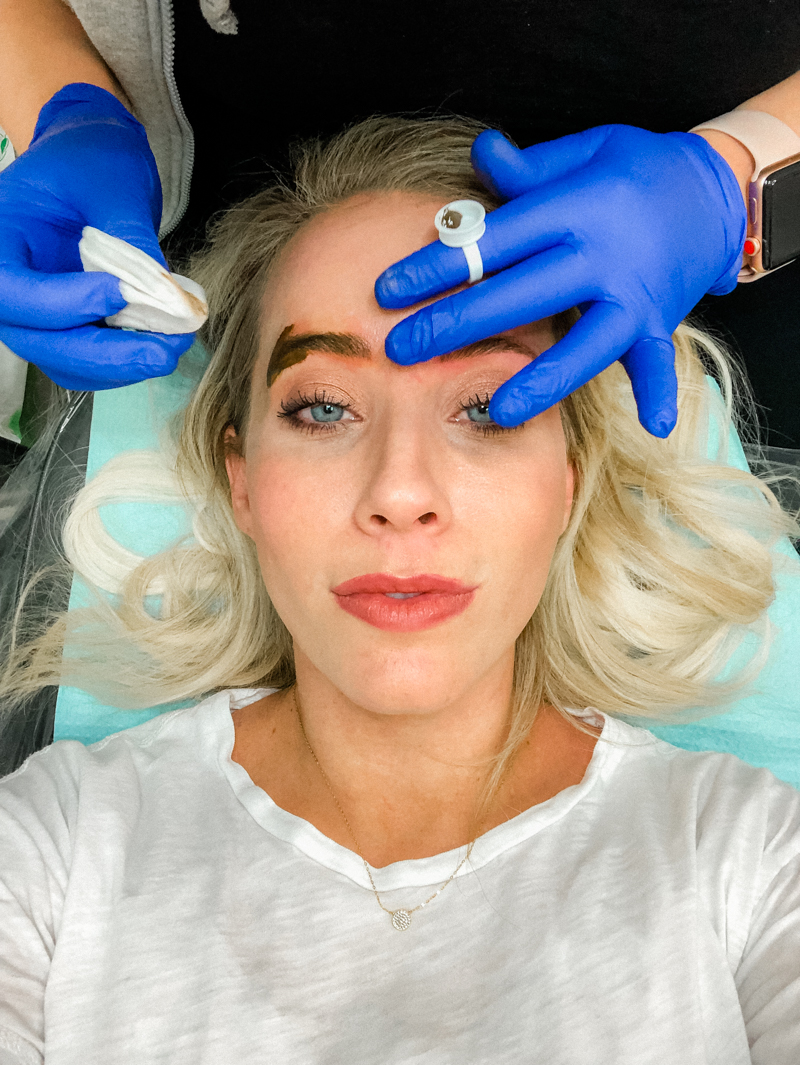
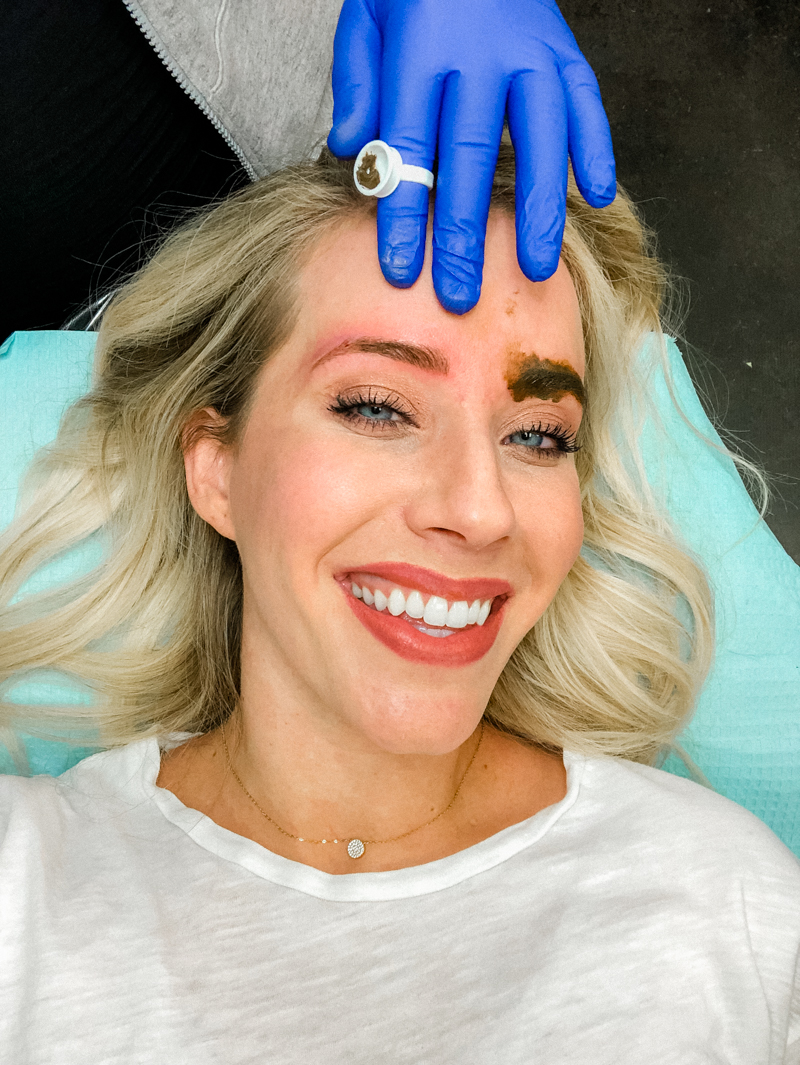
And that was it! She wiped me down and gave me my instructions on healing. This is different for every artist and is often dependent on the pigments used but I needed to wash my brows 4 times a day and keep a special ointment on them. They never scabbed. I wasn’t supposed to be in a steamy shower and no sweating.
Results
Some of the strokes have faded but I’m not worried about it all because I know that’s the drill and that the perfect brows are made at the six week touch up. I’ll do some better afters then but wanted to share these before and afters that Tiffany shared on her Instagram page.
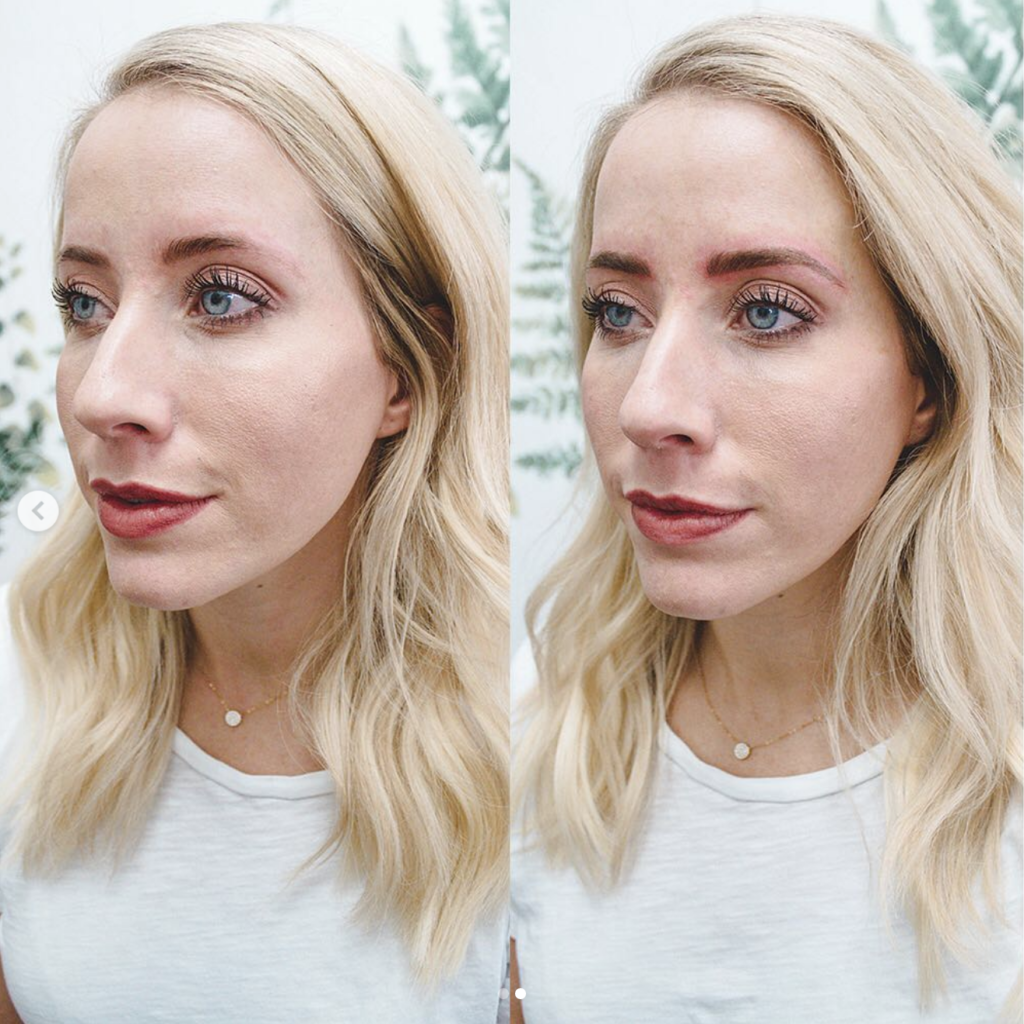
The top is how I was doing my makeup — the middle is no makeup — and the bottom is microbladed.
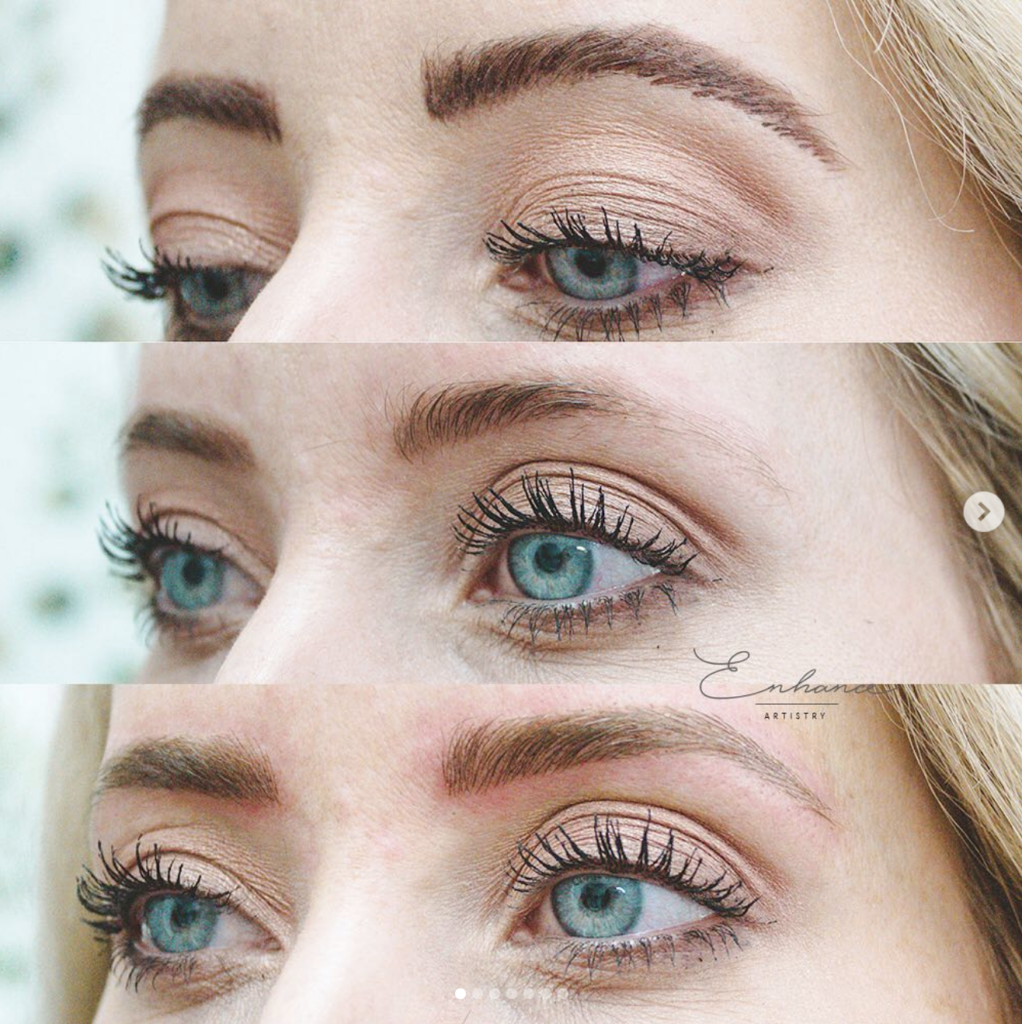
And the other side…
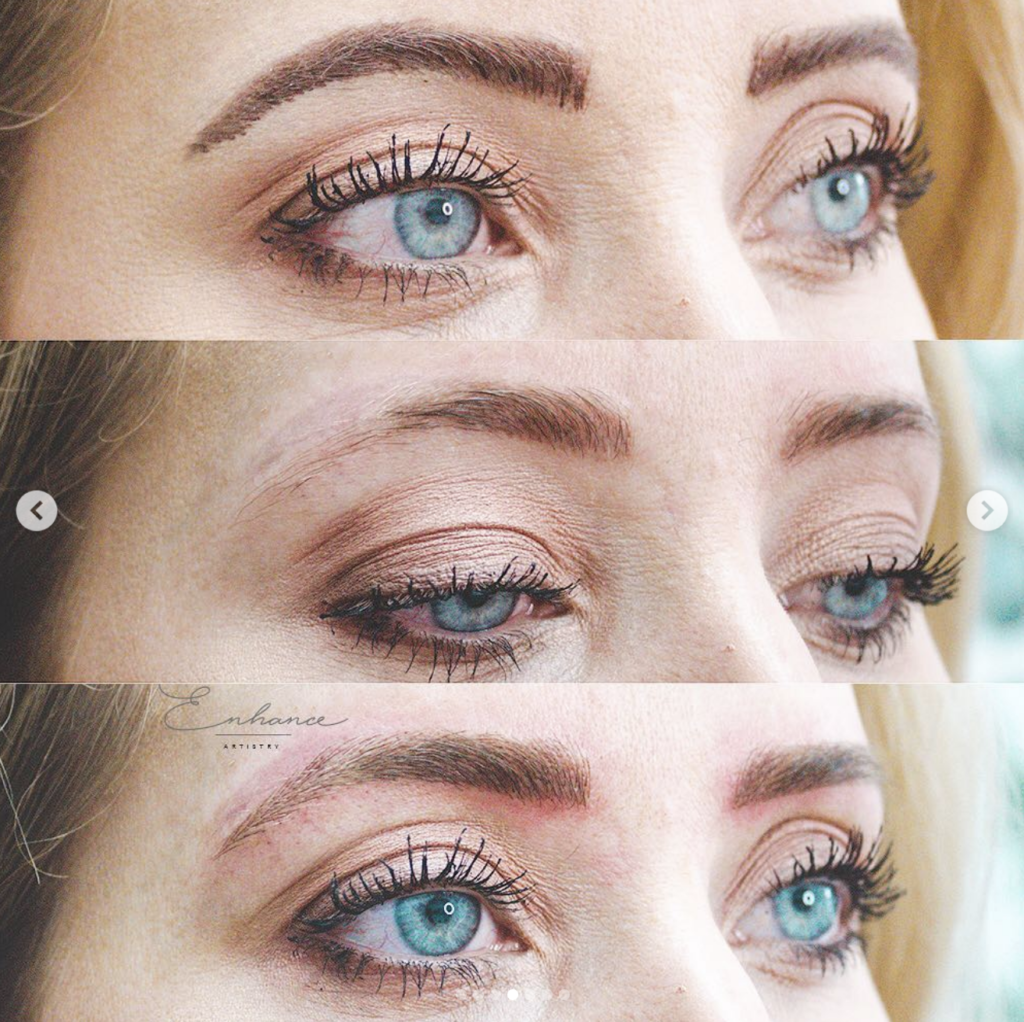
The before and after on the left side…
Can I just pop in what my first before/after experience looked like with an artist who tried to change my shape??? I AM DEAD! If you’re curious you can read How Microblading Changed My Eyebrows And Why I’m Removing It
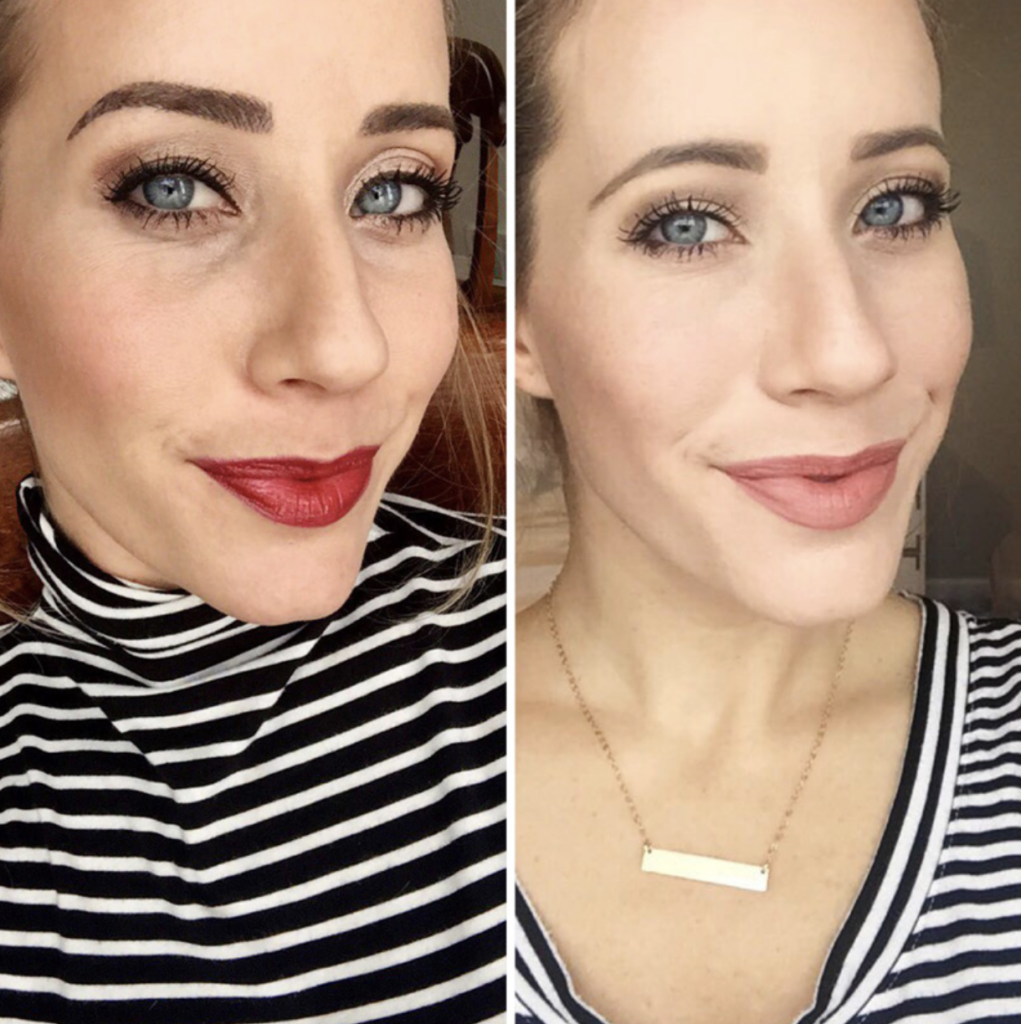
The before and after on the right side…
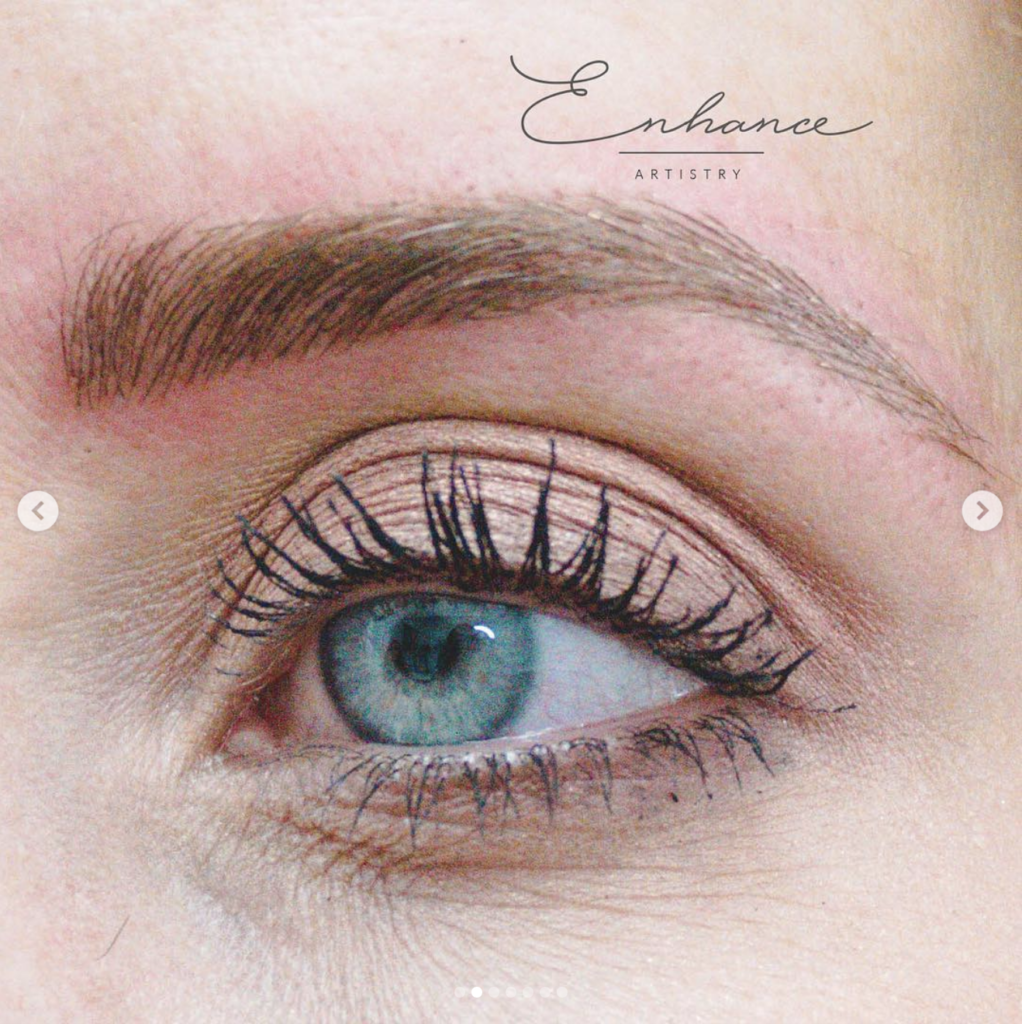
A close up! Do you see those incredibly fine strokes? Trust me, not all artists can do this.
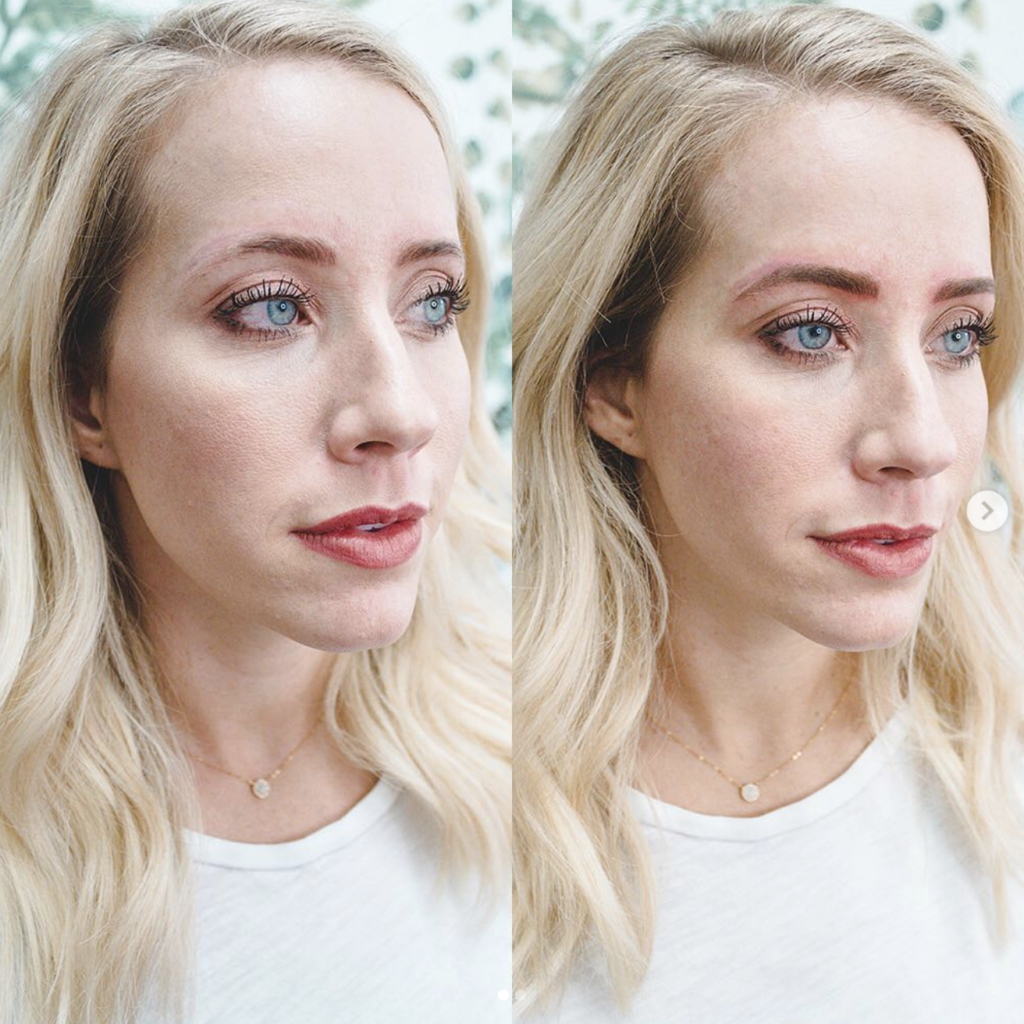
A straight on of the before and afters! GAHHH THEY LOOK SO GOOD!!!!!
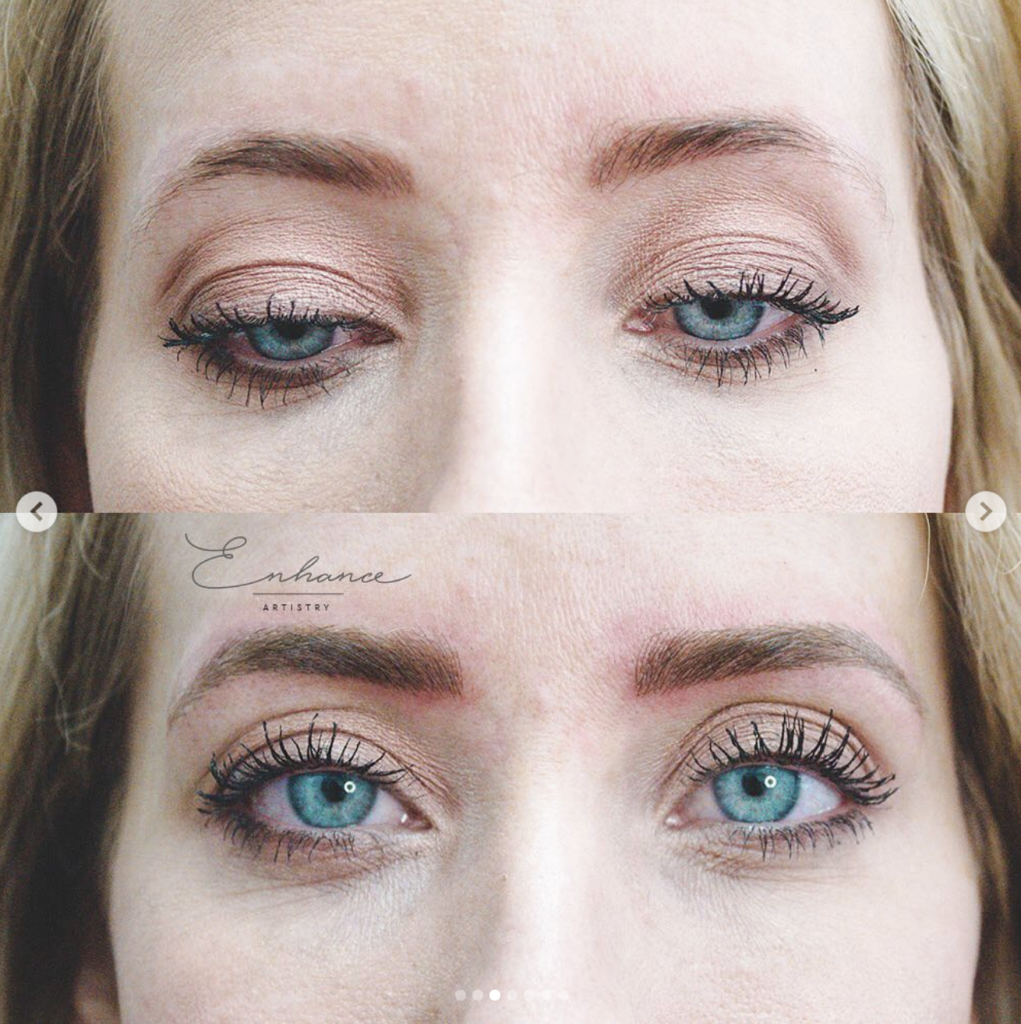
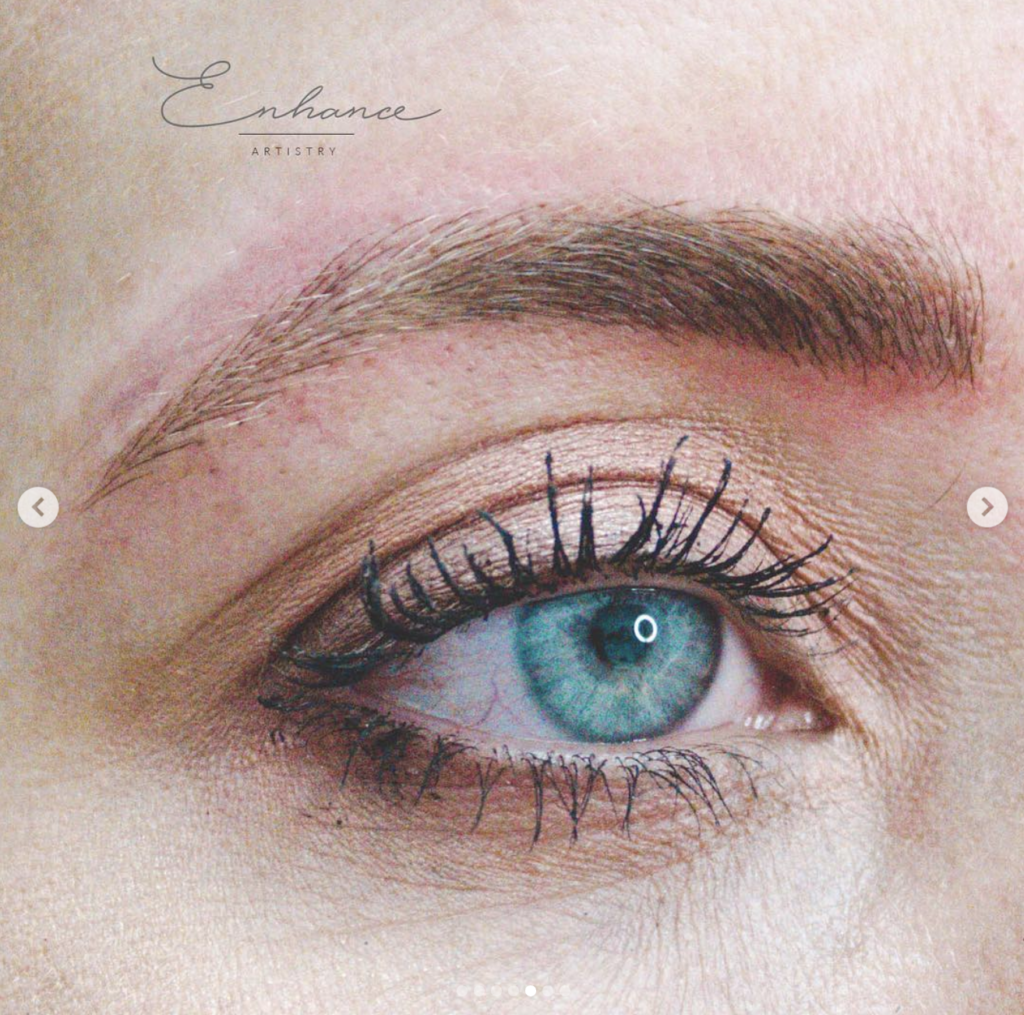
WHAT DO YOU THINK?!!! Do you love them?! So natural. You can still see the old pigment on that right side and it bugs me a little but I’m just grateful I was able to get it that light! A little bit of concealer and you hardly notice it + I’m hopeful it’ll continue to lighten.
I chose to do just the strokes — no powder fill — because I’m fine with filling in my brows when I’m wanting a bolder look. I just want to look alive right when I wake up and when we go swimming and I believe strokes by themselves give me that natural and fresh look.

I’d love to know what you think in the comments. Have you ever considered microblading? I’ll leave a list of my posts below in case you’re looking into it and hopefully, it helps those of you who are considering it make an educated decision on it’s it right for you!
VIDEO
How Microblading Changed My Eyebrows And Why I’m Removing It
Three Ways To Remove Microblading
Ten Things You Should Know Before You Start Microblading
and my original post – The Truth About Microblading


They turned out amazing!! I love the more natural look, it suits your face perfectly, so sad that someone wanted to change them so drastically!!!