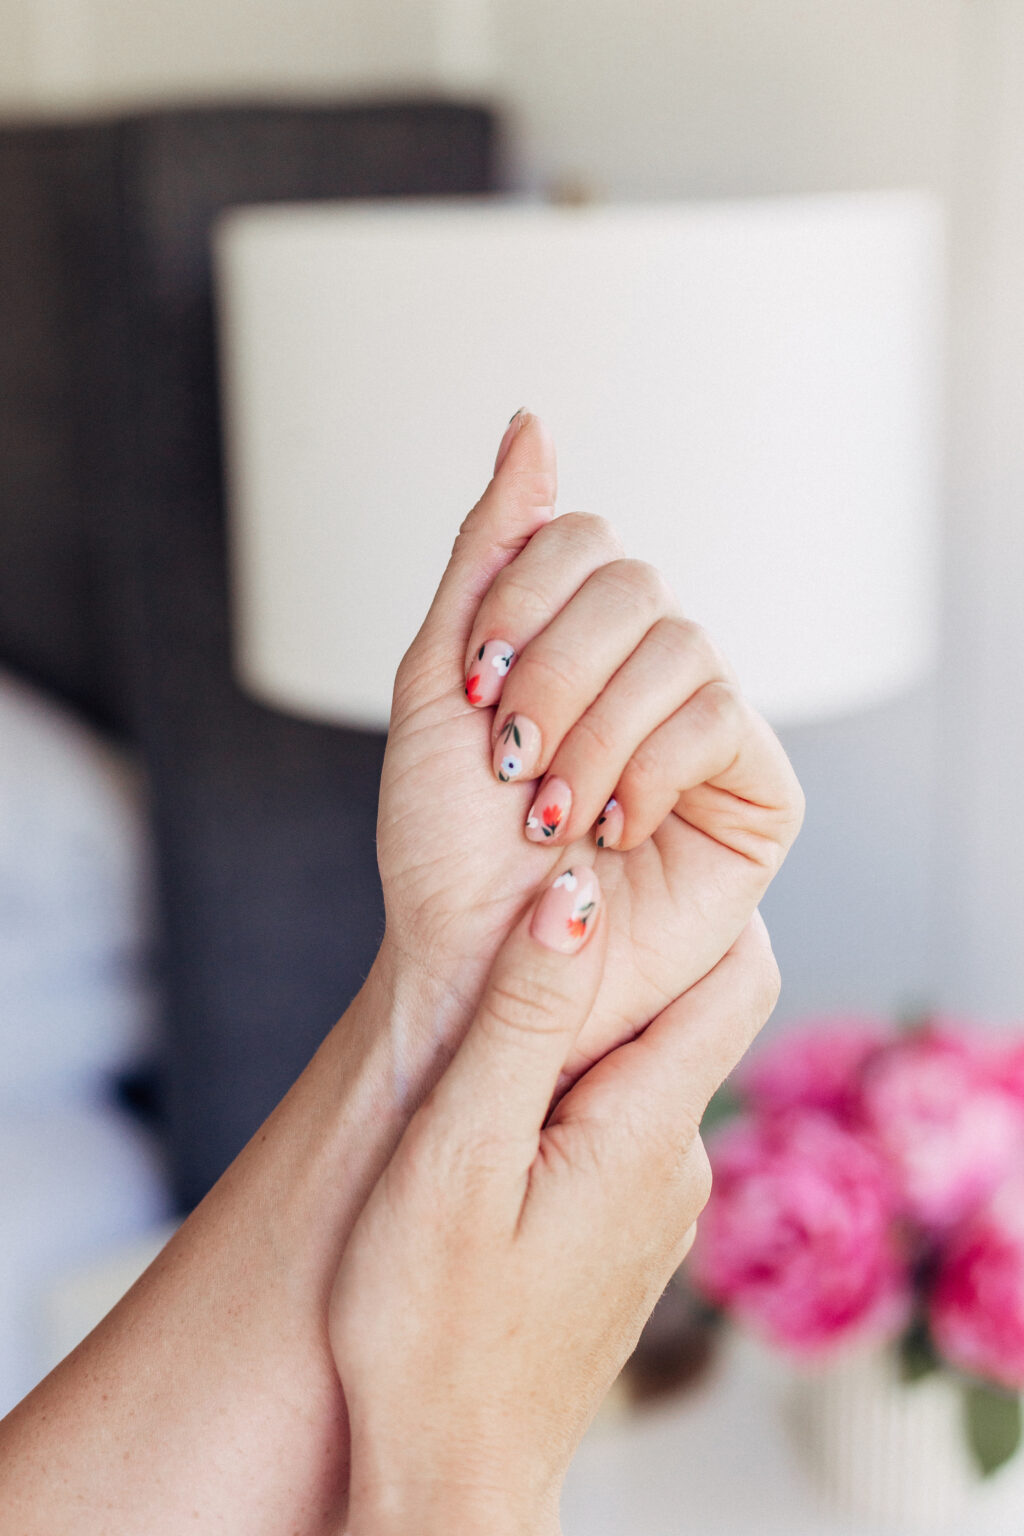
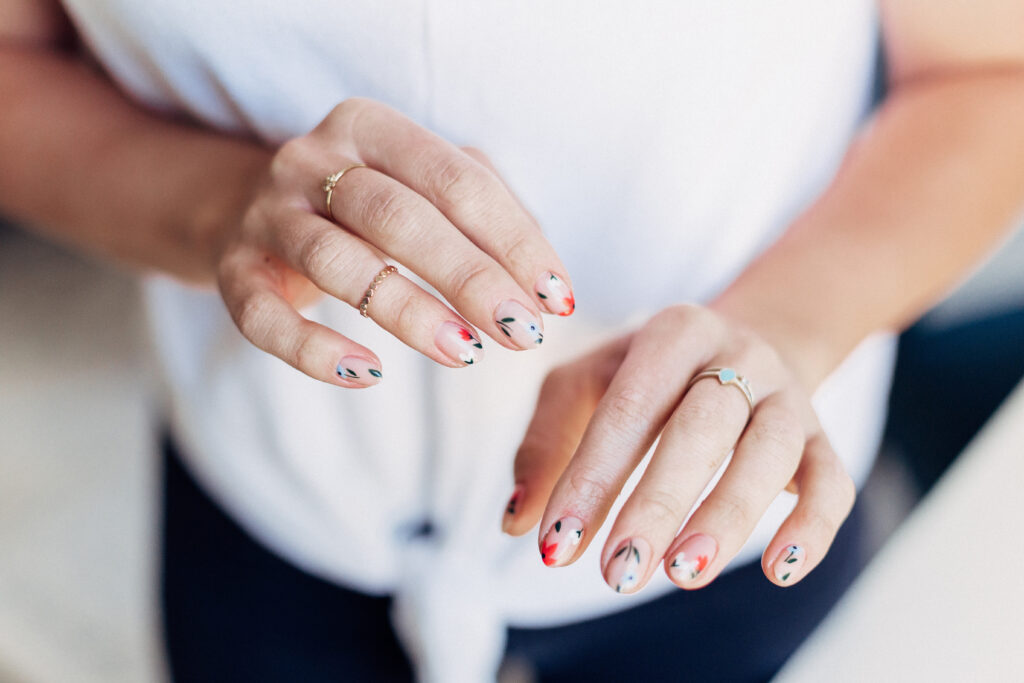
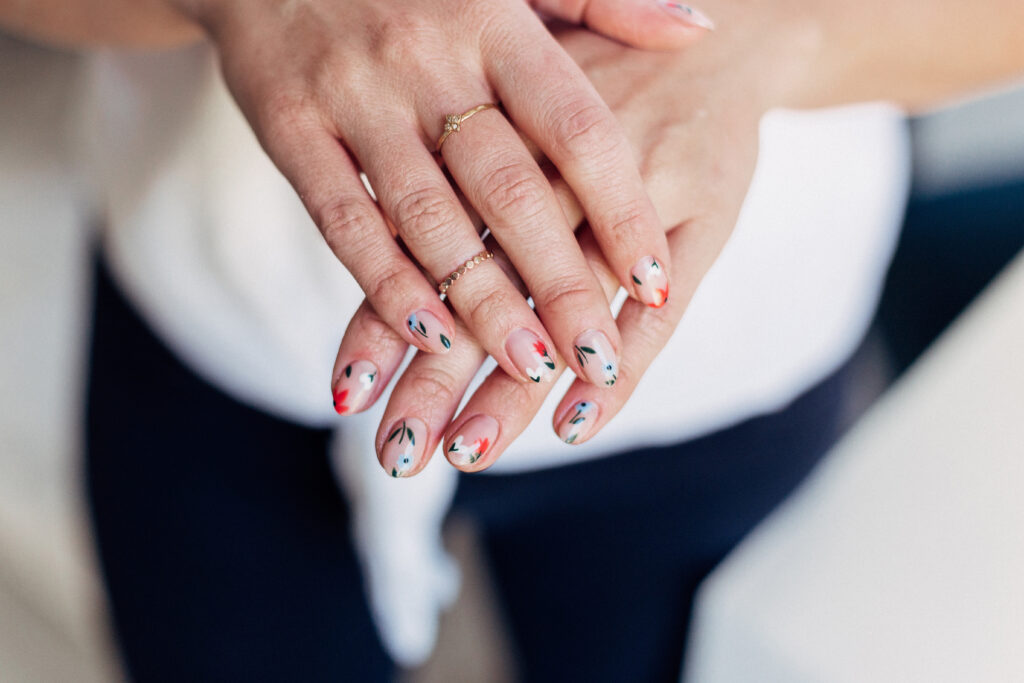
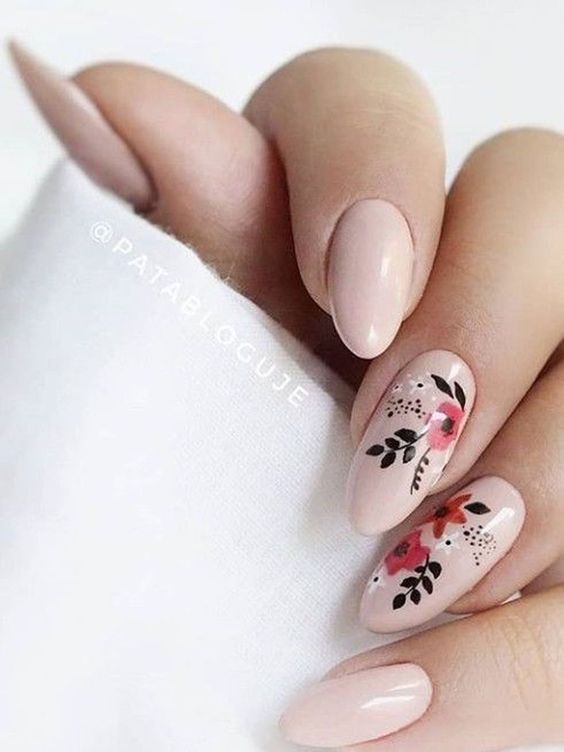
Welcome back babes! Today I wanted to share a FLORAL Gel Nail DIY tutorial because life is busy and crazy and sometimes you don’t have time to get in to your nail gal, am I right? If you have been following along on Instagram you know I have been immersing myself in my kiddos and taking time to just breath. But even in these moments it’s important to do kind things for yourself.
I wanted to share this tutorial so you can do your own floral gel nails at home, not because nails will make everything better, but taking a little time, and doing something for yourself can also help lift your spirits.
Floral Gel Nails
I absolutely love gel nails because they last so long and don’t chip. It’s worth taking 10 minutes longer on your manicure to have it last for several weeks, right? That is a productivity tip for busy moms if I have ever heard one. 😉
Let’s Get Started!
My girl Kaiti absolutely nails (pun not intended :)) anything I dream up. She is so dang talented- if you can get into her I highly recommend it! Just don’t steal my spot. 😉
Follow Kaiti on Instagram for more inspiration!
Floral Gel Nail DIY Tutorial Steps
- CLEAN NAILS. Wash your hands and scrub your nails. You want to start out with a clean set of nails.
- PREPARE NAIL. Gently push cuticles back. Use 180 grit file to roughen surface of nail.
- CLEAN NAIL. Use a paper towel soaked with 90% alcohol (or a lint-free cloth) to remove the tacky residue coat.
- FOUNDATION COAT. Apply a VERY thin coat of foundation gel. Make sure this is not too thick since that can lead to the polish peeling. You also want to make sure the polish does not get on your skin as it will cause peeling again.
- LED LAMP. Every lamp is different so the approximate time is to cure for 2 minutes.
- COLOR/POLISH. Apply your 1st coat of color. Again make it very thin.
- LED LAMP. Cure for appropriate time for your lamp.
- APPLY COLOR. Repeat applying polish color until you get your desired results. Darker polishes you will probably need 3 coats. Light colors will probably need more.
- LED LAMP. Cure for appropriate time for your lamp.
- APPLY COLOR. Apply polish color until you get your desired results.
- LED LAMP. Cure for time appropriate to your lamp.
- TOP COAT. Apply a VERY thin top coat. Make sure that you keep ALL polish away from the edge and cuticle. Again, make sure this top coat is VERY thin. You do not want the top coat coming down over the edges of your nail because it will make it peel off later on.
- LED LAMP. Cure for time appropriate to your lamp.
- REMOVE TACKY COAT. Use a paper towel soaked with 90% alcohol or a lint-free cloth to remove the tacky residue coat.
Annnnnd done! That is all you need to for a gorgeous floral manicure- the best thing? These flowers deliver gorgeous blooms all year- even during the cold, snowy months. I’ve added some more ideas on styles you can do no matter the season.
*TIP: You can change these floral buds to correspond with the season as well.
Falling For Florals….
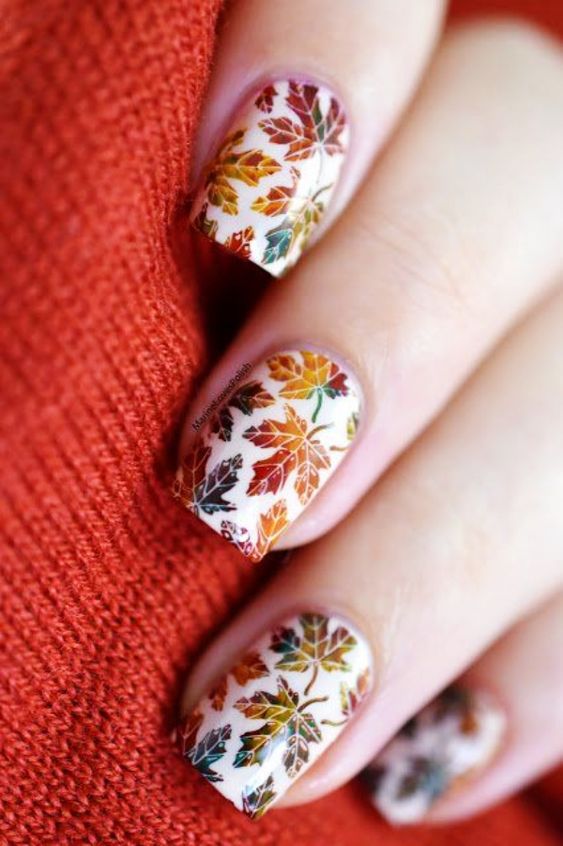
Source: Buzz16
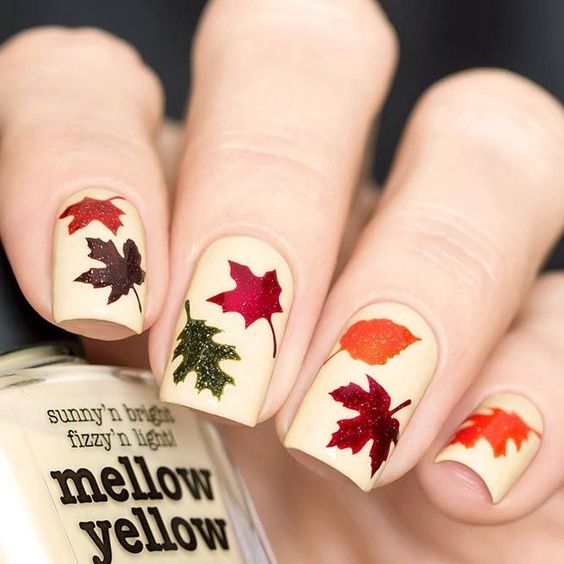
Winter Floral Gel Nails
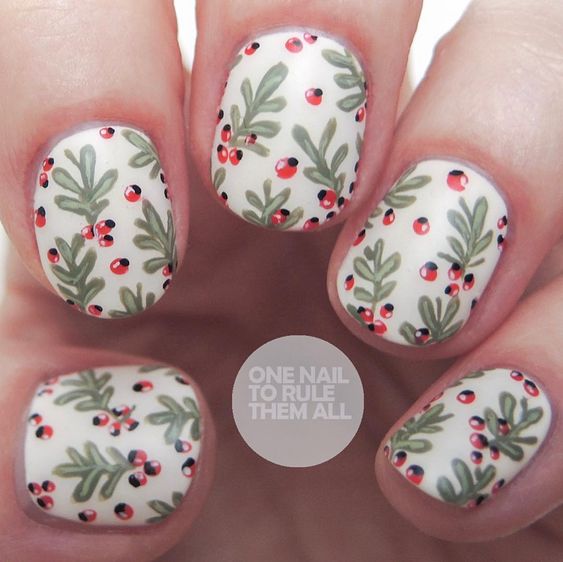
Source: One Nail To Rule Them All
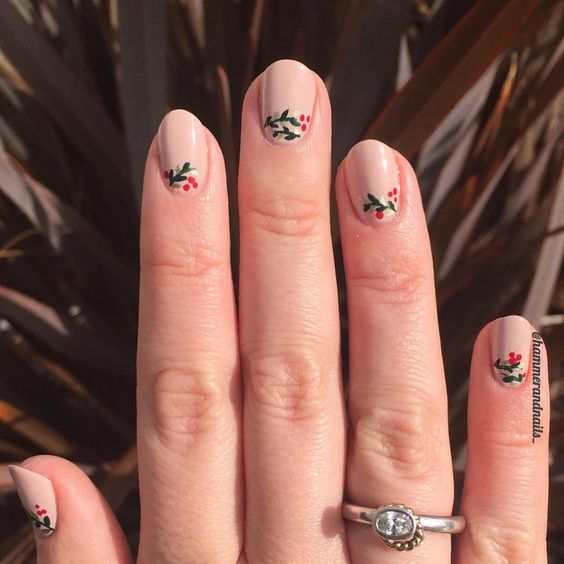
Spring Showers Bring… Gel Nails
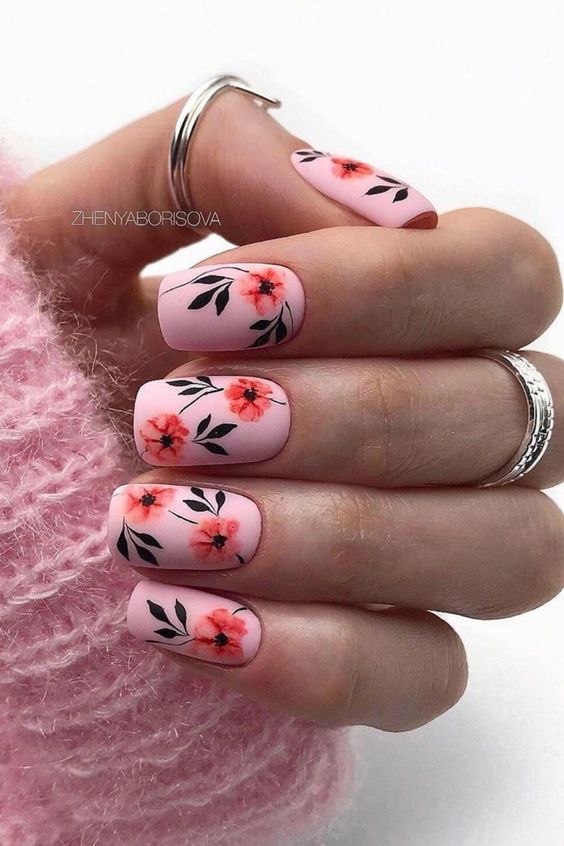
Are You Ready to Try Your Own DIY Gel Nails?
What do you think of the floral gel nails? Are you ready to try your own? Which season is your favorite and what other floral ideas do you have? I would love to hear ALL of your ideas- just jump over to Instagram and let me know!
Abby


