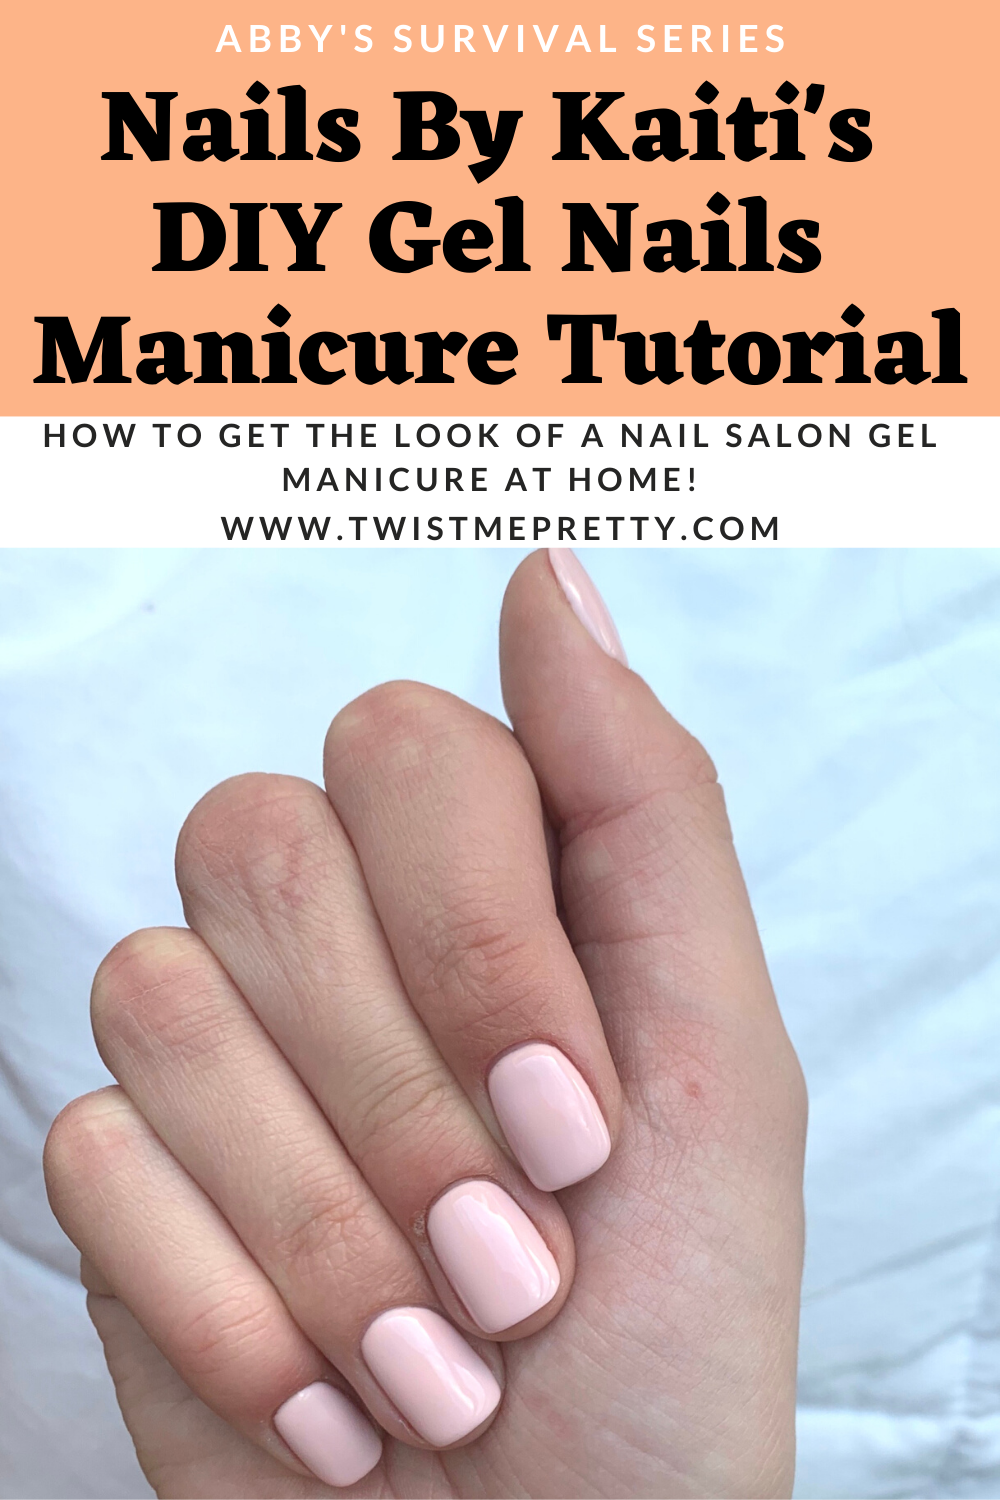
I’m so excited that Kaiti is here today with a tutorial for diy gel nails at home for us! If you aren’t following her on Instagram @nailsbykaiti, you are missing out on some serious nail inspiration! Since none of us can get pampered at the nail salon right now, we need to pamper ourselves. Here’s Kaiti with everything you need to know to get an amazing gel nail manicure at home!
Hey babes! With everyone on lockdown and unable to go to the nail salon, I figured I’d give you all a little tutorial on how to do your own gel nails in quarantine! I did a quick video so you get the jist of it, but let’s break it down a little so you get the best, long lasting manicure you can. Shall we?
Getting started with your DIY gel nails:
First off, we want to start off with CLEAN, DEHYDRATED nails. I can’t stress this enough! One of the biggest issues when it comes to gel polish not lasting is natural oils on the nail plate, so wash those hands (for the hundredth time today 😉) and cleanse your nails with 100% pure acetone.
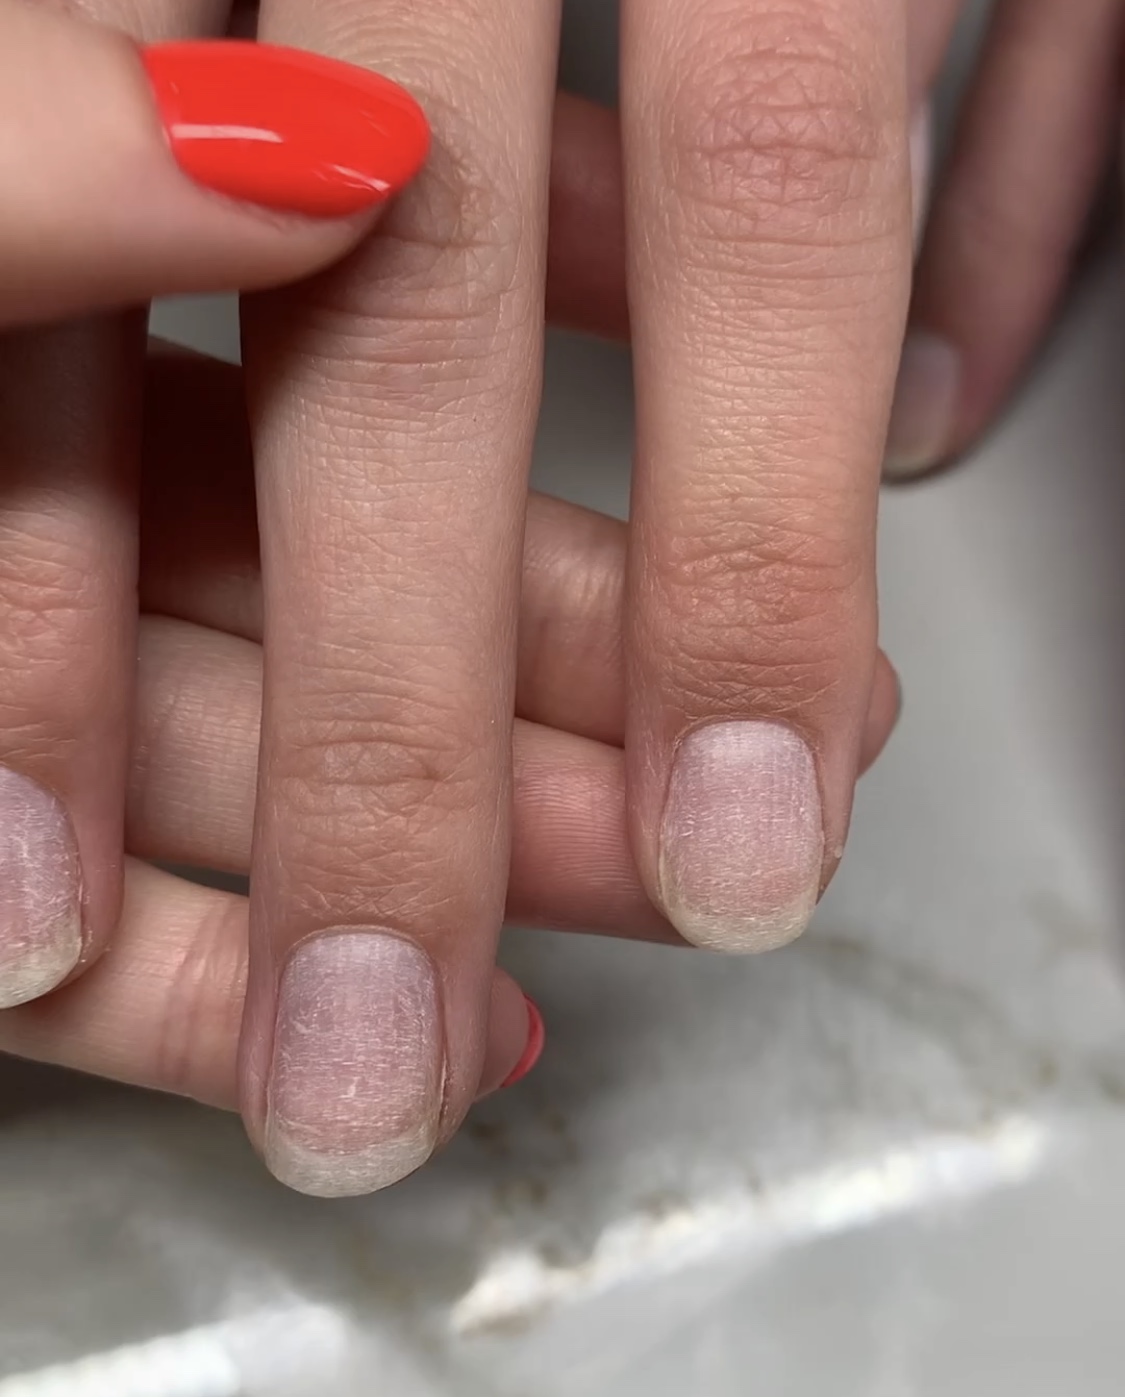
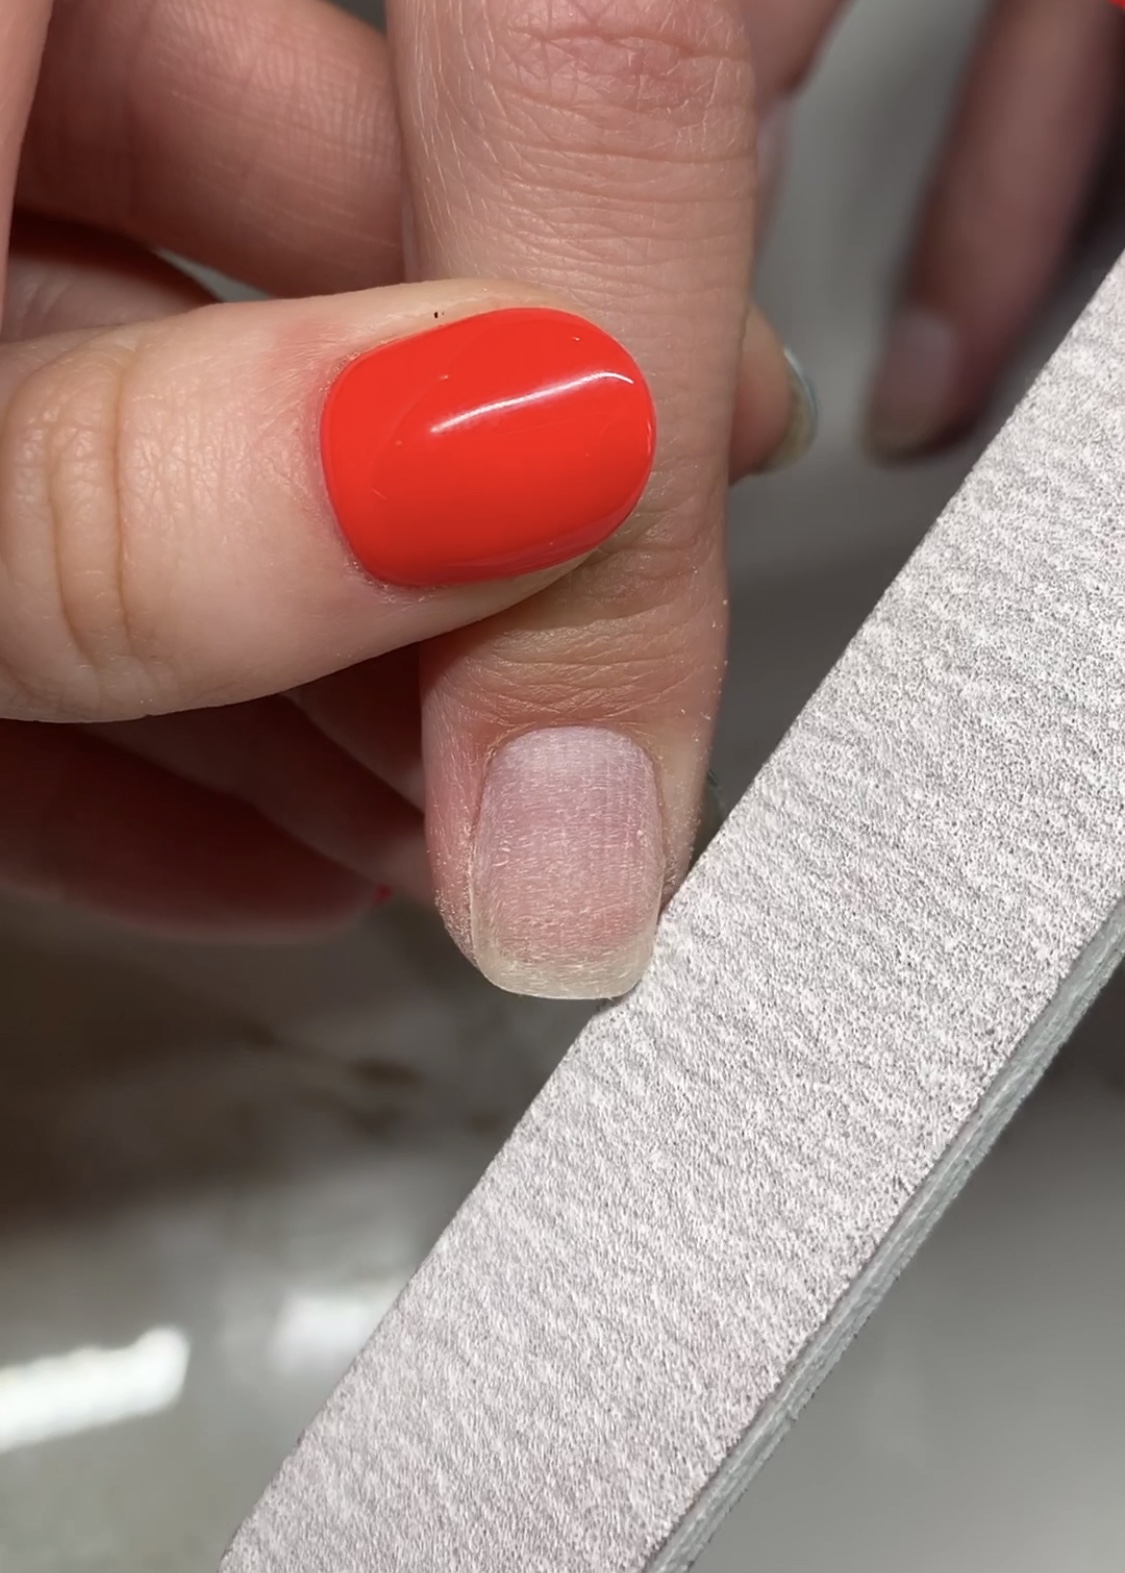
For this set we shaped the nails to a soft square. You’ll want to use a nail file that has 180 GRIT. This is going to be soft enough to file the free edge of your nail without roughing it up too much, but it also has enough grit to where you can use it to gently buff (or etch) the top of your nail plate so the gel polish will properly adhere. Make sure you do gently file over the whole nail so the polish sticks! It should look white and chalky.
One of the common misconceptions is that you should use a soft buffer to smooth over the nail plate, but if your nail is too smooth the gel will peel right off. Using the right grit and a nail file prolongs the longevity of your mani by a long shot!
Prepping your cuticles:
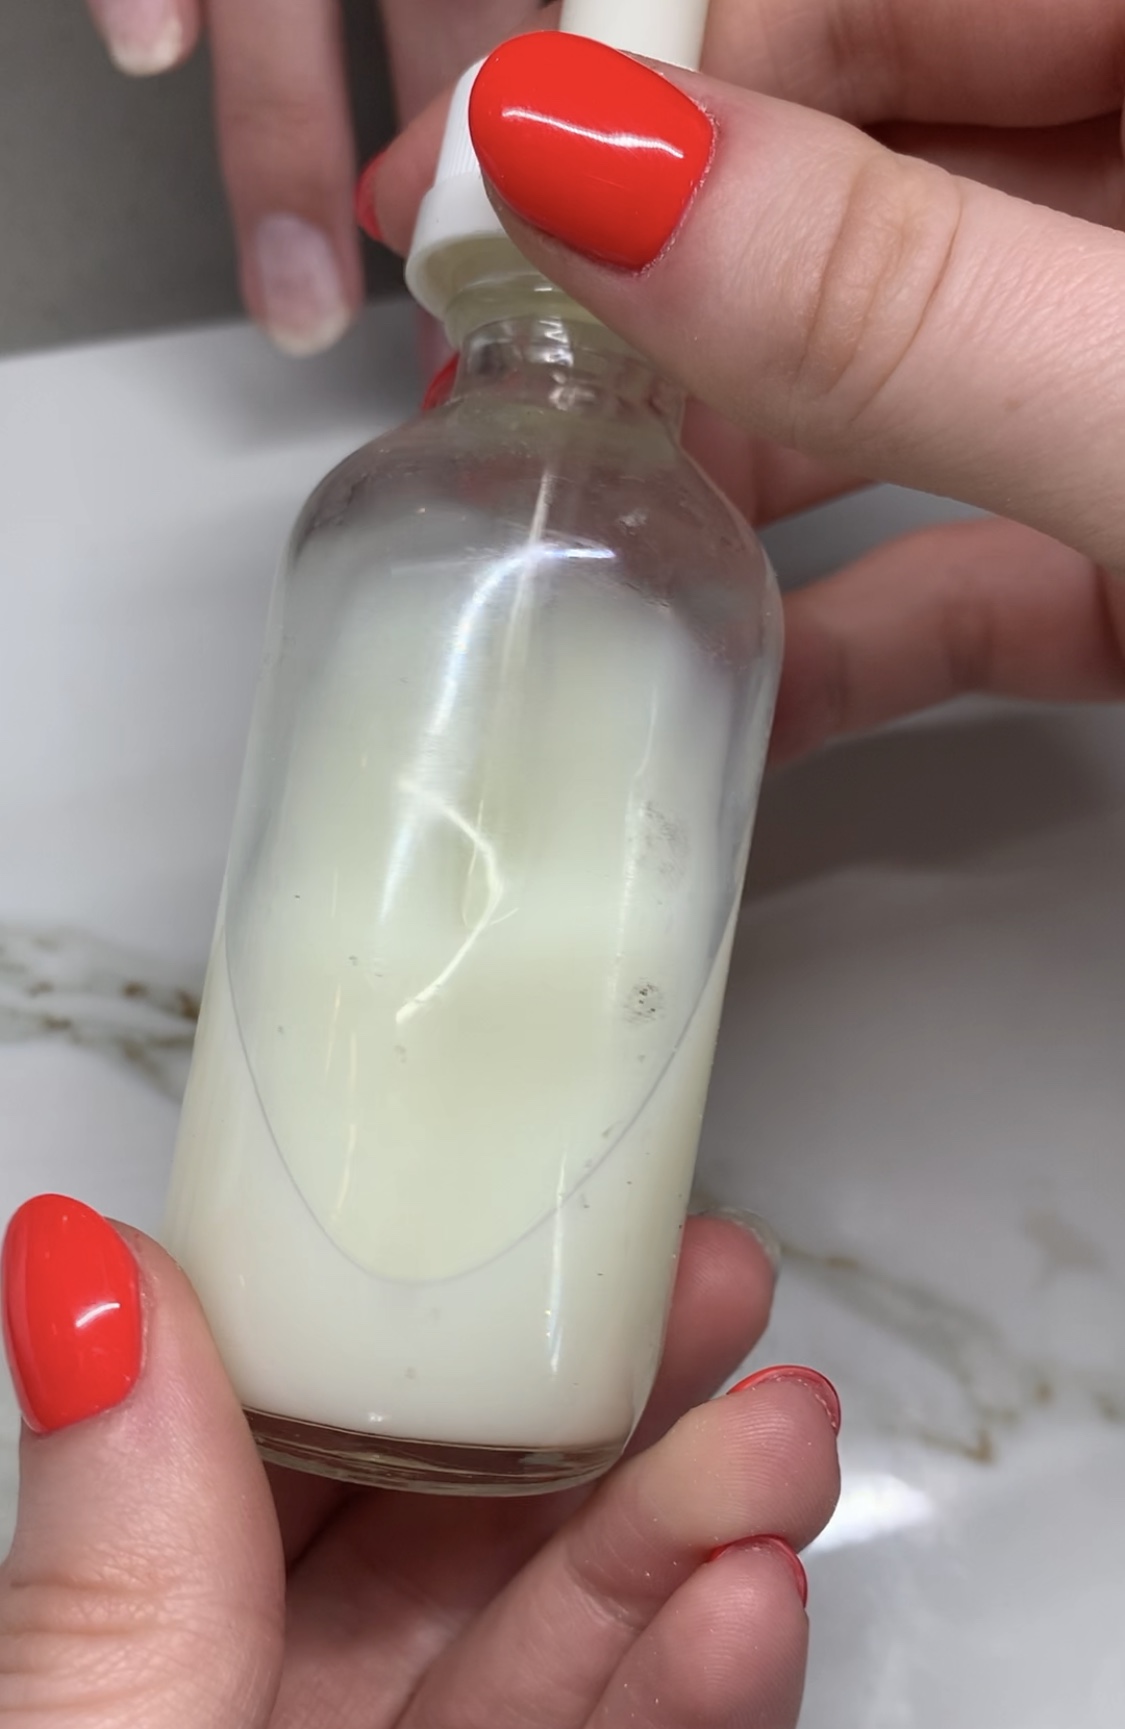
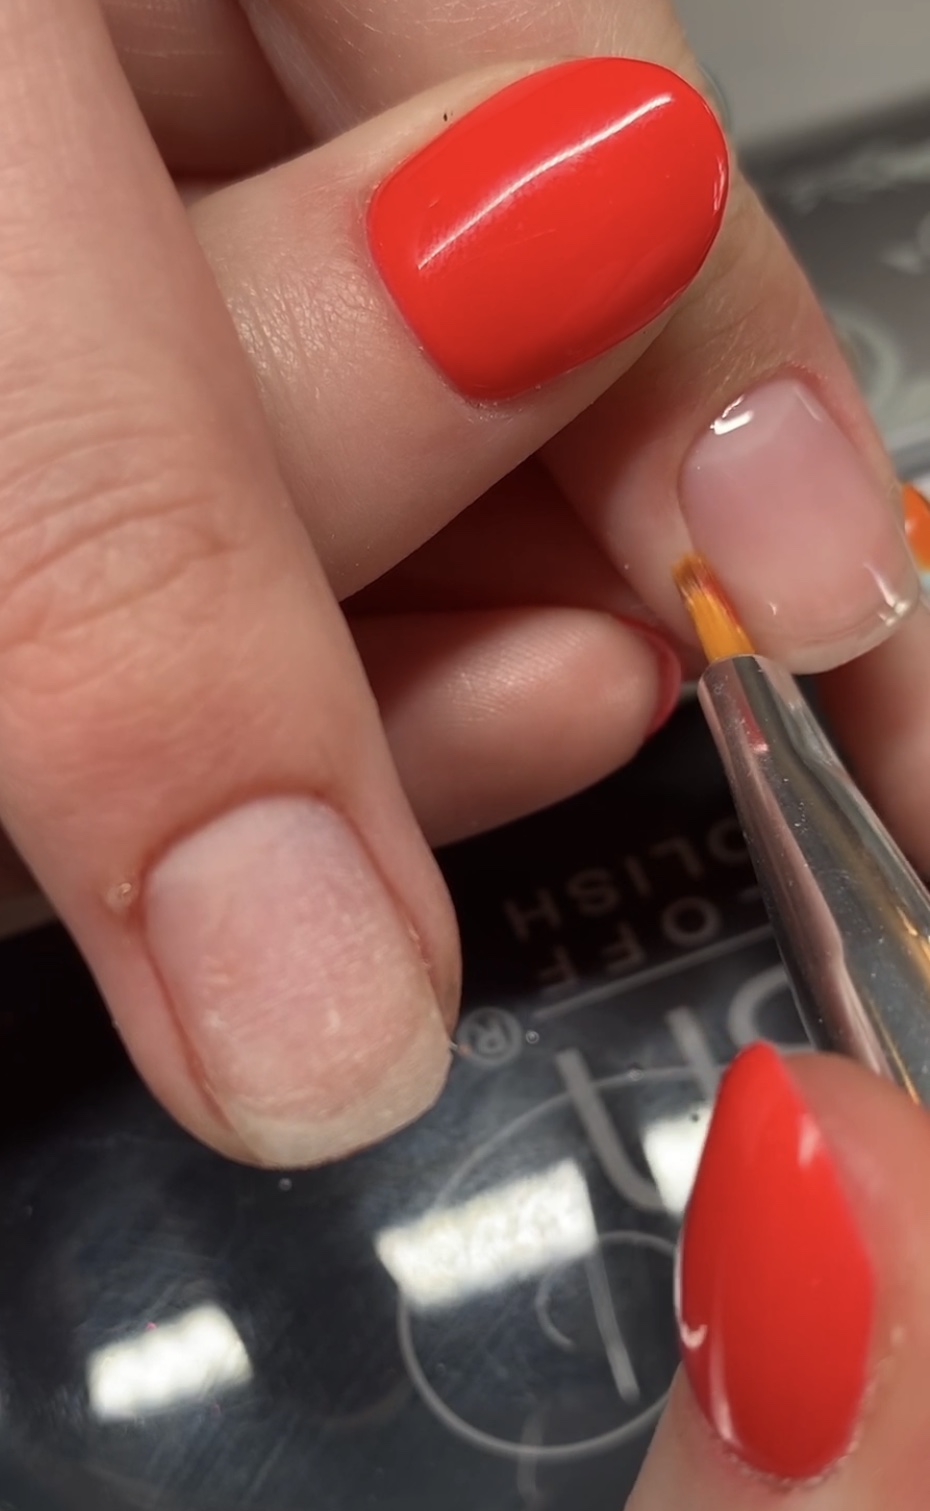
Next we’re going to use some cuticle softener to remove all the dead skin off the nail plate. I get a big bottle of cuticle softener from Sally’s and pour it into an empty dropper bottle for ease of use. Just apply a couple drops to each nail near the cuticle and let it work it’s magic for 1-2 minutes

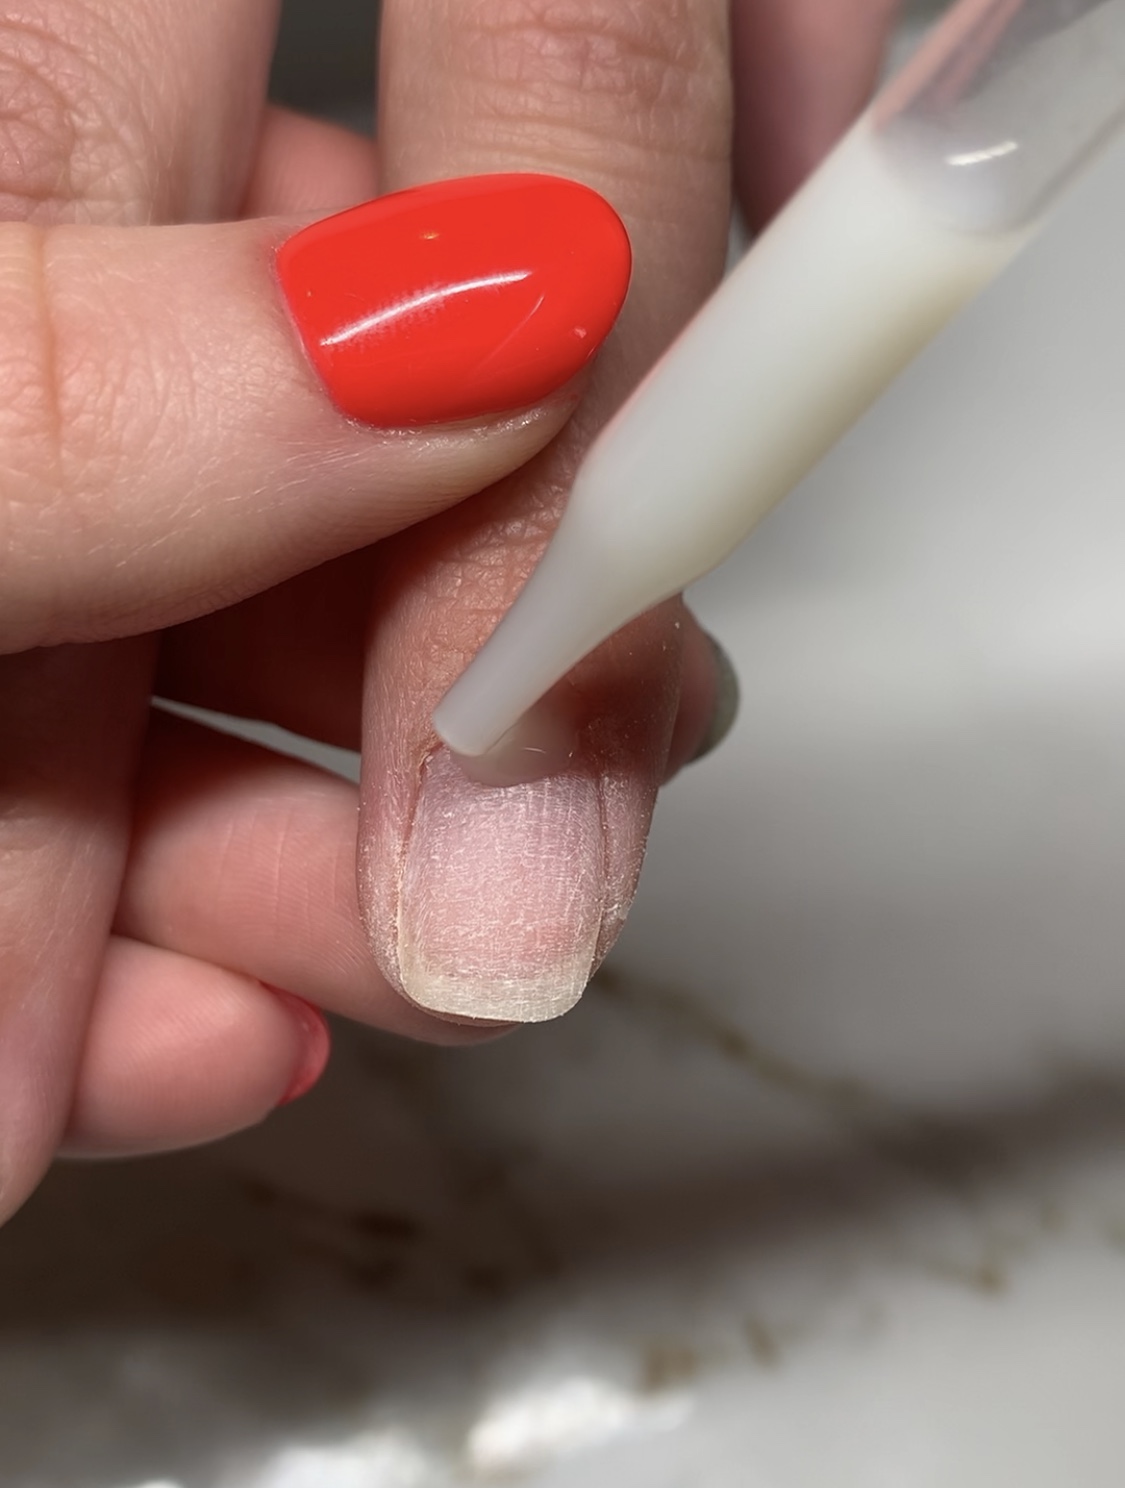
Once the cuticle softener has had time to soak in, wipe the excess liquid off and gently start scraping the dead skin off your nail plate while pushing back the cuticle. This is another EXTREMELY important part, if there’s any cuticle left on the nail before you paint it’ll lift the gel. The cleaner the nail plate, the longer lasting your mani will be, and the better your diy gel nails will look.
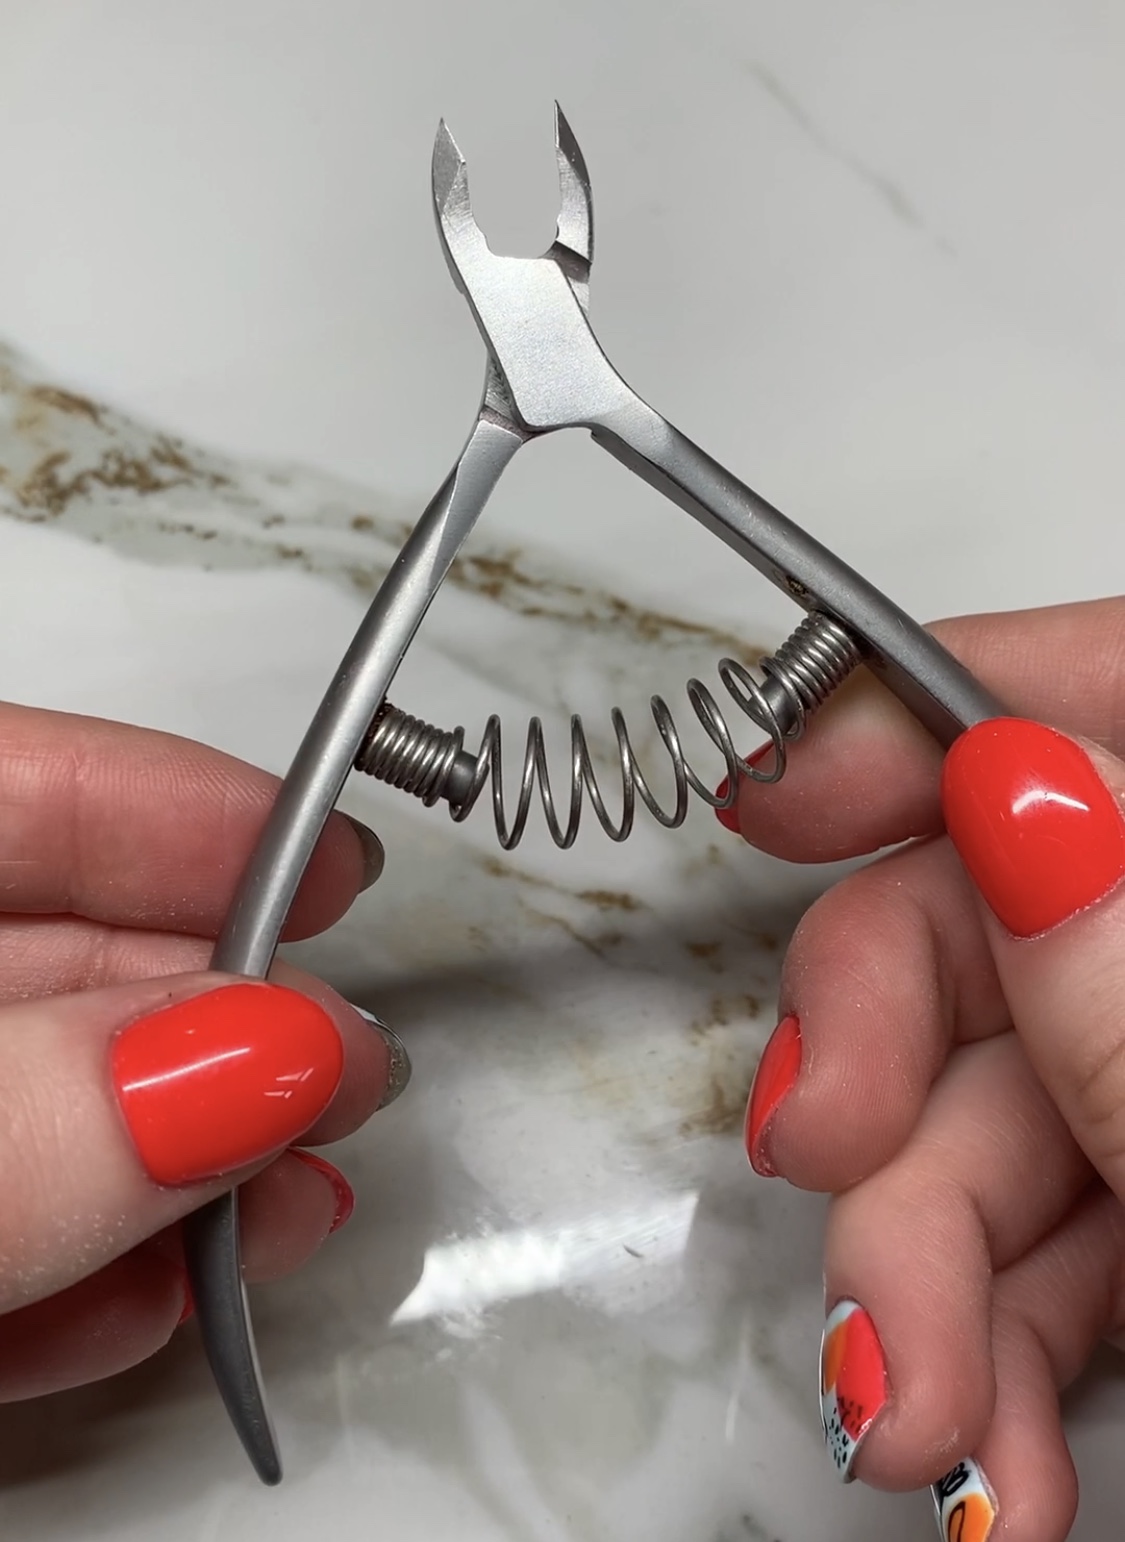
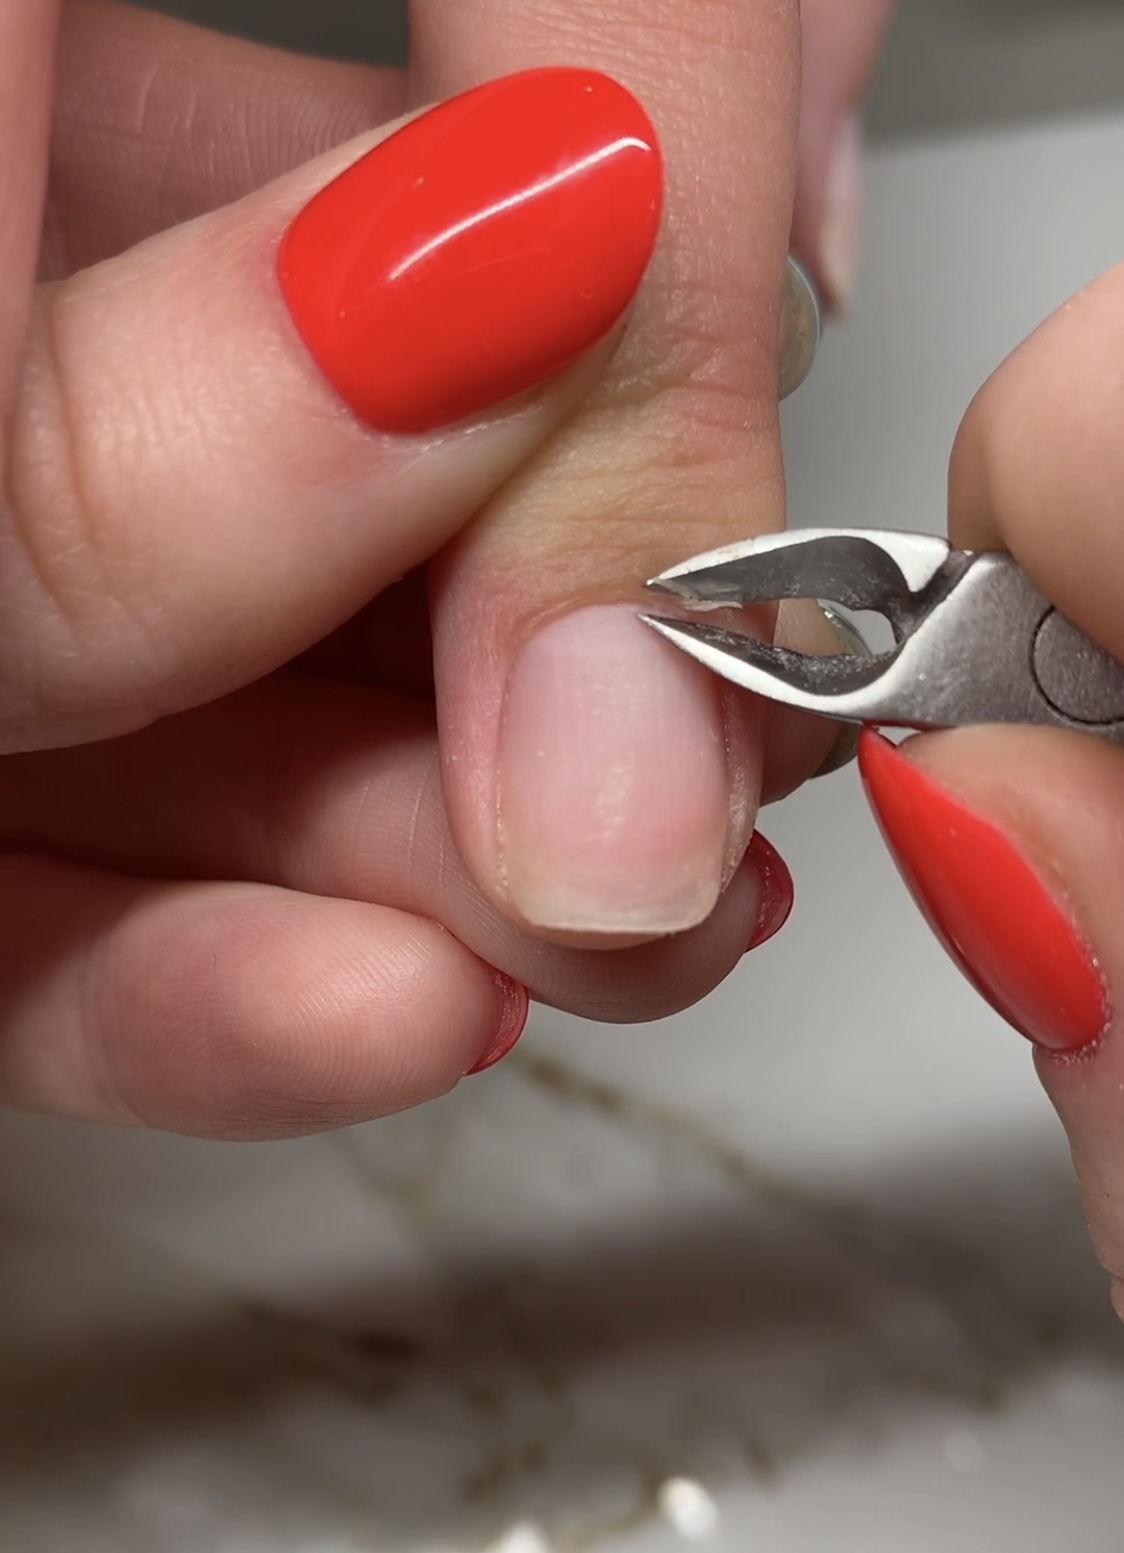
Now that all your cuticles are pushed back, use a pair of open jaw cuticle nippers to gently clip away the dead tissue portion of your cuticles. This is going to be whatever has turned white from the cuticle softener. Take your time and be careful not to nip any live skin!
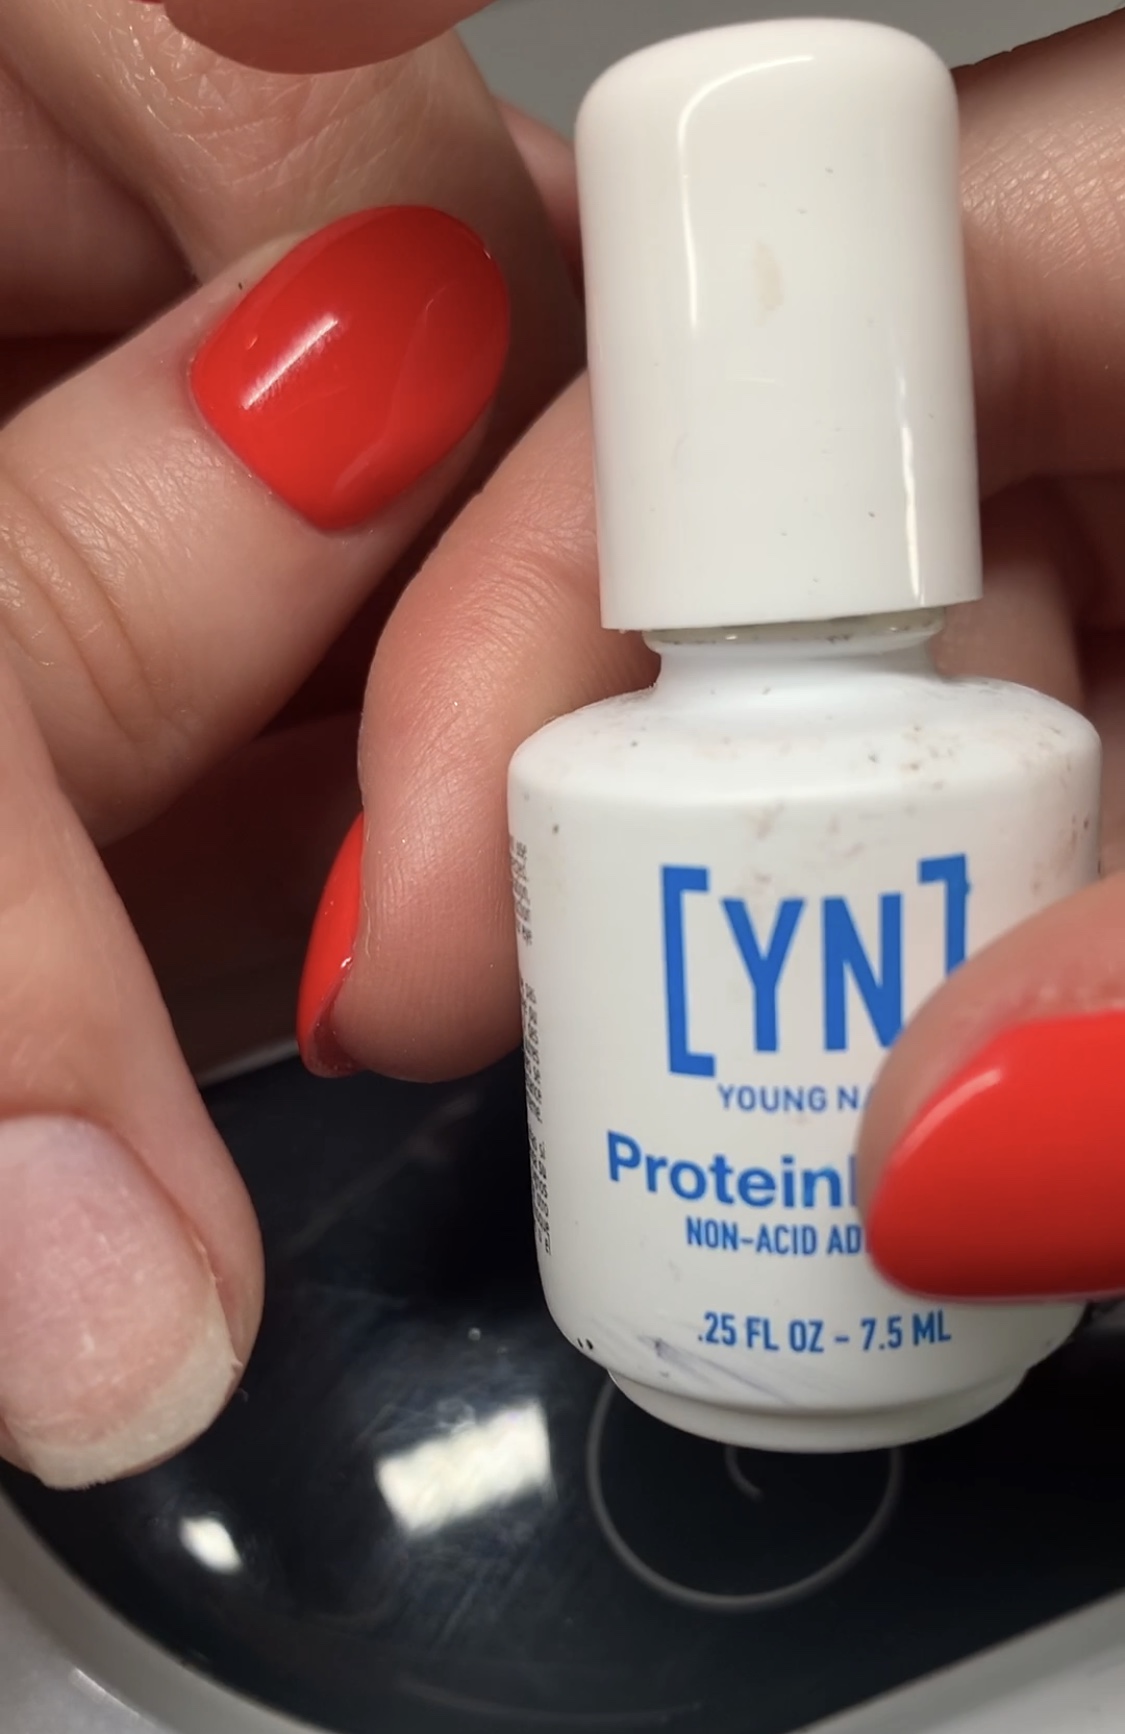
At this point your nails should be ready for the polish! Make sure to scrub them thoroughly with a scrub brush and 100% pure acetone. Once they’ve dried, apply 2 coats of a non-acid nail primer. The nails will be sticky after priming so make sure not to touch anything after this step until your nails are done!
The importance of a good base coat:
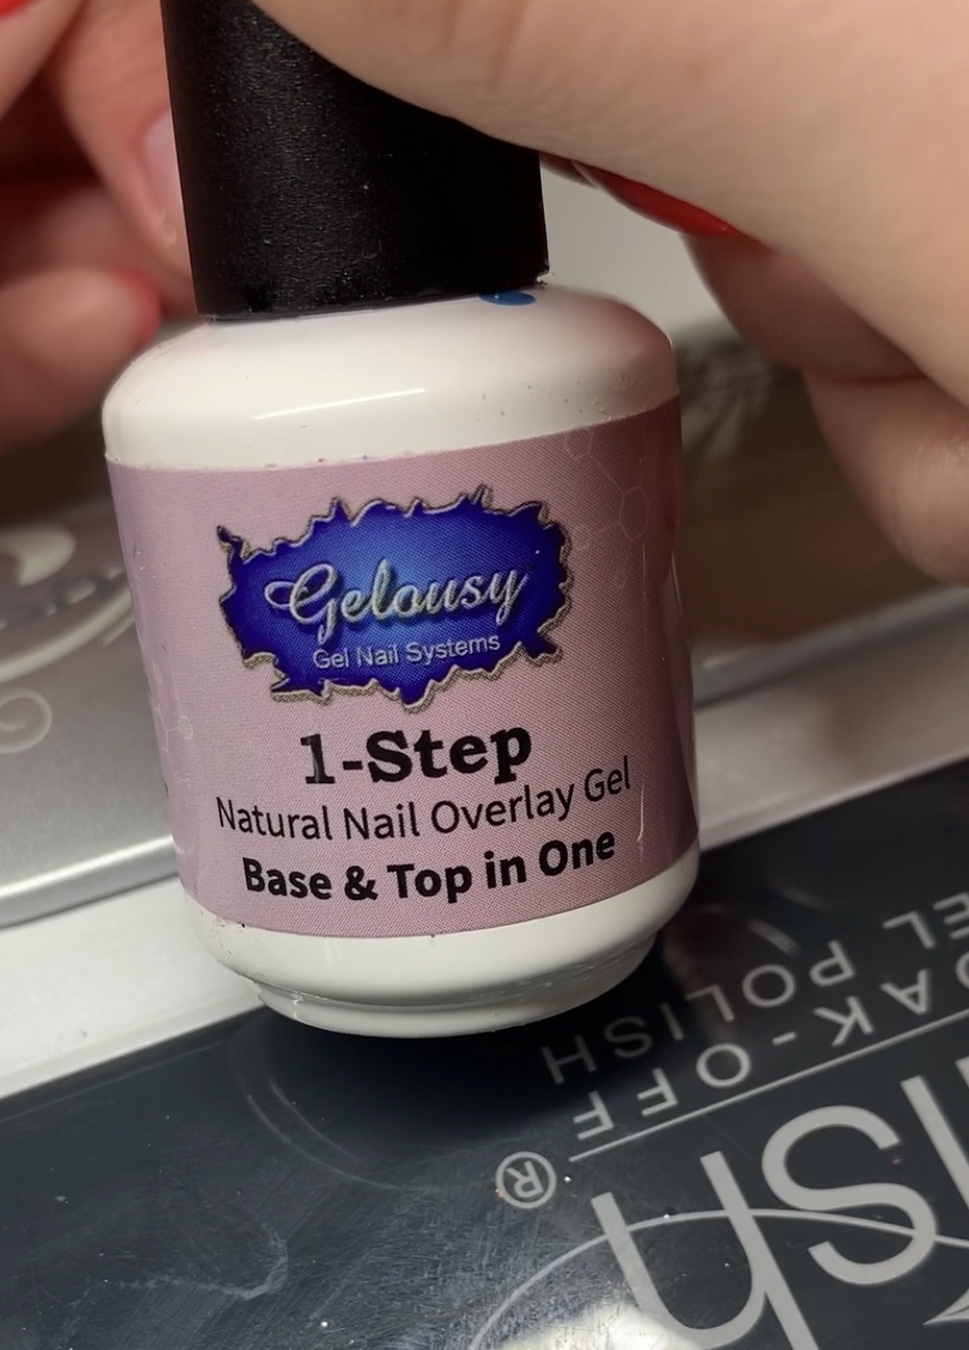
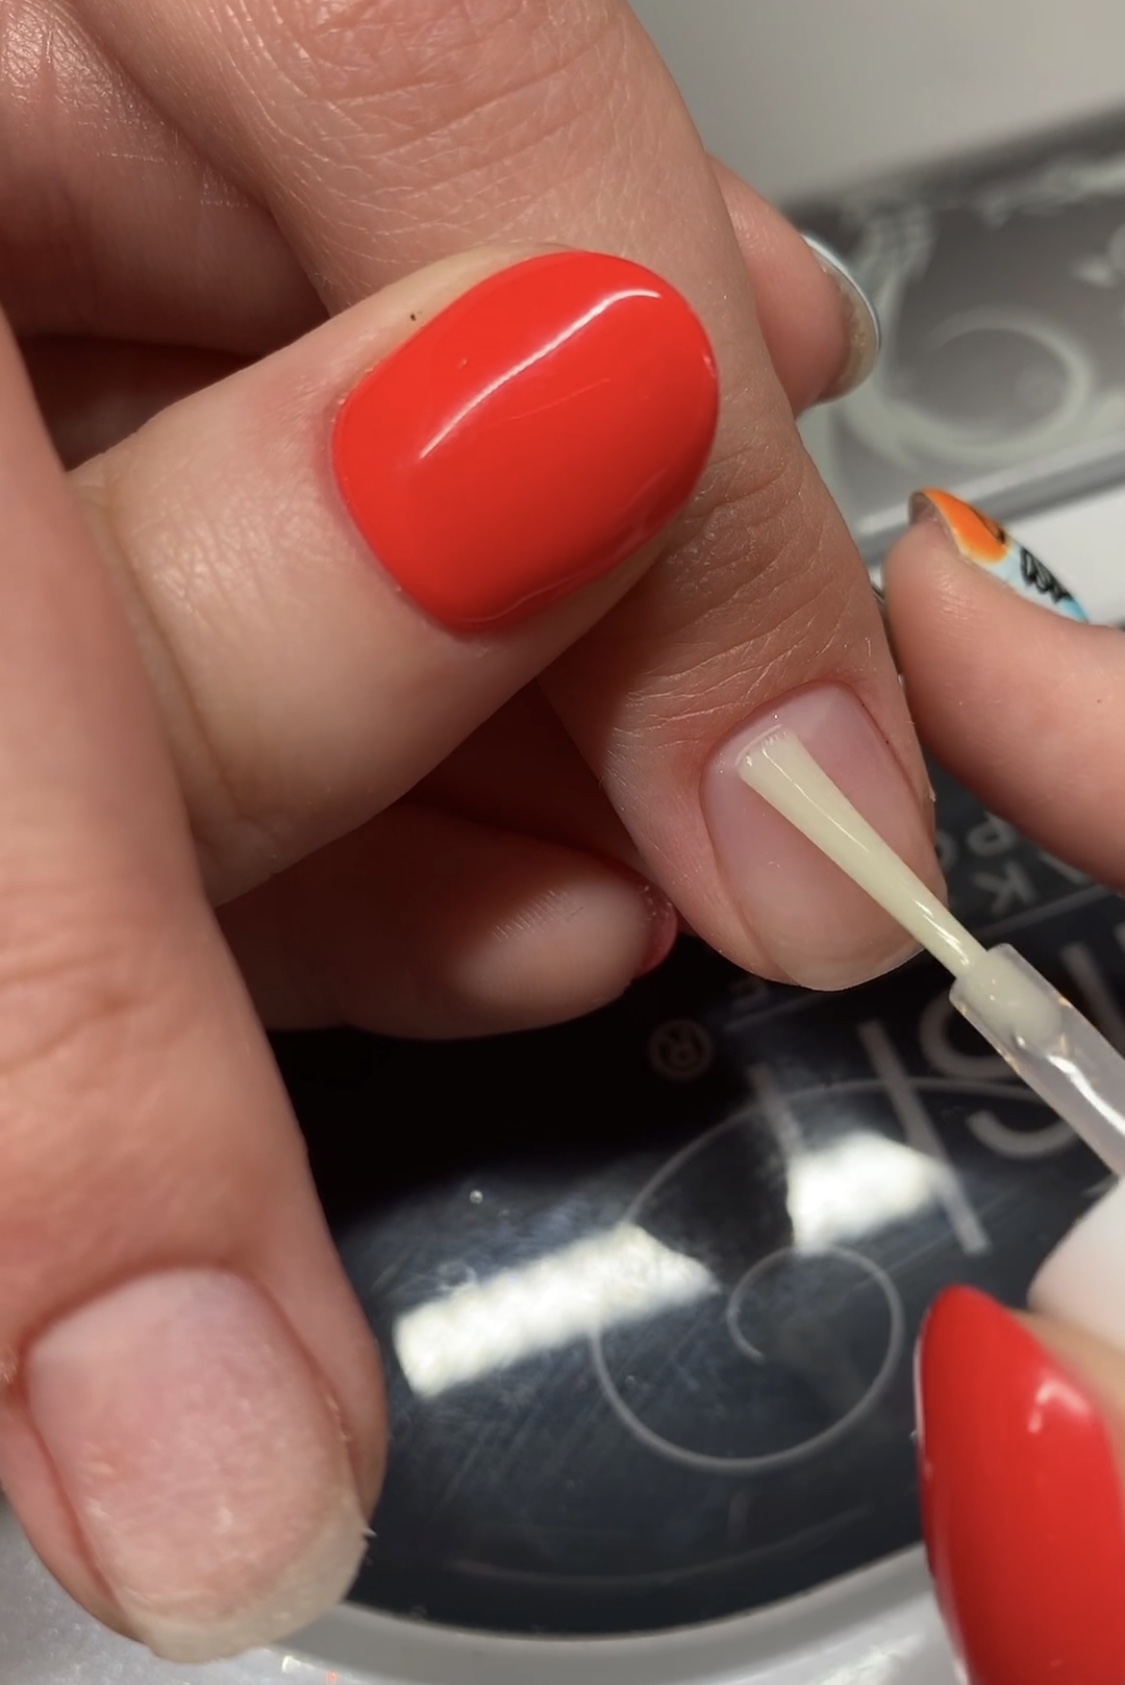
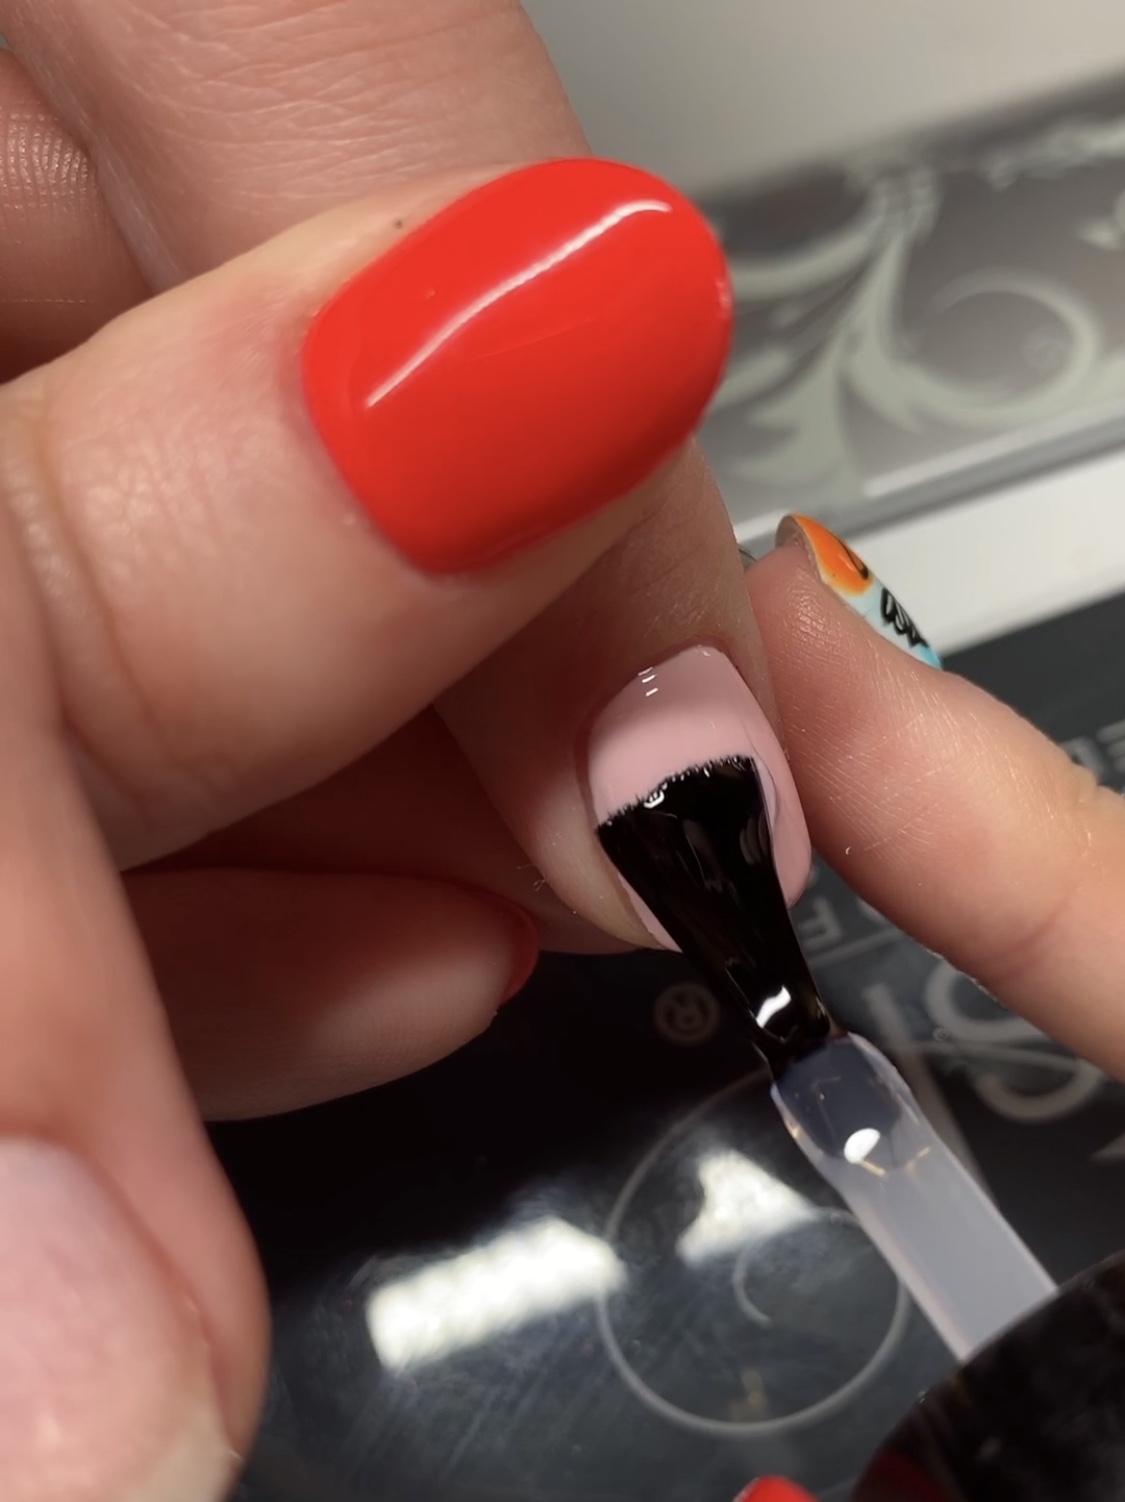
Another misconception with gel nails is if your base coat is too thick, it’ll peel. Not true! As long as you’ve prepped your nail correctly, a thicker base will actually add strength to the nail. This base coat is by far one of my favorites and the consistency is perfect for a thicker base. I apply it by starting with “scrubbing” a small amount into the nail plate, then floating a bead of the gel over the whole nail to add strength.
You can also clean up any mistakes by using a small gel nail brush! Cure the base coat in an LED gel lamp for 60 seconds.
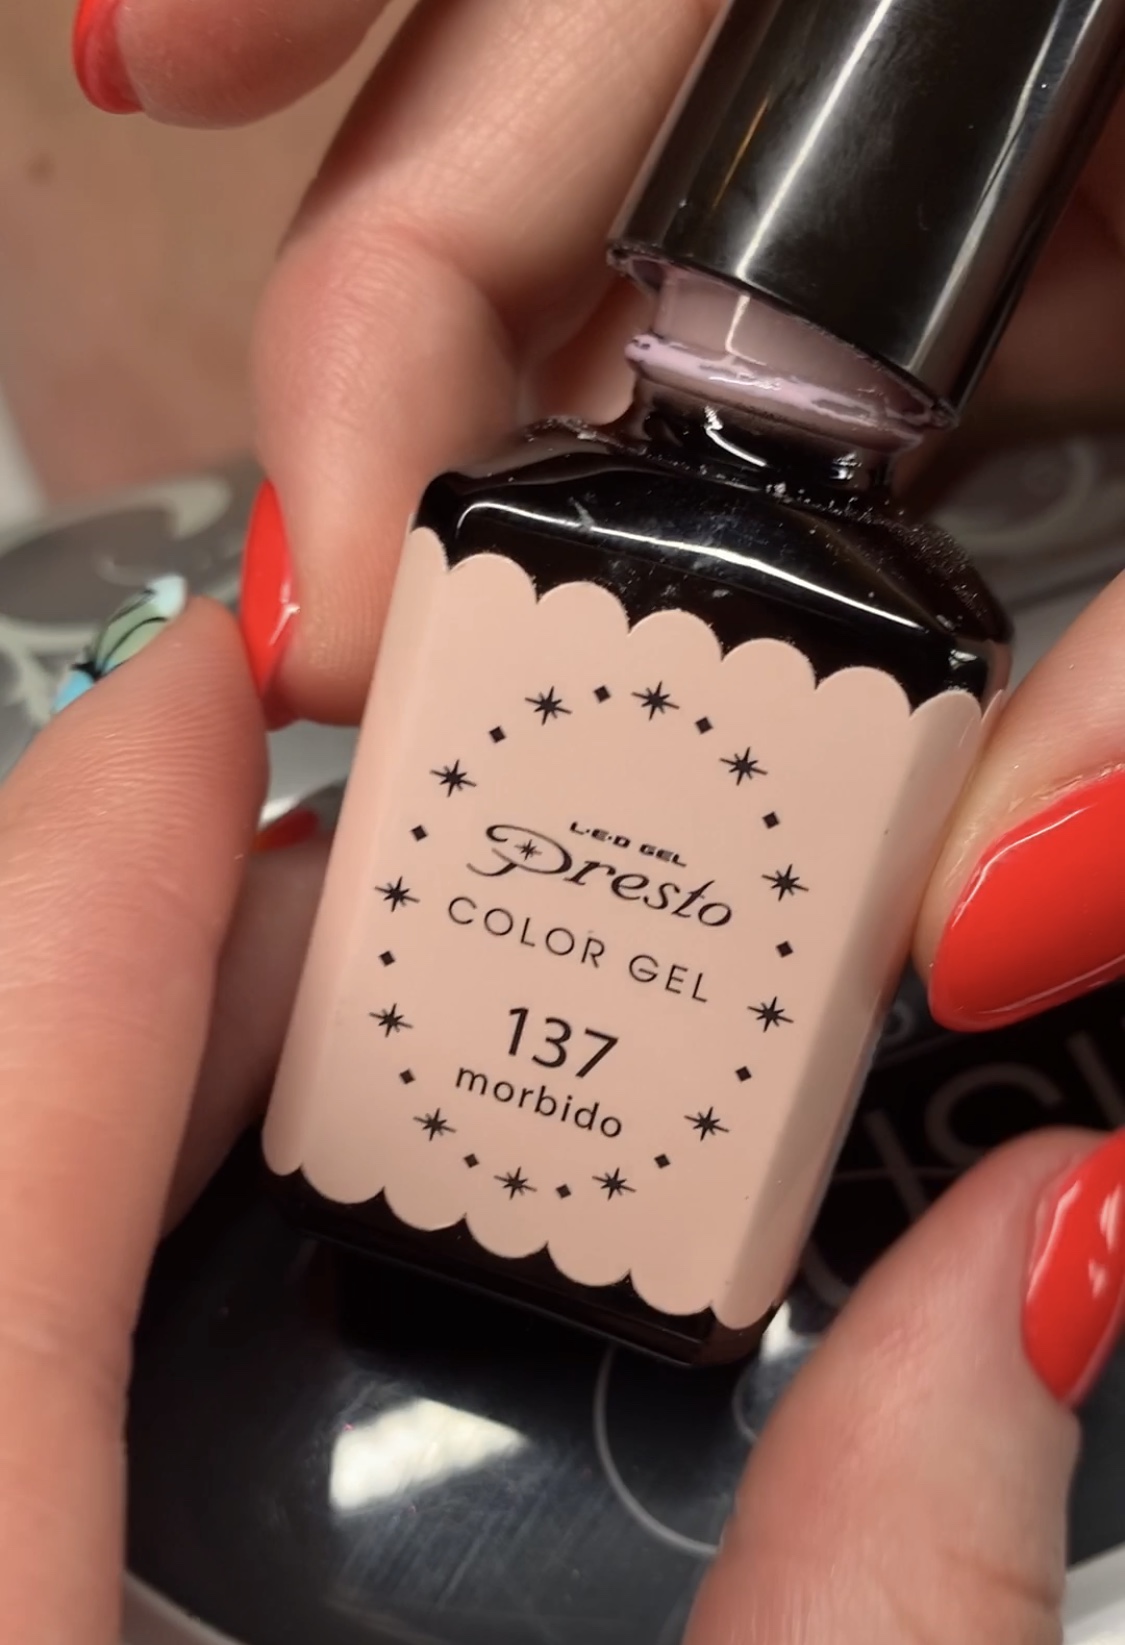
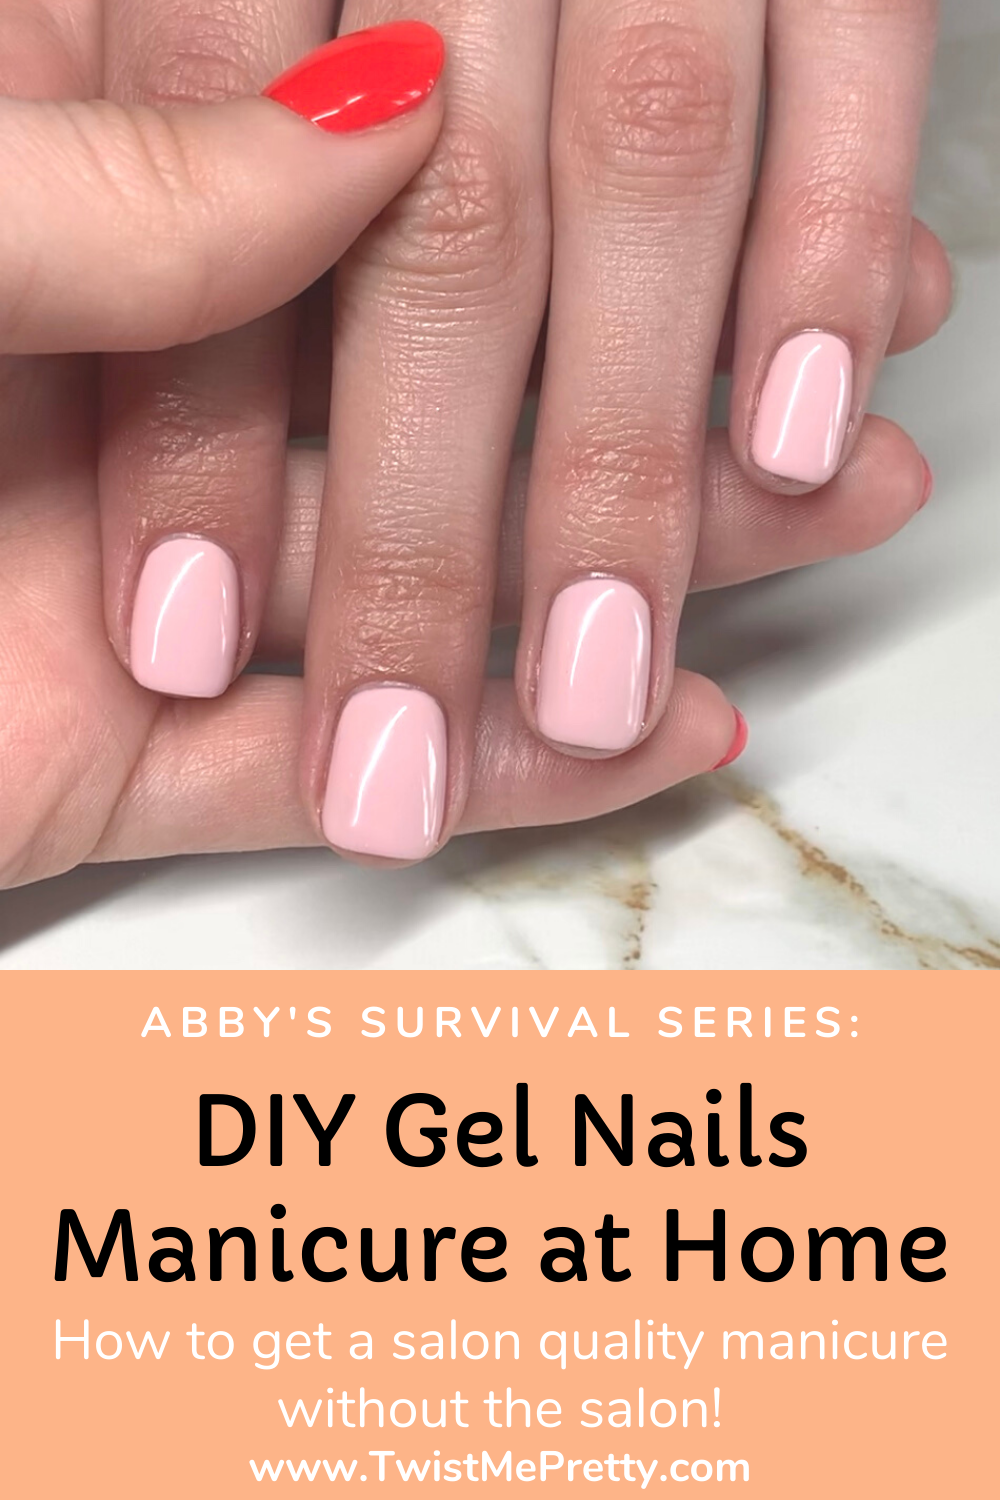
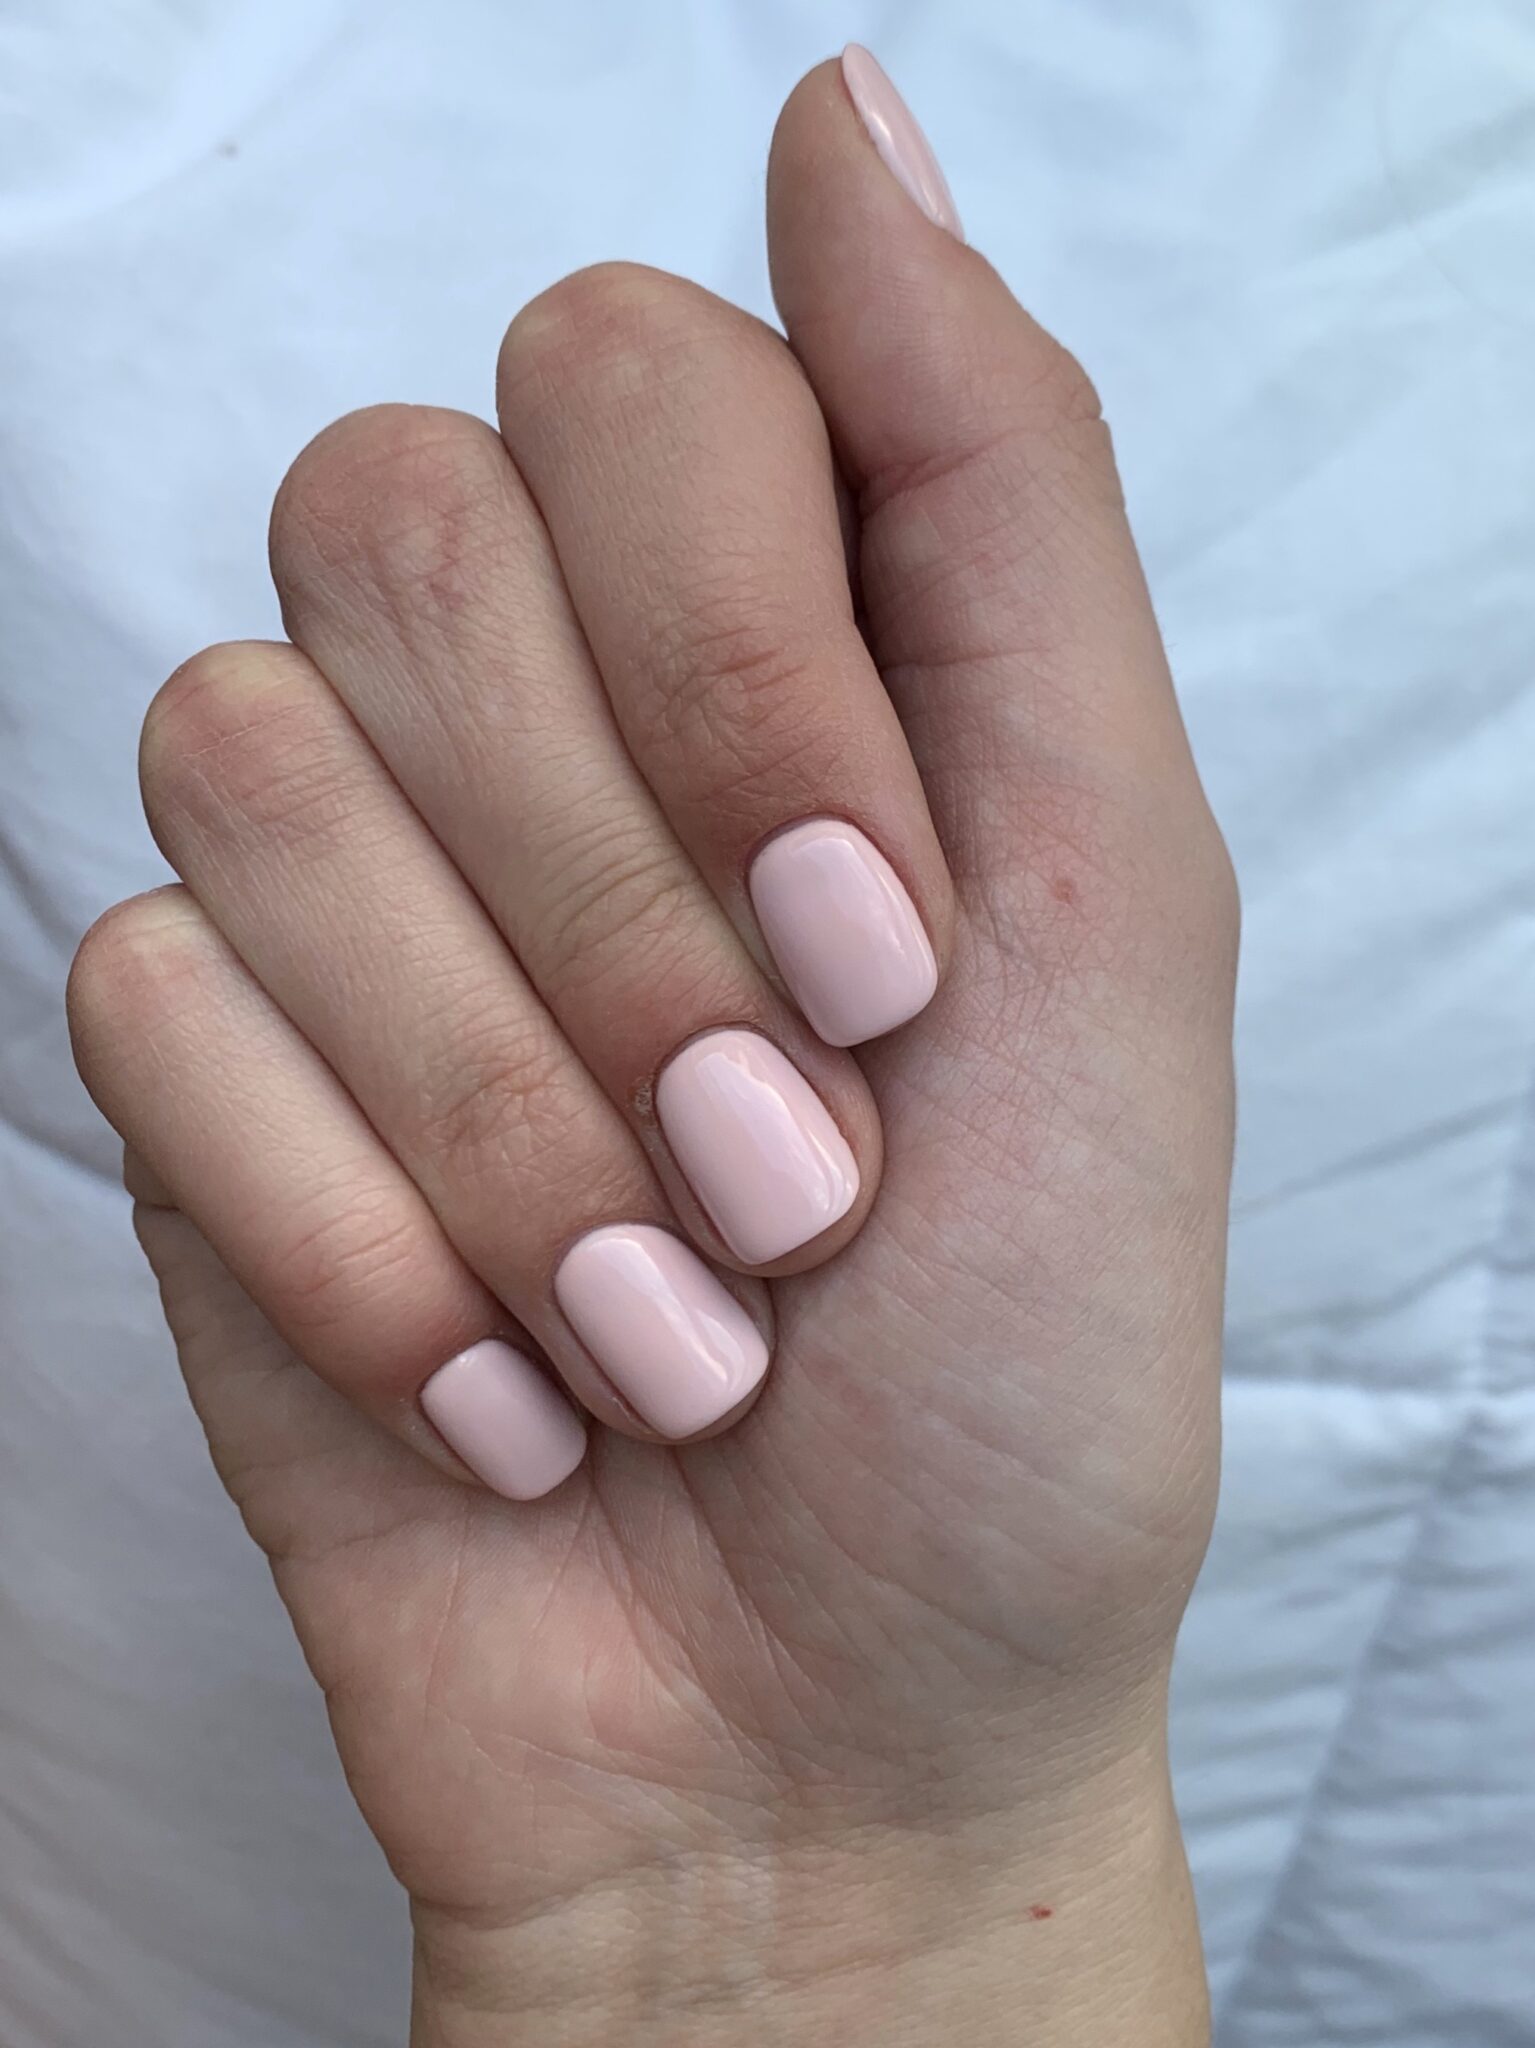
Once the base is cured, apply 2 coats of your desired color and cure both of them for 30 seconds in your lamp. To get close to the cuticle you can slightly “wiggle” the product up with the brush. We used “Presto #137” and in my opinion, this is one of the best gel polish lines out there. Super opaque colors that don’t shrink, wrinkle, or pull away from the cuticles after applying. What more could you want?!
To finish your DIY Gel Nails:
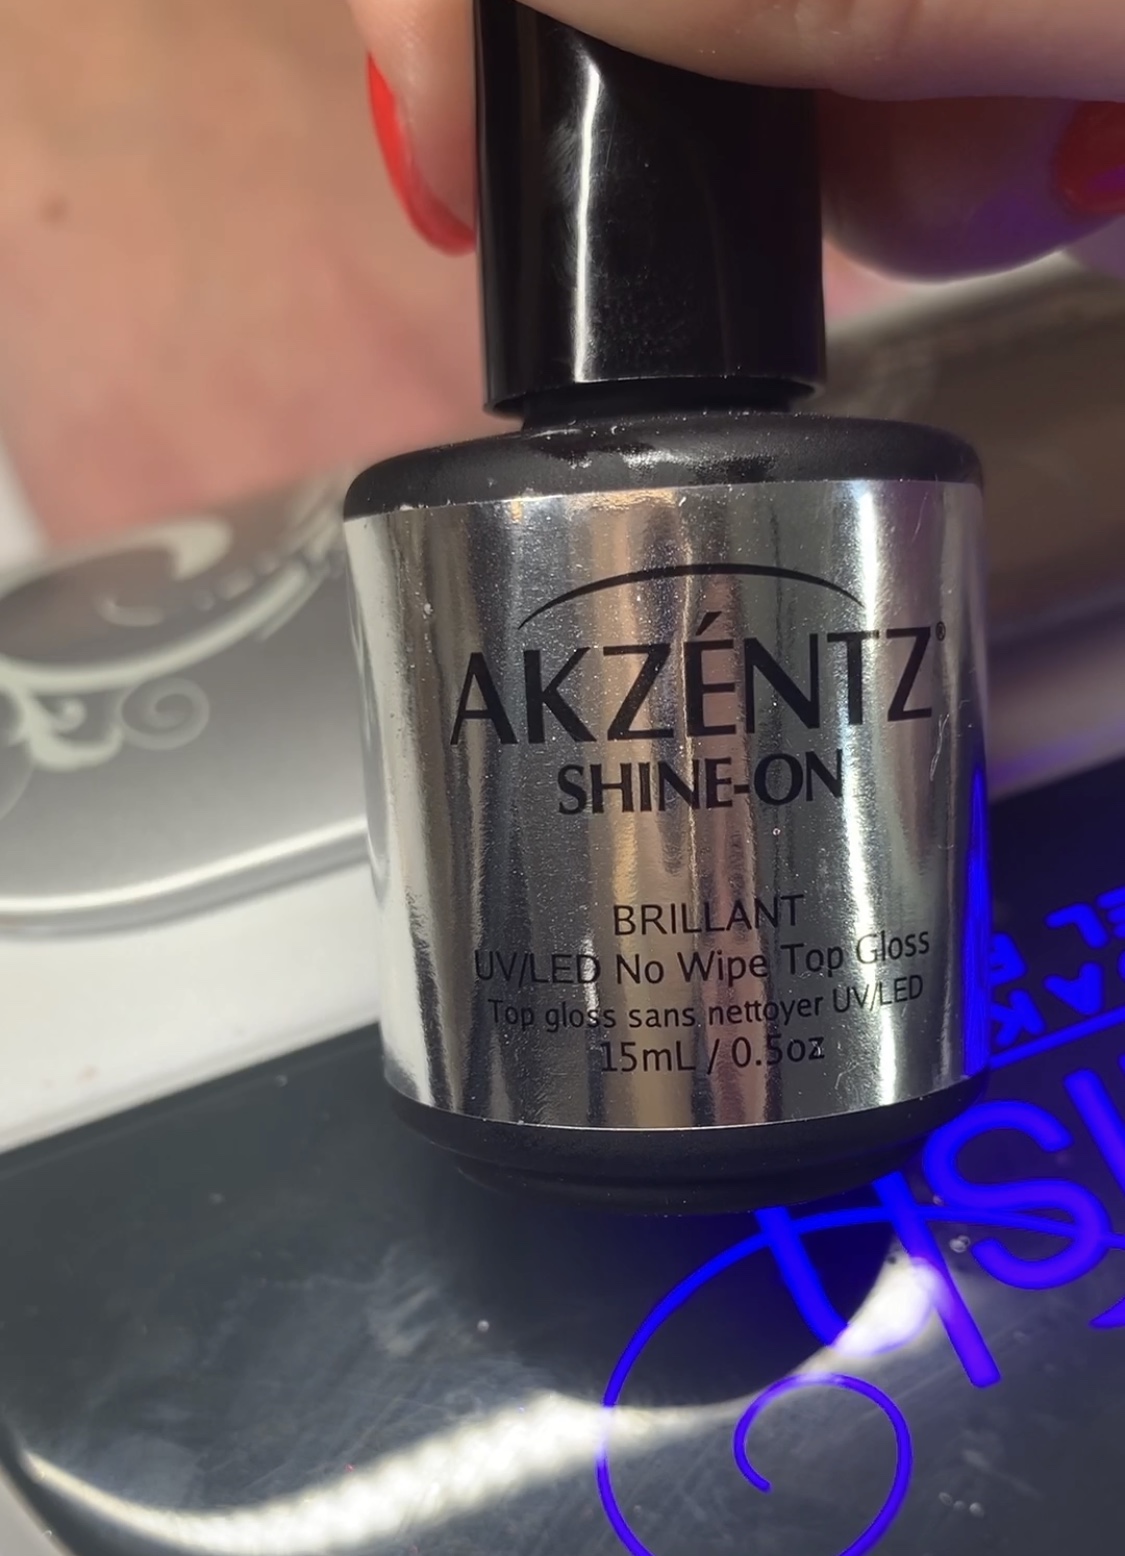
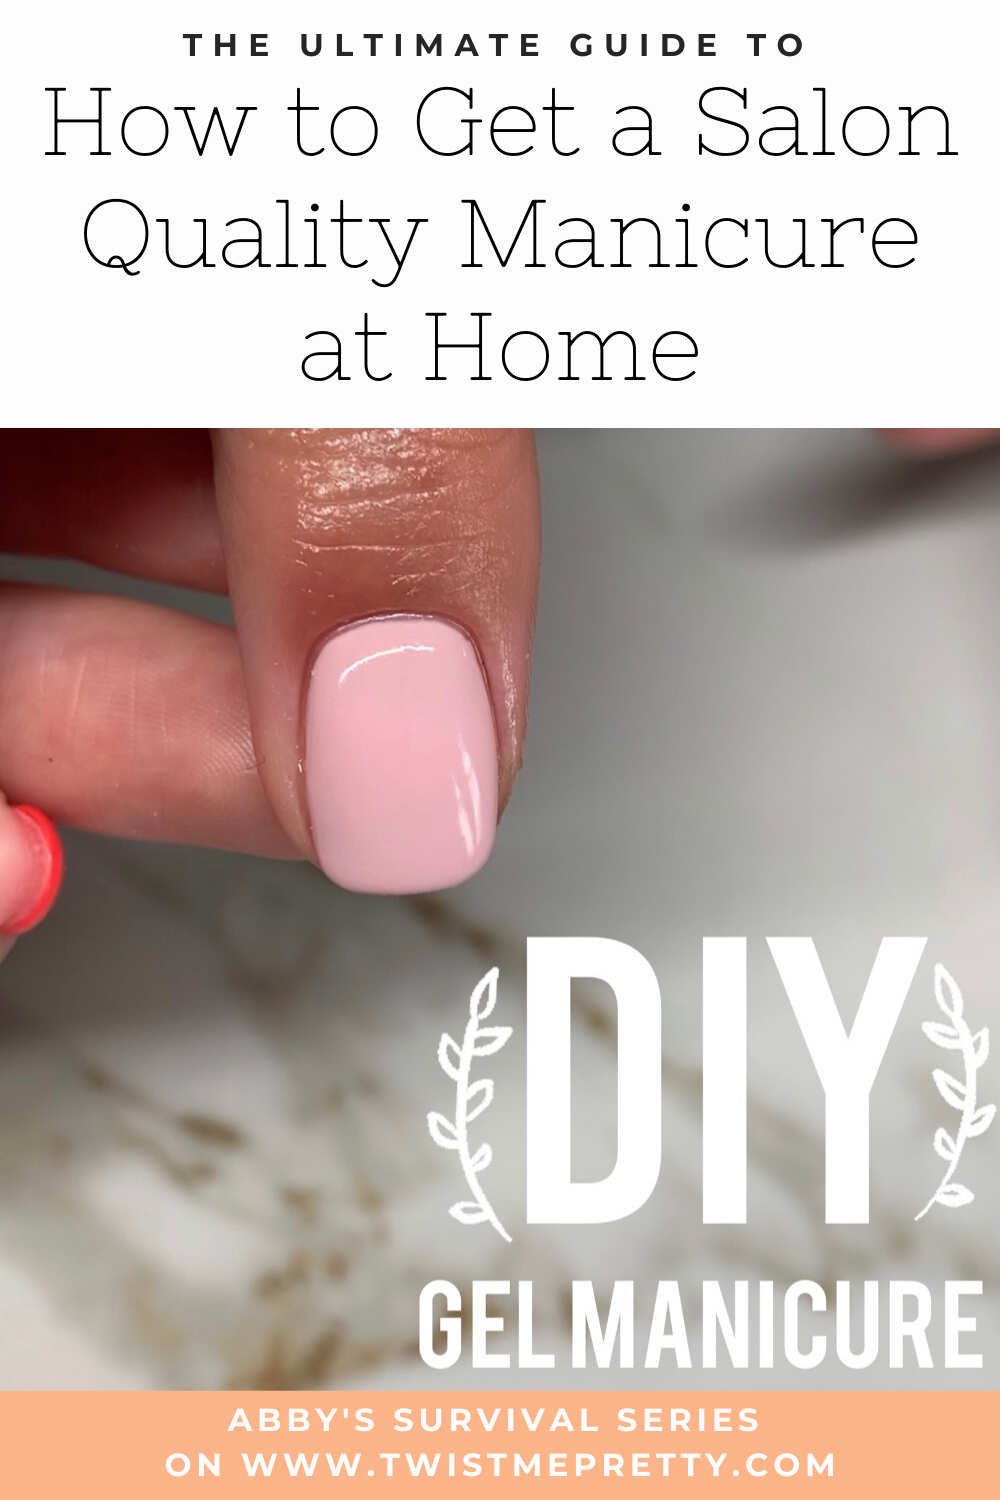
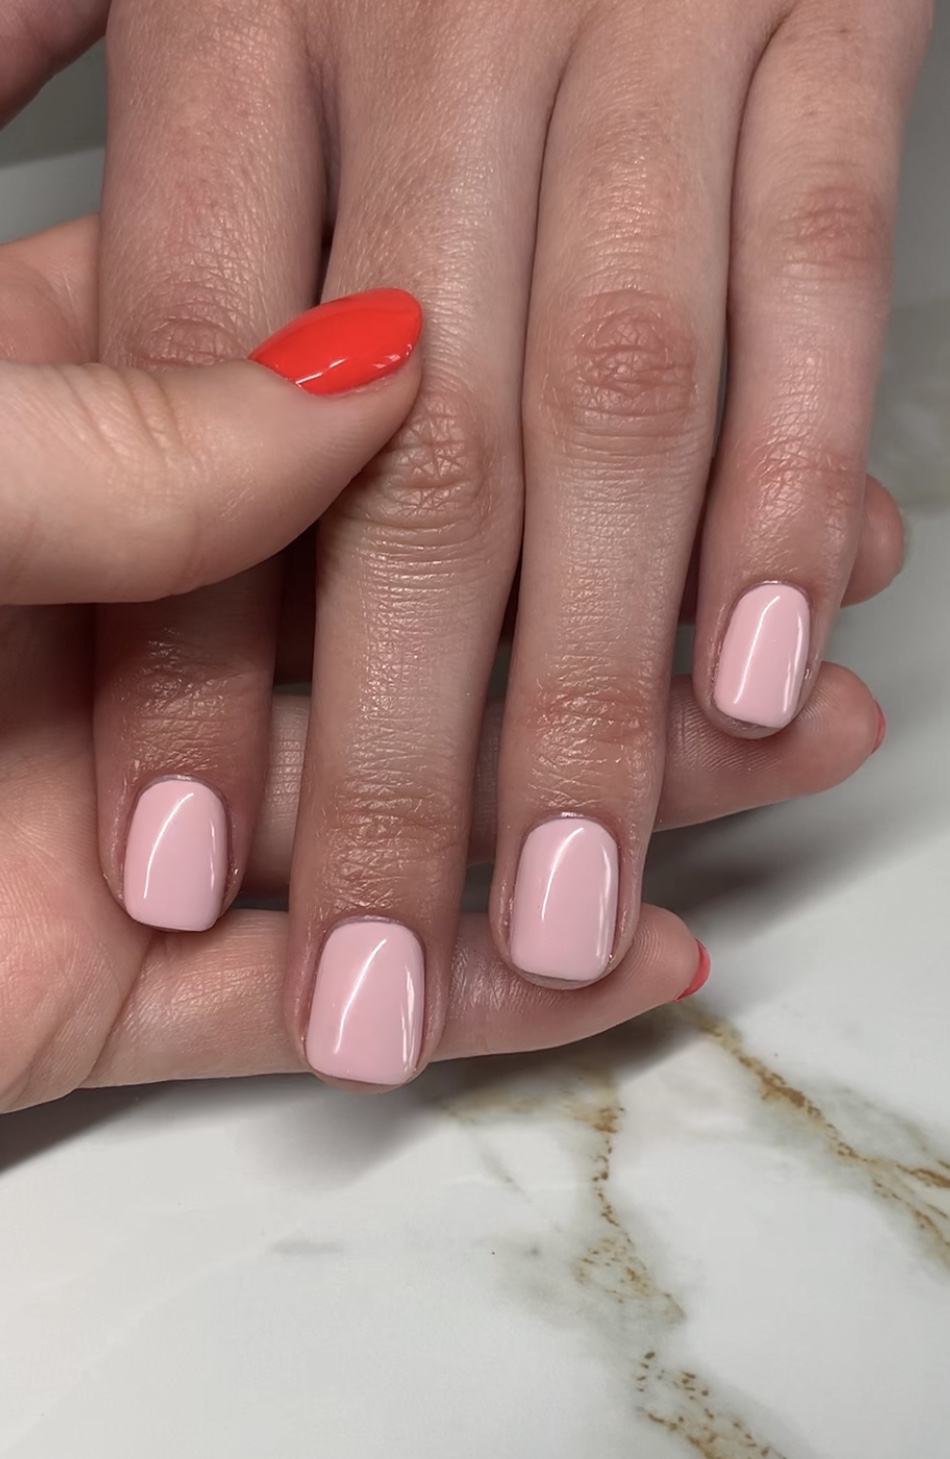
To finish these off, we used a high shine no-wipe topcoat. Some topcoats have a tacky or “residual” layer after they’re cured so make sure if you’re using a topcoat that does have a tacky layer to wipe it with alcohol after. You can also float the topcoat a little when applying for some added strength.
Cure for 60 seconds in an LED lamp.
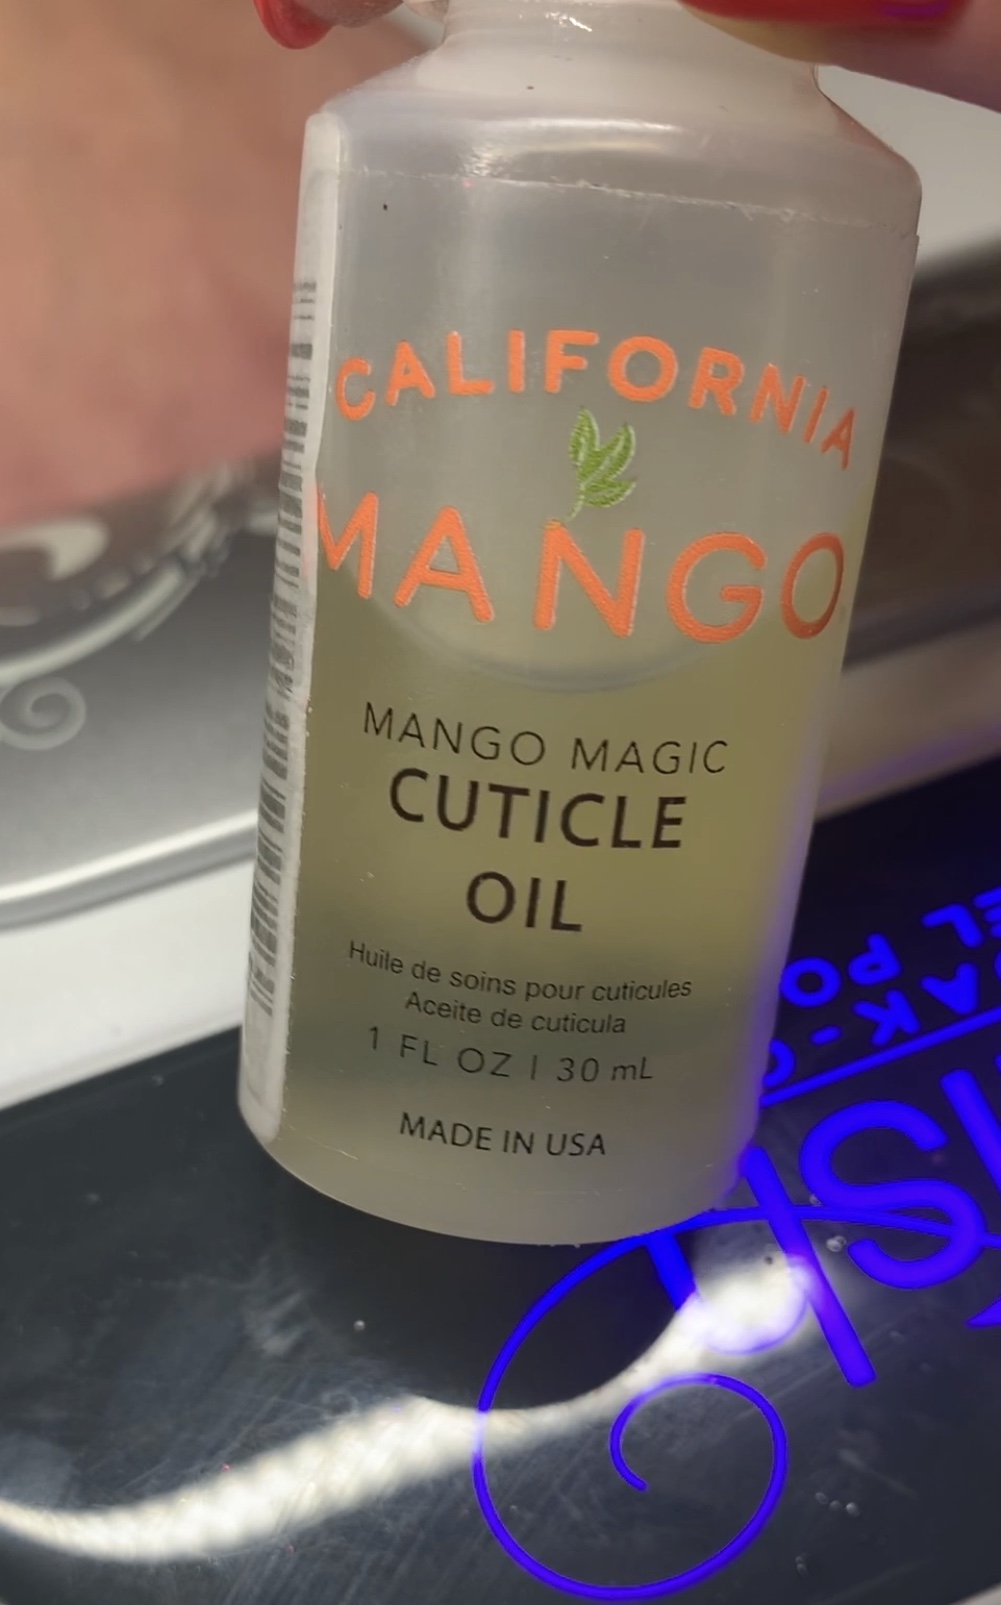
Once your nails come out of the lamp and are free of any tacky layer, apply cuticle oil and KEEP APPLYING throughout the day. Trust me, with all the hand washing going on you’re going to want to! It also helps add flexibility to your nail so your mani doesn’t get brittle and chip.
Finish rubbing that cuticle oil in and you’re finished!! These diy gel nails should last you at least 2-4 weeks and give you something to do while you’re Netflix binging, win-win 😉
Try it out yourself and tag me @nailsbykaiti so I can applaud all that hard work. Hope this helps!
-Kaiti 💖
I can’t wait to do my nails now! Thanks for breaking the process down so simply for all of us, Kaiti. This Survival Series has been so much fun. I’ve learned a lot, and I hope you have too. And most importantly, I hope you feel a little more prepared to face another day in #quarantine!
Don’t forget to sign up for my weekly email with all of these Survival Series tips in one place! Click the button below to sign up now!

Links to everything you need for your DIY gel nails-