
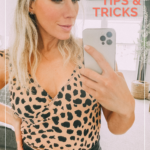
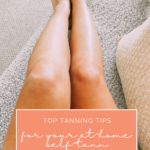

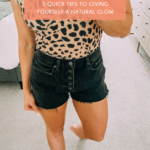
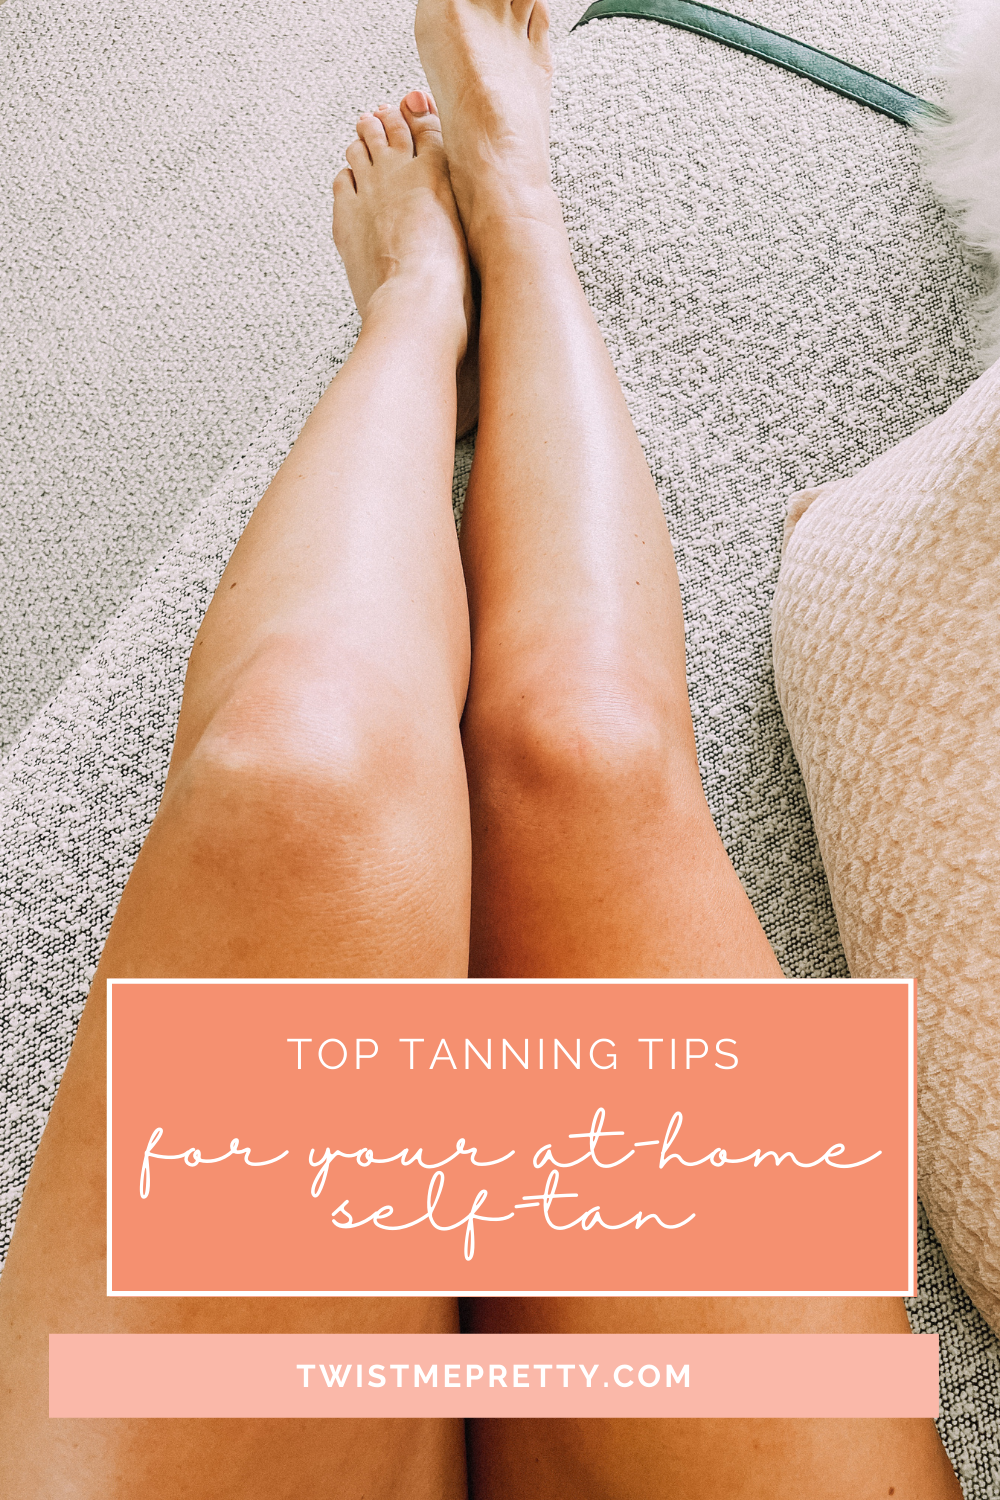
Self-Tanner Tips and Tricks
Are you thinking about self-tanning, but worried about how it will turn out? I’ve been self-tanning for a while now, so I know it can become really easy for you! It can slowly become part of your routine to where you’re not even thinking twice about it. Plus, using these self-tanner tips and tricks will help you know what to do to have that natural glow.
Now that I’m a mom, I don’t really have the down time to lay out and catch a tan like I used to when I was younger, so a self-tanner is the perfect trick. Plus, self-tanner won’t make you have early wrinkles or leathery skin like a sun tan or tanning bed would.
Throughout the years of self-tanning, I’ve gathered quite a bit of tips and tricks, from what products work the best to getting every inch of your back all by yourself. Self-tanning can be tricky, especially when just starting out, but these tips will help you feel ready and confident in trying it out.
5 Tips for Self-Tanning
Tip #1: Use these self-tanner products for best results.
There’s a reason I’m listing my products as the first of my self-tanner tips and tricks. Using the right products will make your experience ten times better. Since I’ve been self-tanning for a while, I’ve tried quite a few products and these ones are truly my favorite.
St. Tropez Self Tan Mousse – I love this product! It’s perfect for beginners because I feel like you can’t really mess up using it. Don’t freak out if it looks like the tan isn’t showing up right away after using it–it takes up to 8 hours for it to show up completely!
Billie Razor – I like to shave the morning after I put on the self-tanner and this is my FAVORITE razor. It’s designed for women by women, and I can tell by using it.
Raw Sugar Scrub – I put this on the morning after too. This gets me feeling clean and fresh along with the self tan that makes me look that way.
Raw Sugar Body Butter – I rub this on to hydrate my skin. I especially apply it to the areas that are prone to look more orange: elbows, knees, heels, and hands. This will help moderate the orange color, helping your skin look well blended and beautiful.
Mitt – I love my mitt for self-tanning! The elastic around the wrist is a game changer because it keeps the mitt from falling off mid tanning session. Mine isn’t currently available, but here is a similar mitt.
Tip #2: Put on the self-tanner at night.
I like to put the self-tanner on at night since it takes 8 hours for it to show up in its entirety anyway. Also, since I do this naked it makes more sense to make it part of my bedtime routine rather than undressing in the middle of the day and then putting the same outfit back on.
Once finished, I wear long pants, a loose long-sleeved tee and socks to bed to avoid getting the self-tanner on my sheets. If you’re more comfortable in less clothing in bed, give yourself at least an hour after applying the self-tanner to make sure it’s dry before climbing into bed.
Tip #3: Prep areas prone to collecting the self-tanner (to prevent looking orange).
Before applying the self-tanner, I rub lotion on my elbows, hands, heels, and knees. These areas are known for collecting more of the product, so the lotion acts as a block keeping them from looking orange. You can use any regular bottle of lotion you have; I like to use Aveeno. Applying the lotion before and after to these areas will help your skin look blended and bring out a natural overall tan.
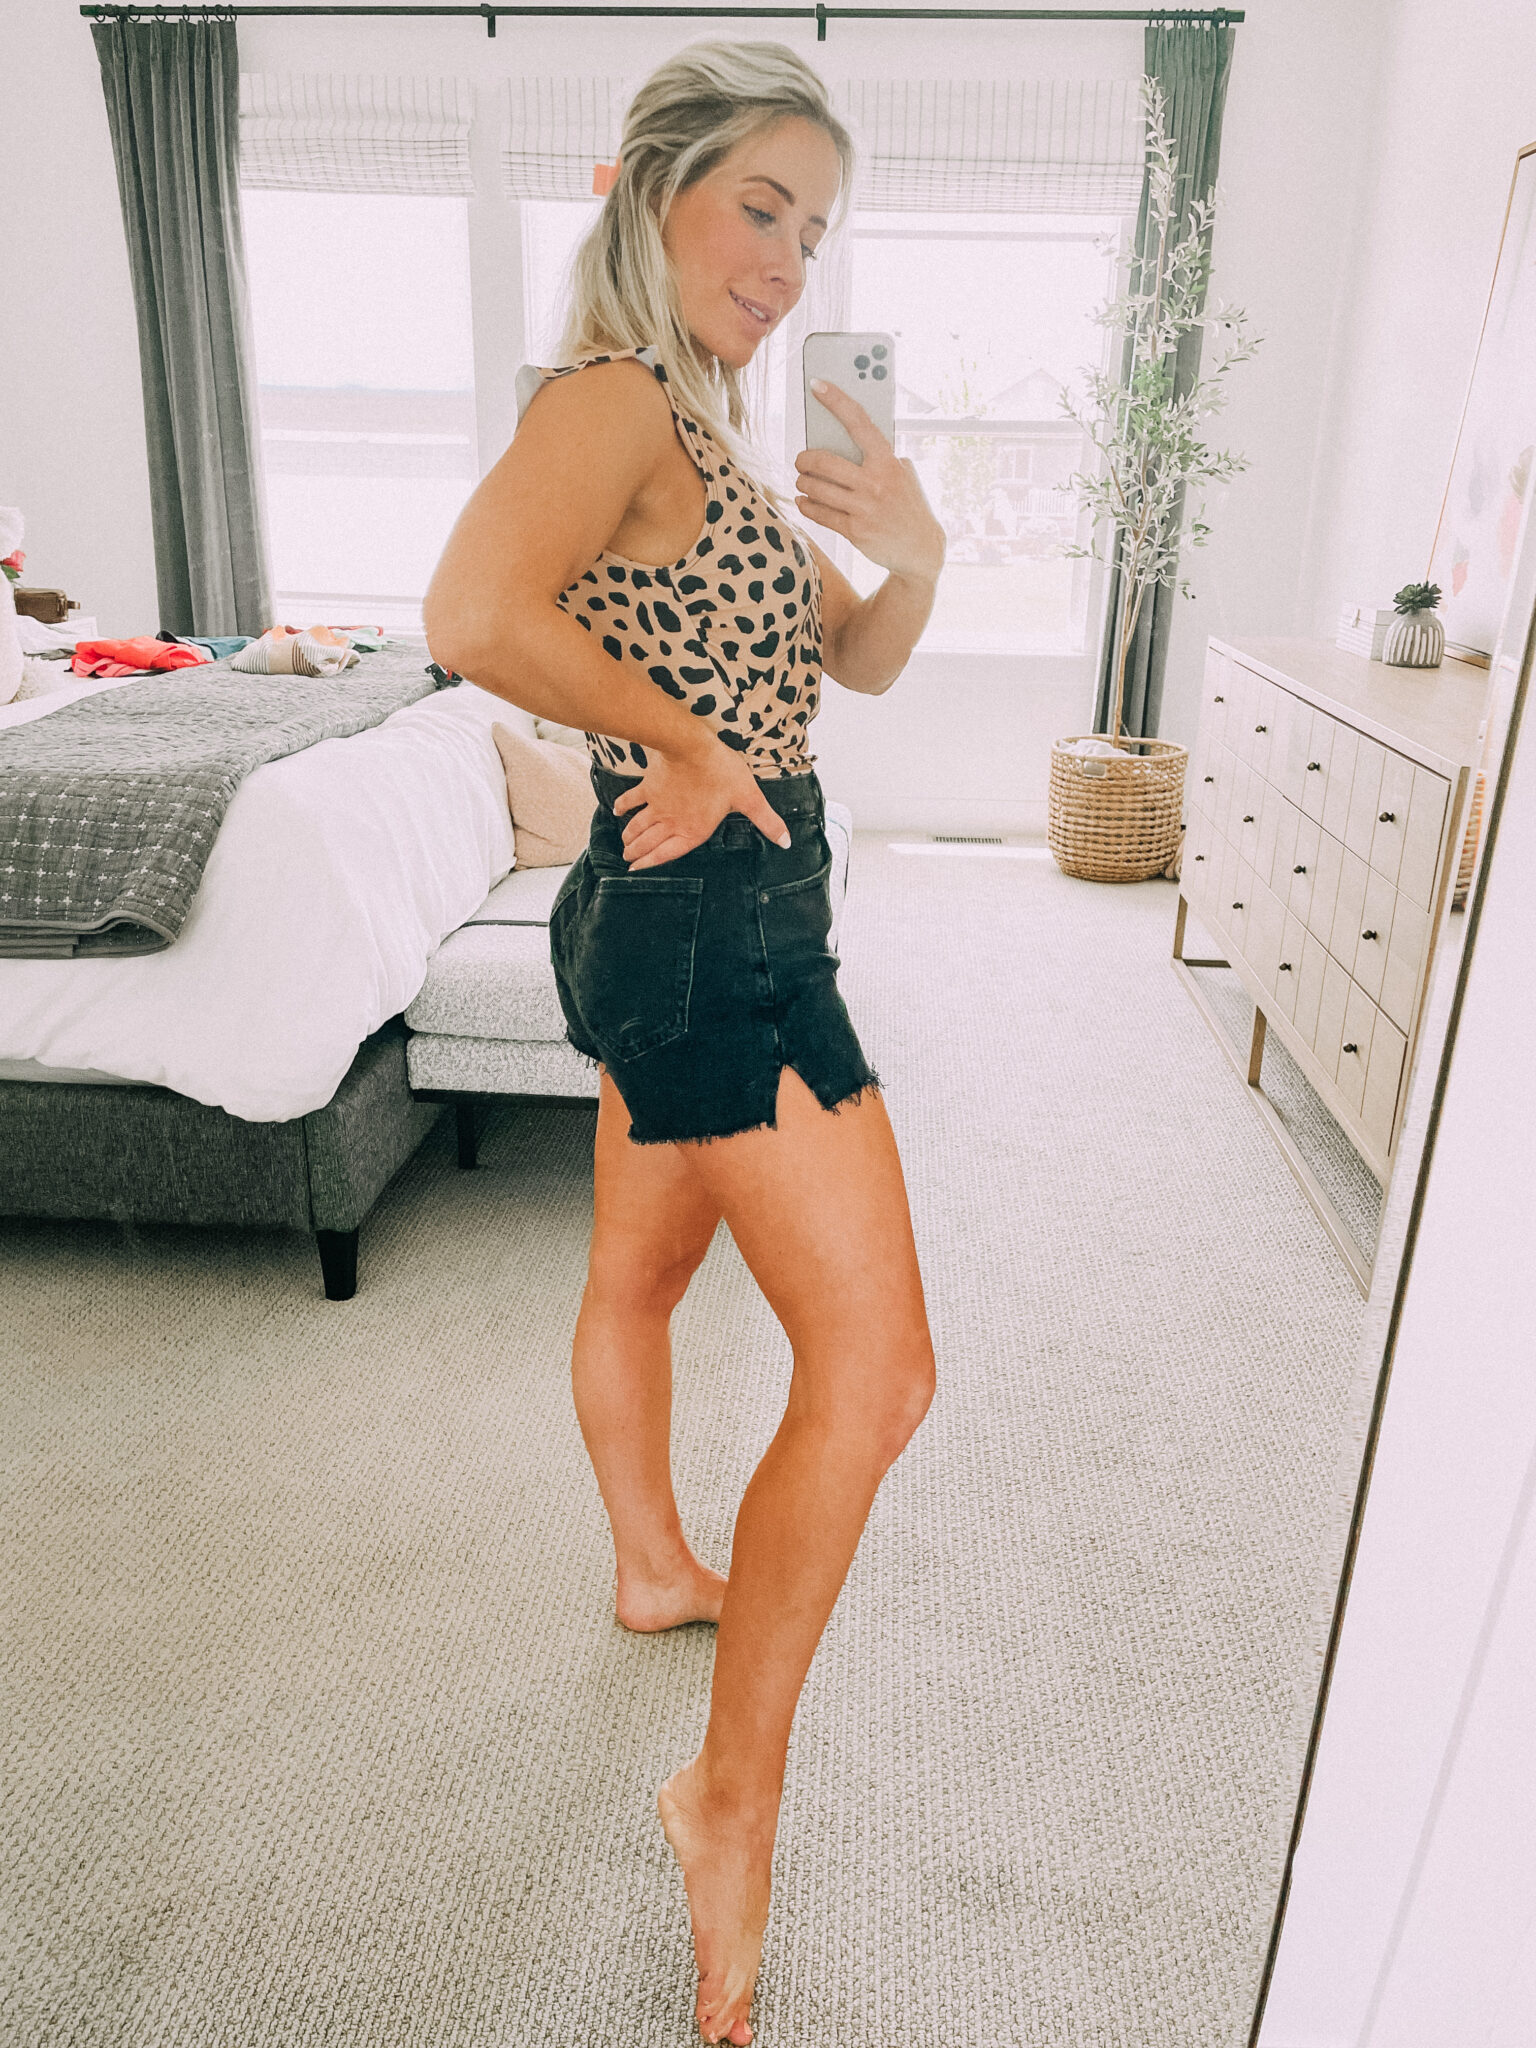
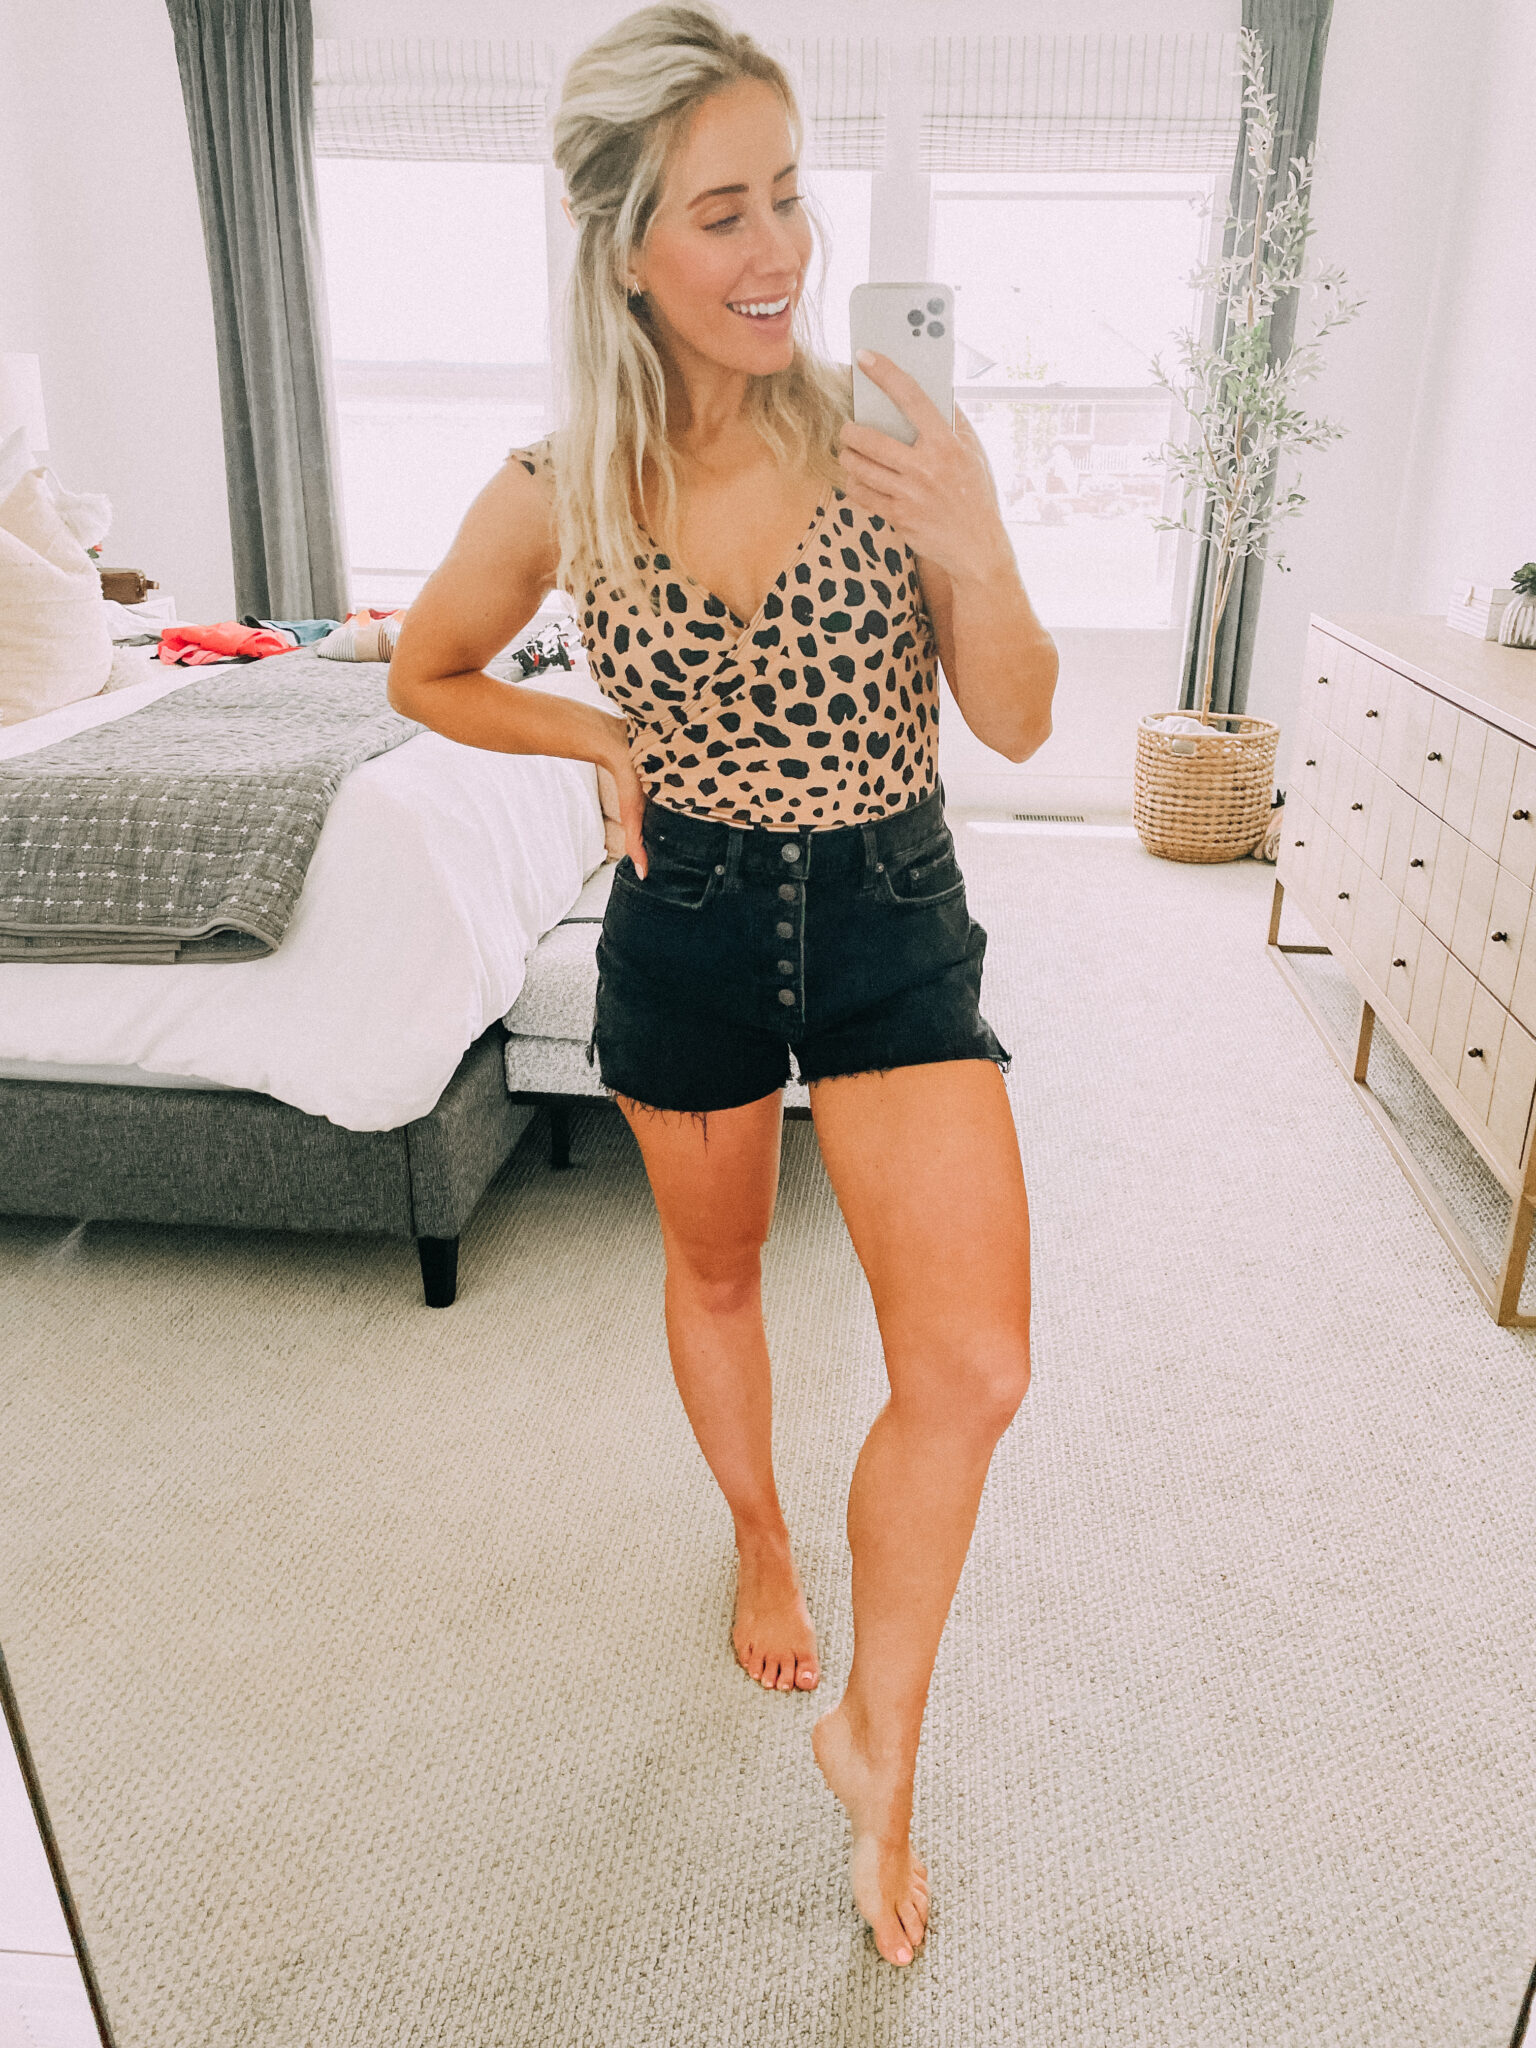
Tip #4: Start with your legs and end with your arms.
To start, squirt two or three pumps of the self-tanner into your mitt and then squish the mitt together, spreading out your product. (You will squish the product like this each time you get new squirts.) Start at your ankles and then move your way up to the rest of your body. You want to start at your legs because it keeps you from smearing the product on your torso when bending over.
Move in long, circular motions, squirting more product into your mitt as needed. Do the entire front half of your body and then move your way to the back half. You will need to switch the mitt to the other hand once you start the back half to make sure you can cover your entire back by yourself.
It’s ideal to have your spouse or someone you live with help you get the hard to reach areas. However, it’s totally doable on your own if you live alone or just want to keep this as a personal self-care moment!
Tip #5: Blending and buffing the self-tanner.
Certain places on your body only need leftover product from your mitt rather than a brand new squirt of product rubbed in. Buff the leftover product onto your knees, ankles, and feet making sure to get all the creases. Next, is your neck. Buff the product in an upward motion making sure there’s no awkward lines left once you’re done. Last is your elbows and hands. It helps to spread out your fingers so you can get those tiny spaces in between each finger.
Once your whole body is covered, scan your body in the mirror and see if there’s any more spots that need blending. Be sure to especially notice the spots where you started with a new squirt of product. Having the self-tanner meet nicely together across all of your skin to help it look as natural as possible.
Those are my self-tanner tips and tricks! I also have a tutorial video you can watch here. Like I mentioned earlier, I like to shave with my Billie razor and apply my Raw Sugar scrub and body butter the morning after. I shower first thing in the morning too to wash off any excess self-tanner product. This is really the last step to it! Follow me on Instagram @twistmepretty and let me know how your self-tanning experience goes!
I don’t know why tan skin looks so attractive, but I’m glad there’s a way for busy ladies like us to do it! I hope you love your natural glow, and just in time for summer! Speaking of summer, if you want more tips on how to look and feel good in the heat, check out these easy summer hairstyles. Now you’ll really feel like a babe in your self-tan and braids.