
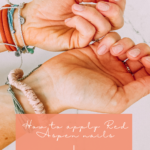
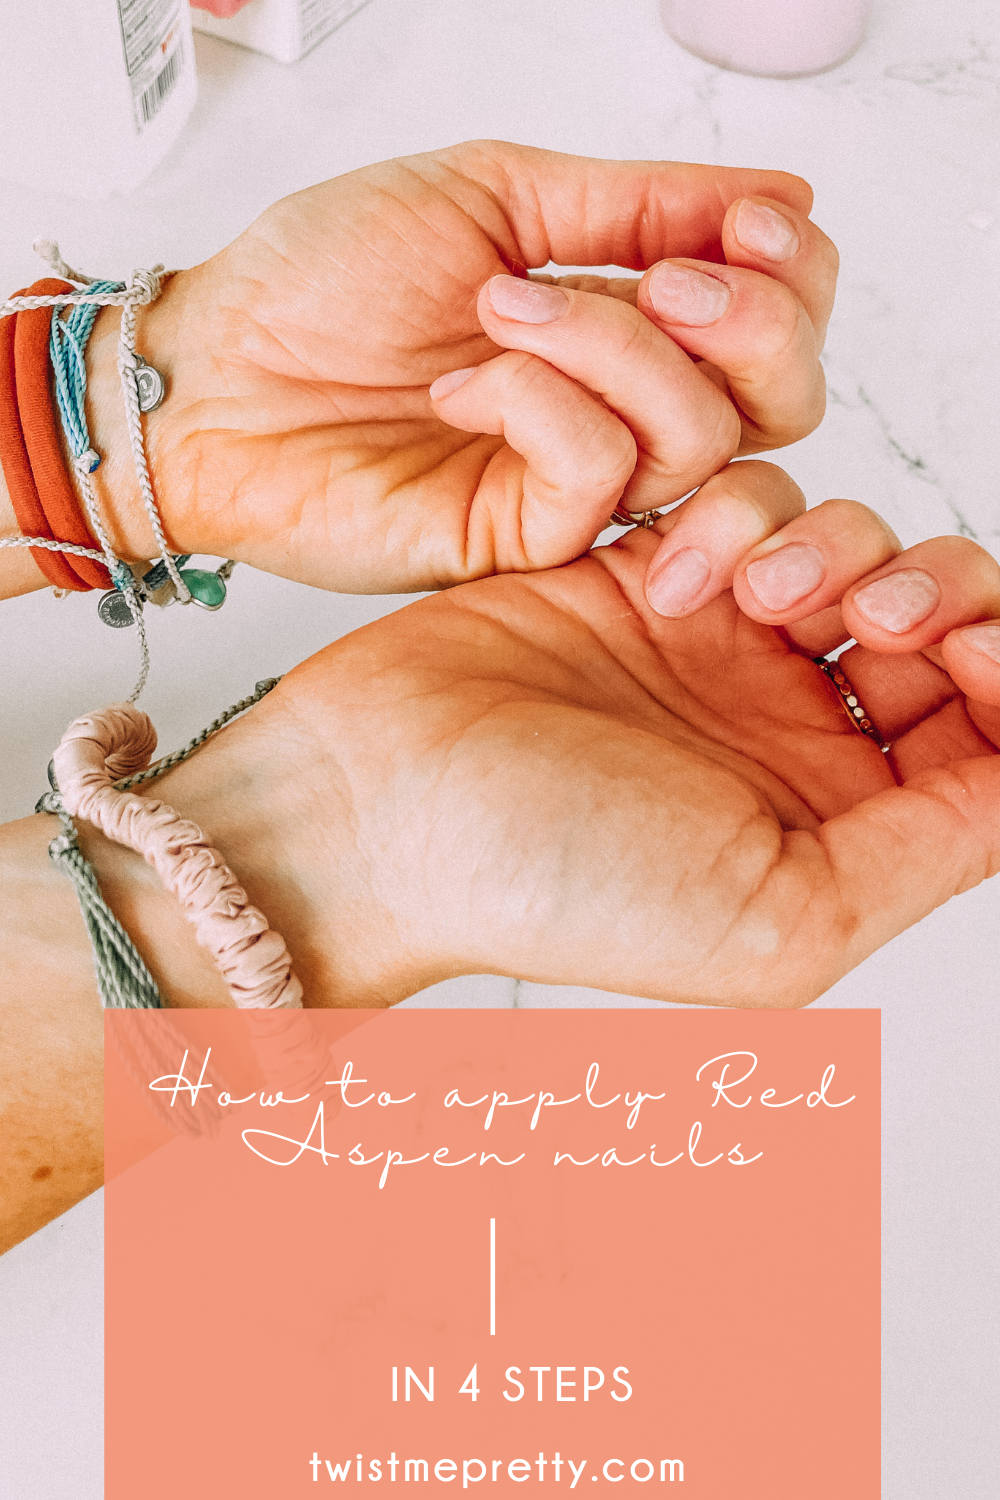
How to Apply Red Aspen Nails in 4 Steps
Are you a fan of press on nails? I know, it’s something that was once known as tacky, but now it’s the new trend. But for good reason! Press on nails are so easy to apply and they last just as long as if you were to get them done in a salon. If you need a little push to get started, hopefully this quick tutorial on how to apply Red Aspen Nails in 4 steps will help!
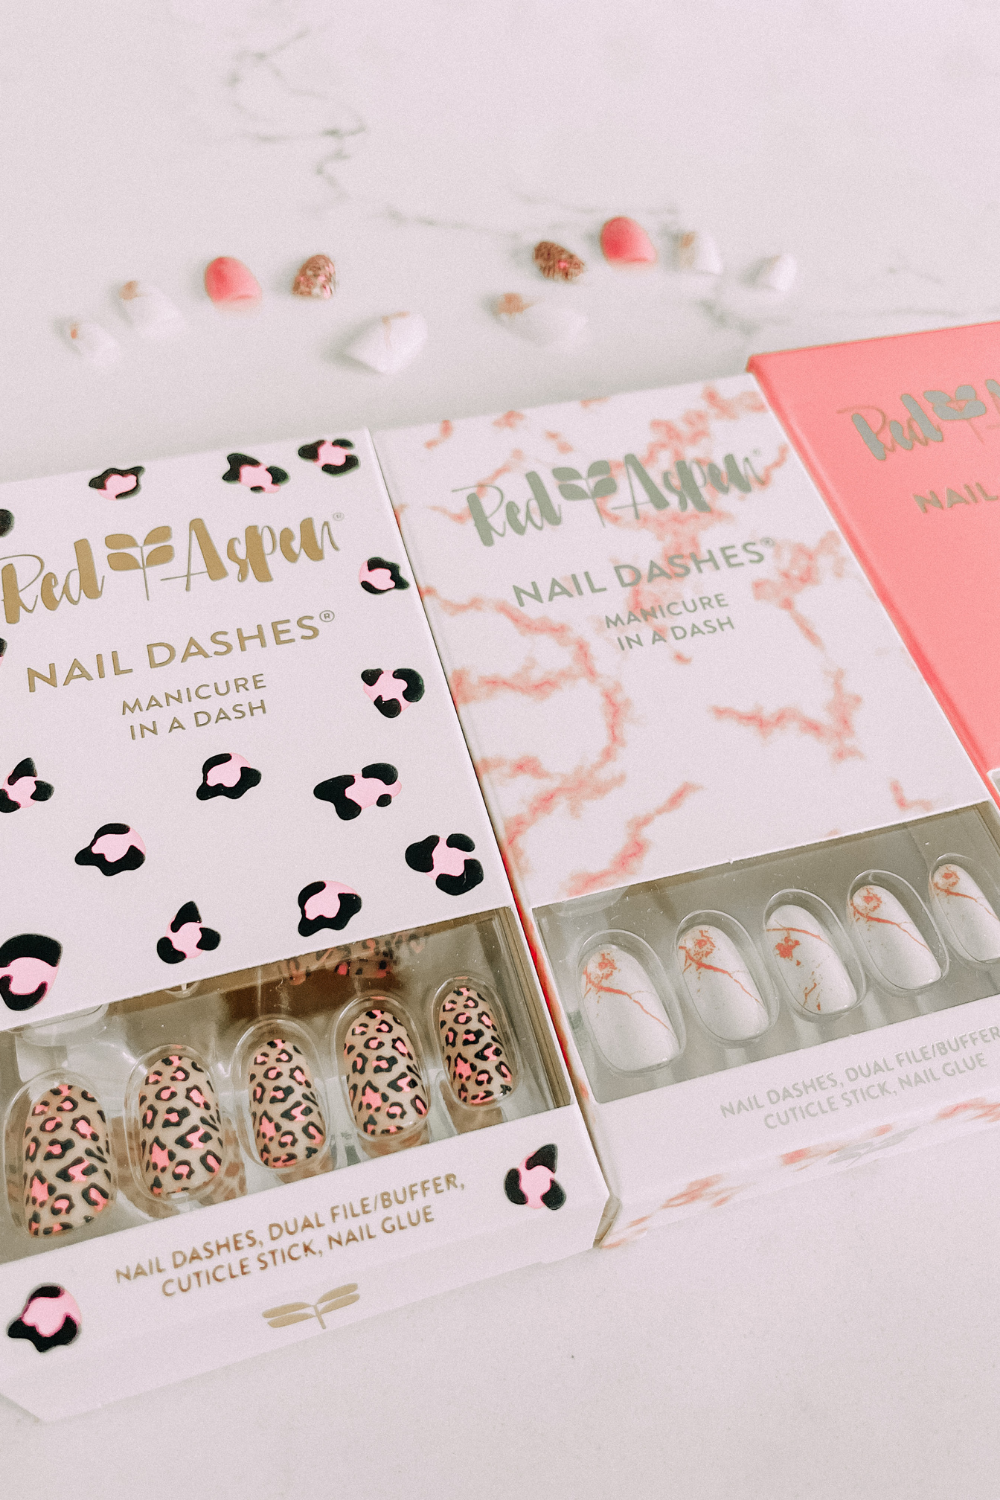
I love Red Aspen Nails because they’ve been my favorite out of all the press on nails I’ve tried. I love how natural they look once glued on. It’s as if they were created just for me. Once you find your favorite patterns, you could experience that too. Plus, I love this company! It’s a women owned company whose mission is to help women stand up and stand out. Who doesn’t want in on that, right?!
4 Quick Steps on How to Apply Red Aspen Nails
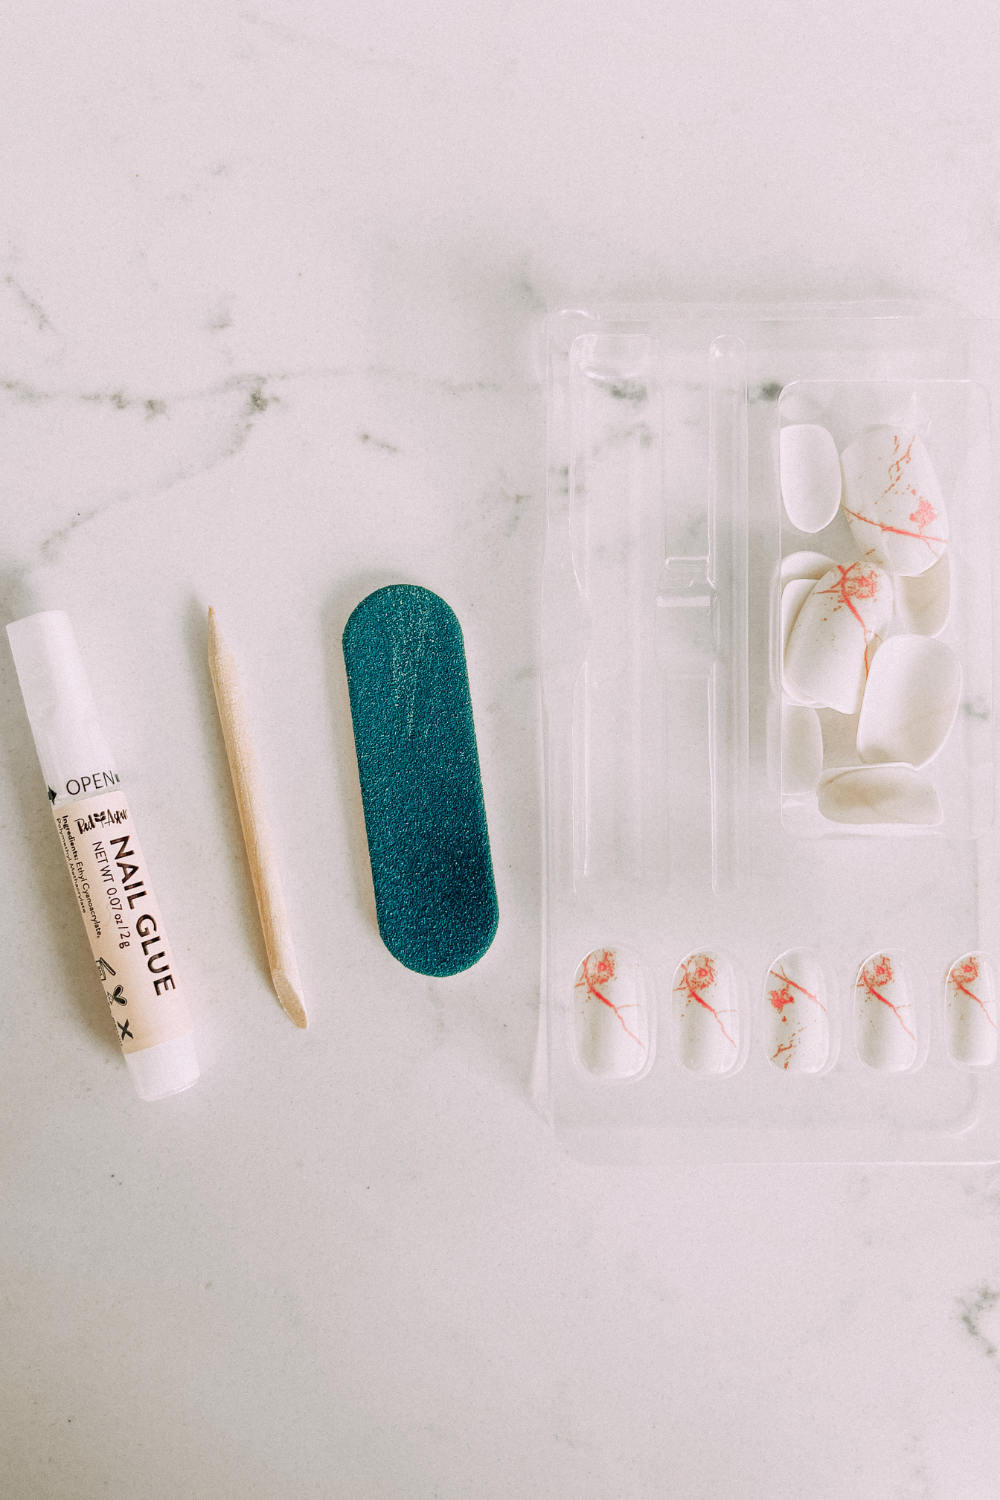
Step 1: Prep matching nails and tools.
Prepping everything beforehand will make the actual nail application way easier. Your Red Aspen Nail Kit should come with a cuticle stick, a mini file/buffer, nail glue, and the nails. Lay everything out including the nails you plan to glue on. If you plan to clean your nails with rubbing alcohol and a towel, bring those out too. (Pro tip: Lay a towel down and keep all your nail materials on it to avoid a mess on your countertop, table, etc.)
The box comes with more nails than you need, so go through the press on nails and match each one to your corresponding fingernail. Keep them in the order you plan to glue them on, so you don’t mix up which nail is going on where.
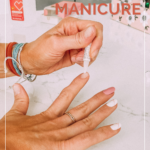
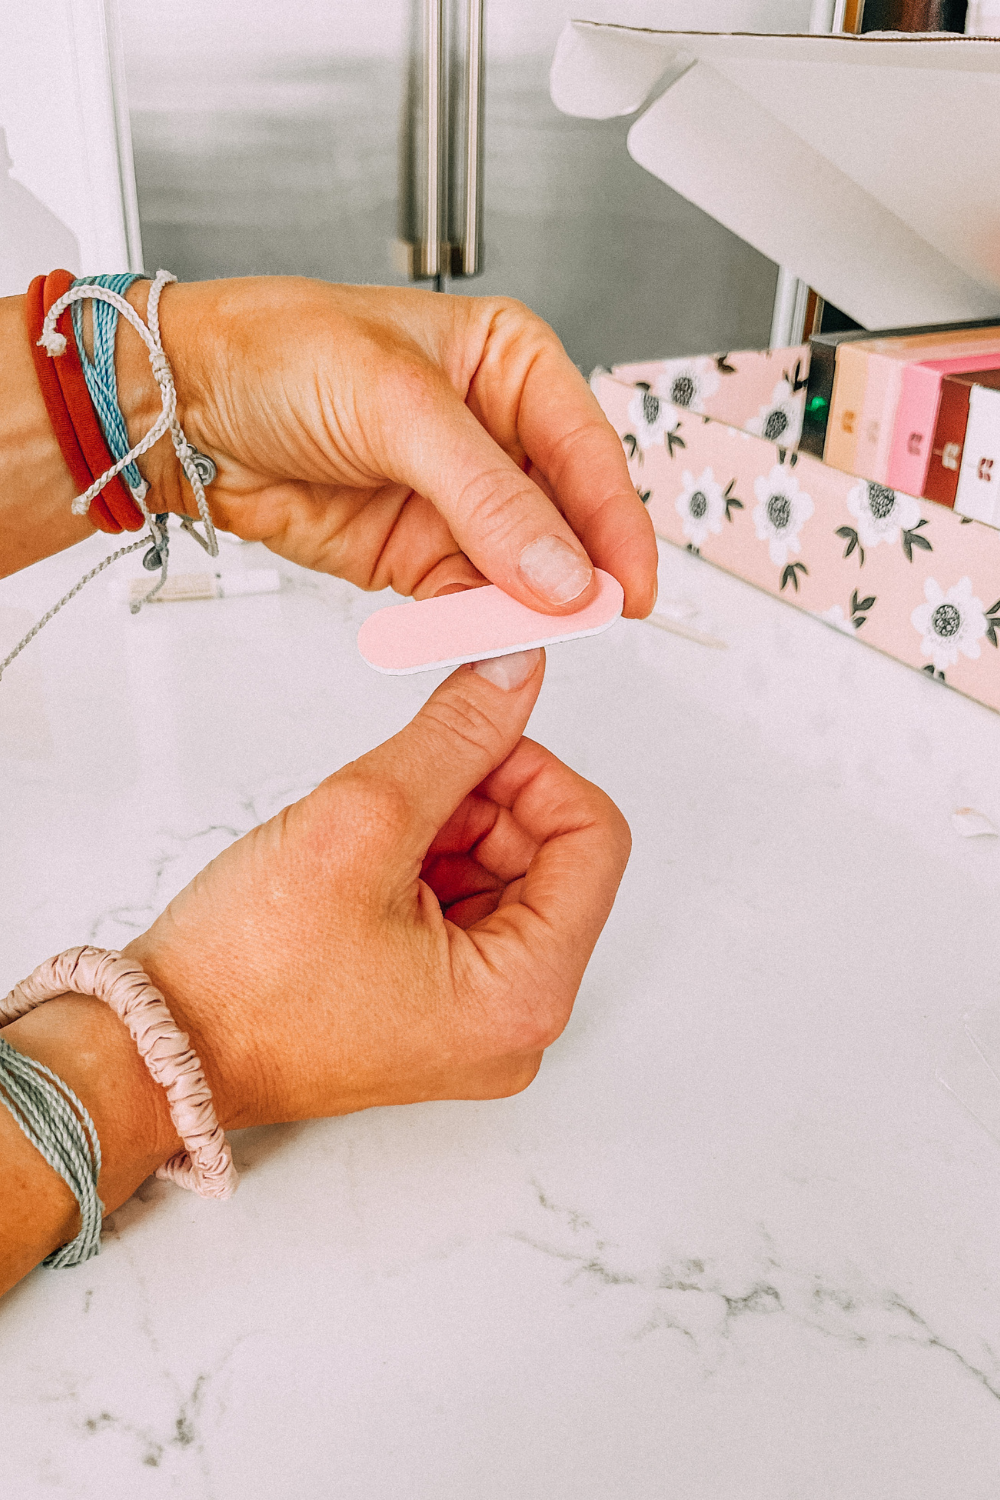
Step 2: File and clean nails.
First, wash your hands before you start giving yourself the manicure. Freshly washed hands–and nails–will help the press ons stay on longer. Next, clean up your nails with the tools provided in your Red Aspen Nail Kit.
Use the cuticle stick to push down your cuticles making it so each nail is exposed for the press on nail. The last thing you want is to accidentally glue the nail on your skin. Trust me! Take this time to also file and buff your nails. Feel free to clean your nails with rubbing alcohol if you’d like. This will also make your nails as clean as possible, making your Red Aspen Nails last much longer.
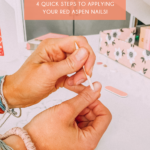
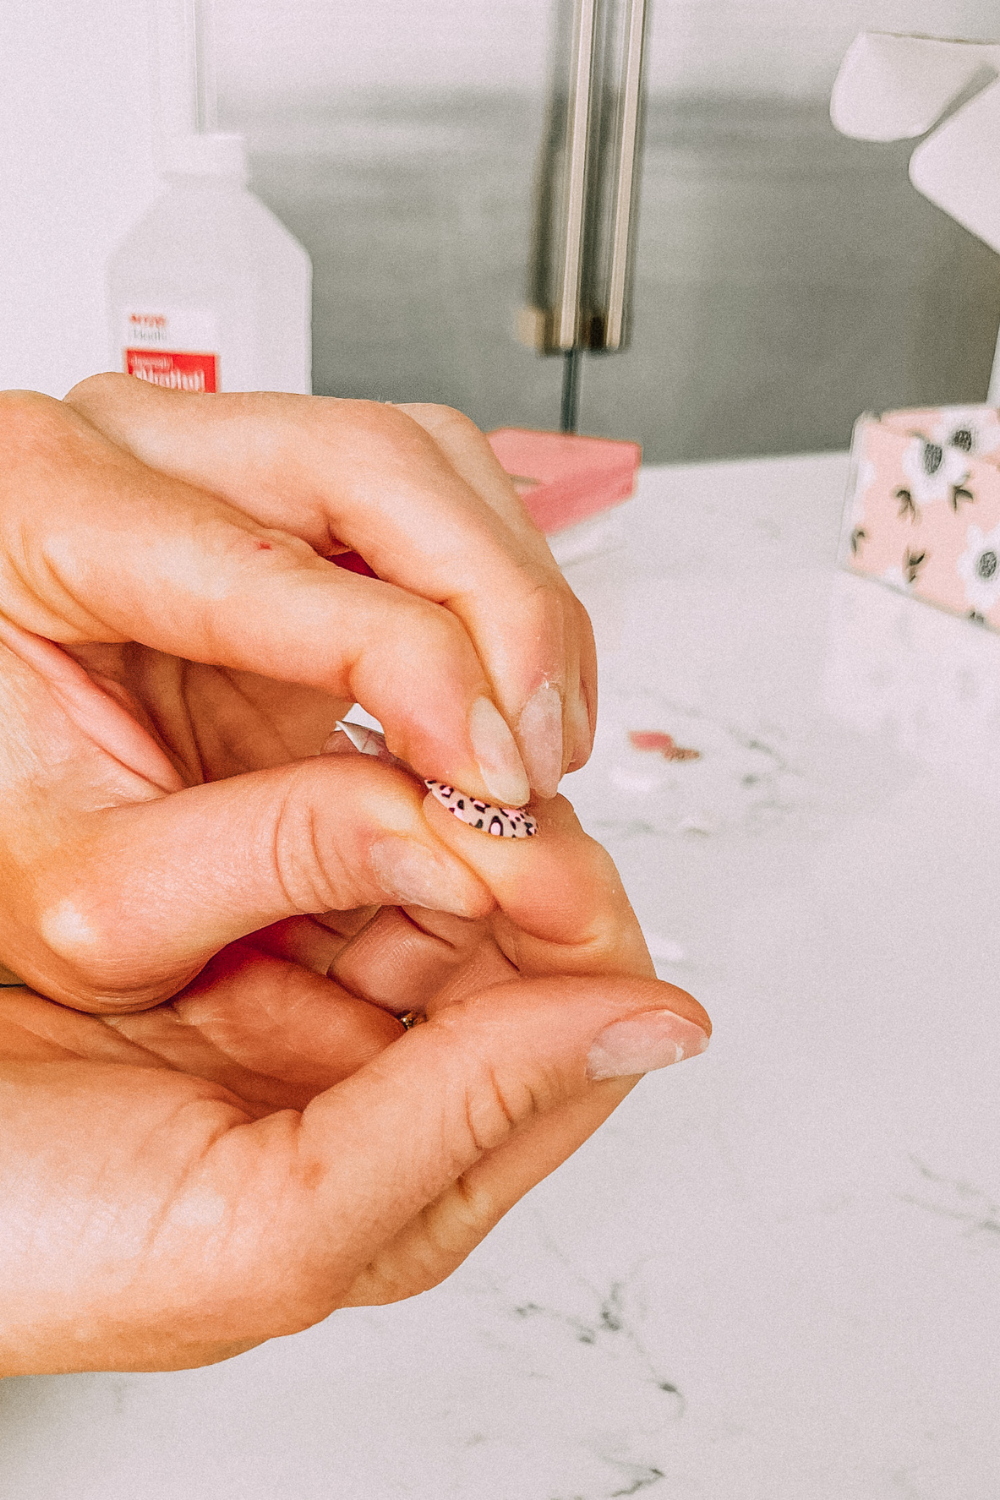
Step 3: Apply Your Red Aspen Nails
Here comes the fun part. If you’re new to this, it can be a little tricky, but you’ll catch on fast. The key is to be quick with pressing on the nail once you’ve put the glue onto your fingernail. Make sure your press ons are ready to go before you open that glue. Again, it helps to have them laid out in the order of your fingers, so you know which one comes next!
Apply glue to your fingernail and to the back of your press on nail. Then, quickly line up the press on to your nail and press down for 30 seconds. Repeat this process until all the Red Aspen nails are glued on.
Don’t be afraid to squirt out the glue! The more glue you use, the longer your Red Aspen nails will stay on. If you see glue oozing out the edges of the nail as you’re pressing down, take a damp cloth and gently rub the glue away before it dries. (Pro tip: If you are having a hard time getting the glue to come out take a safety pin or something similar and poke a hole where the glue should be coming out.)

Step 4: Rest and admire your Red Aspen Manicure!
Admire your new Red Aspen Mani! How does it feel to have a fresh manicure you did yourself? I love how we can do our own nails from home and look like we got them done at the salon. Just like you do at the salon, rest your hands for a bit to give more time for the glue to dry and your nails to get really stuck.
Sometimes you may see or feel dried up glue around your nails once you’re finished. No worries! It will go away within a day or two. Washing your hands helps it go away faster too. But the extra glue is totally worth it to have those super cute nails, right?! I hope you enjoy your Red Aspen nails as much as I do!
Quick Tips for Wearing Red Aspen Nails
Now that you’ve learned how to apply Red Aspen Nails in 4 steps, there’s some quick tips for wearing them that will give you a better experience. If you’re new to wearing press on nails, it can take a little getting used to. Don’t worry, the more times you wear them the more normal they feel. I could never go back to regular polish after experiencing Red Aspen Nails!
Tip 1: Avoid having your hands in hot or warm water for long periods of time.
Since soaking your hands in warm or hot water is the main way to remove your Red Aspen nails, we don’t want to spend too much time in water. This will seriously shorten the time of your nails. So maybe you’ll have to volunteer one of your kids or your sweet husband to wash dishes for you? That sounds like a great plan to me!
Tip 2: Don’t overthink it.
Don’t worry about your nails popping off while doing normal things. They are stronger than you think. You’ll learn to tweak things little by little in order to preserve your nails. If one pops off then just glue it back on. No biggie! If you feel like the nails are just too long for what you’re comfortable with, cut or file them down to what works best for you.
Tip 3: Own those nails.
There’s something about wearing glue ons that makes you feel like a boss babe. Do you feel that too? Don’t be afraid to own that! I love when my Red Aspen nails complete my outfits! Isn’t it amazing how some pretty nails can boost your confidence? It’s the little things, ladies.
I hope this quick tutorial on how to apply Red Aspen nails in 4 steps helps give you that push to try them out!! If you still think you’re a gel nail girl, you can check out my DIY tutorial for applying gel nails at home here. If you want to go all in on your self care, you can check out my DIY beauty roundup to get you ready for summer! Follow me on Instagram for more tips on all things beauty and self care @twistmepretty!