-
 St Patrick’s Day Shamrock Banner DIY
 - Hey, my babes! St. Patrick’s Day is coming up and I am so excited. Besides the fact that it’s MY BIRTHDAY I’m also obsessed with the Lucky Charms breakfast and leprechaun traps and tricks. I don’t have a lot of St. Patrick’s Day decor because it’s so close to Spring, but I do like to add some pops to make my house look festive.
Today, I’m going to show you my quick and easy St. Patrick’s Day Banner. It literally took me 30 minutes from start to finish and the whole thing was done in less than one bowl of cereal for my twin boys!
Here’s what you’ll need:
- – A needle and thread
- – Scissors
- – Green felt scraps (at least 5 inches x 1.25″)
For each clover
Step 1. Cut the leaves
Cut four squares of felt, each about 1.25″ or 3cm.
Fold each square in half and cut a little scallop in the top of each piece using small sharp scissors. You’ll end up with two semi-circles at the top of each piece… kind of looks like an rounded letter m.
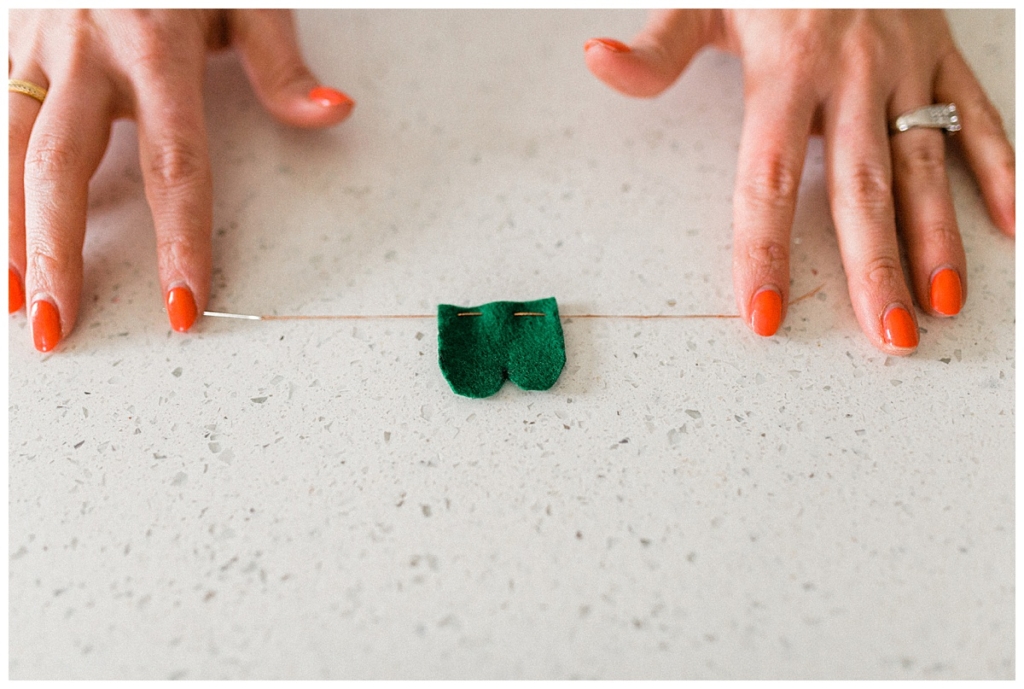
Step 2. Make the stitches
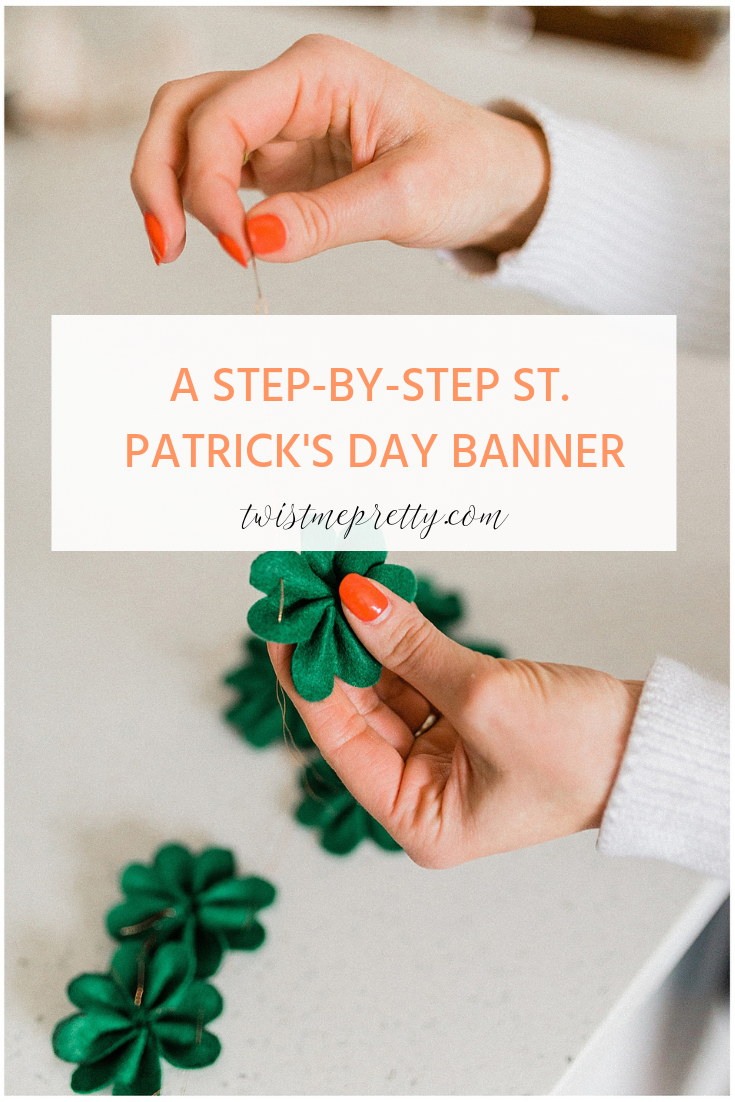
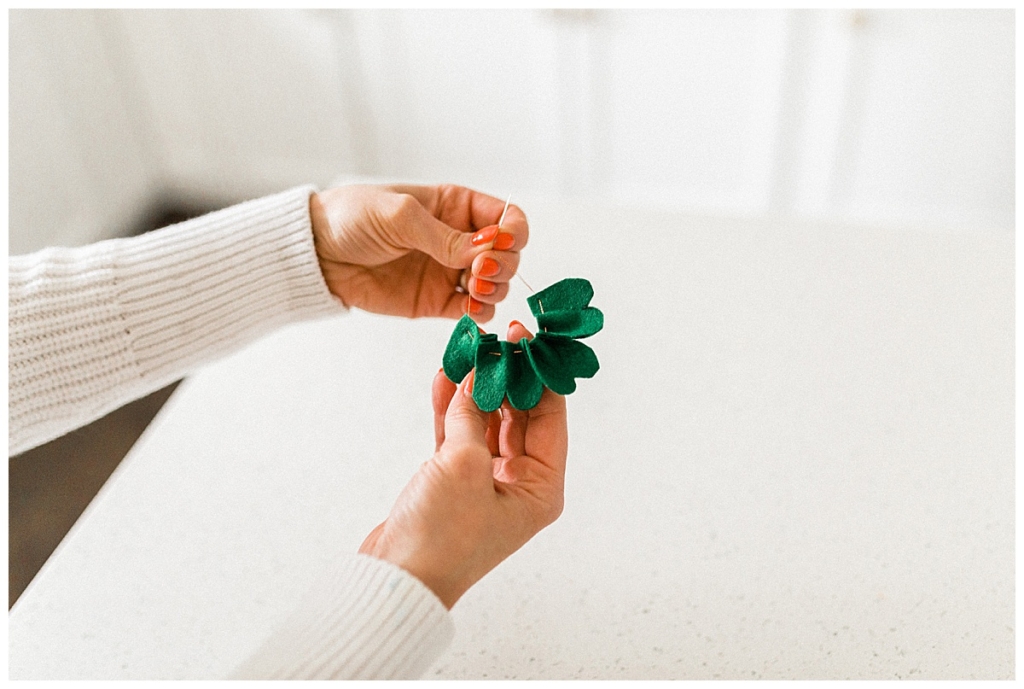
Thread a needle with gold thread and stitch three small running stitches across the base of each piece of felt. So go up with your needle…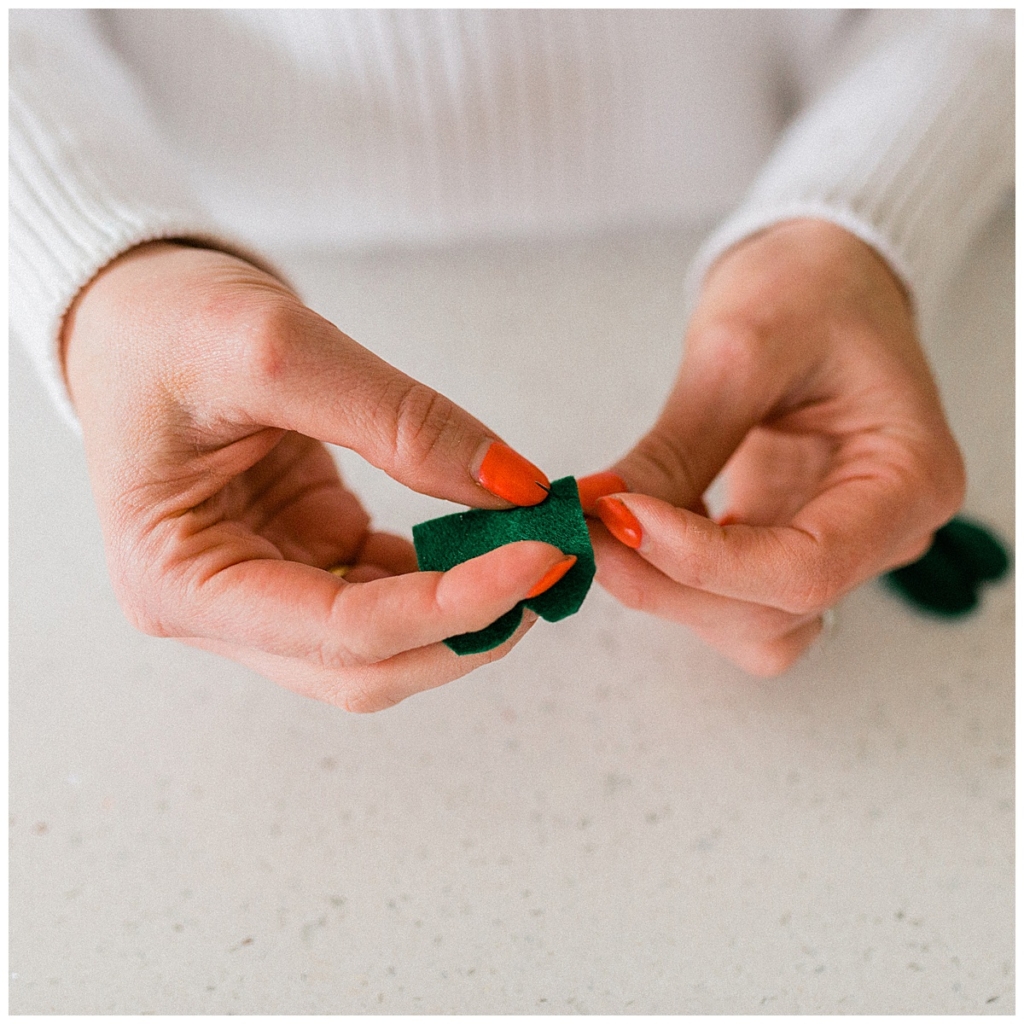
down…

Up and down again to make three stitches. See how both of the tails are below the piece of felt? Make sure that the tails are on the same side of the piece of felt!

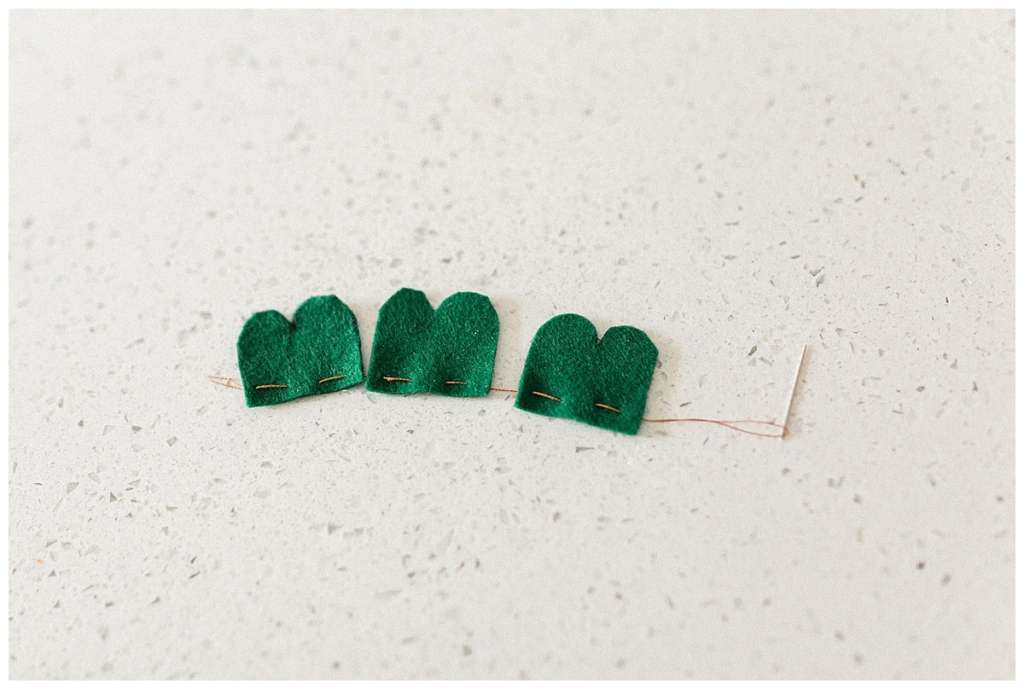
Step 3. Stitch the leaves
Continue stitching along the remaining three pieces of felt.
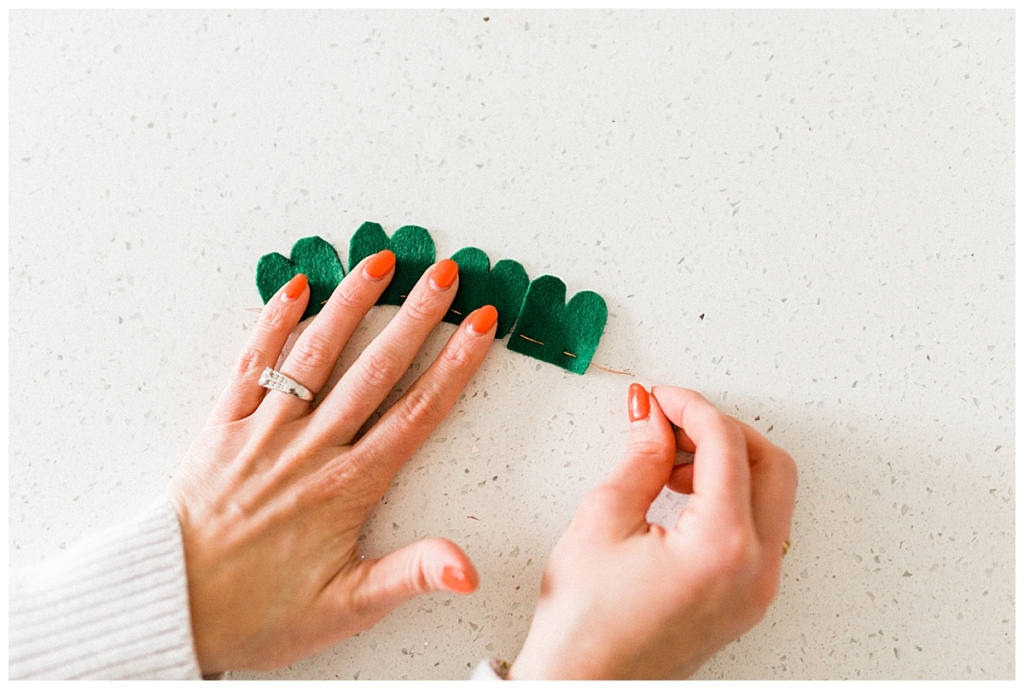
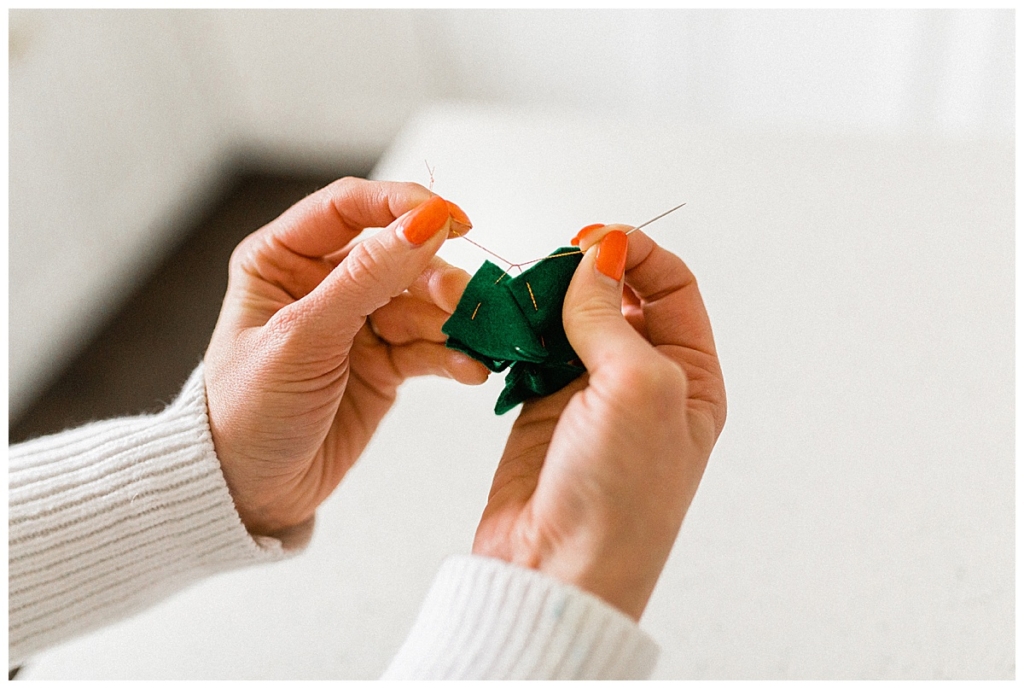
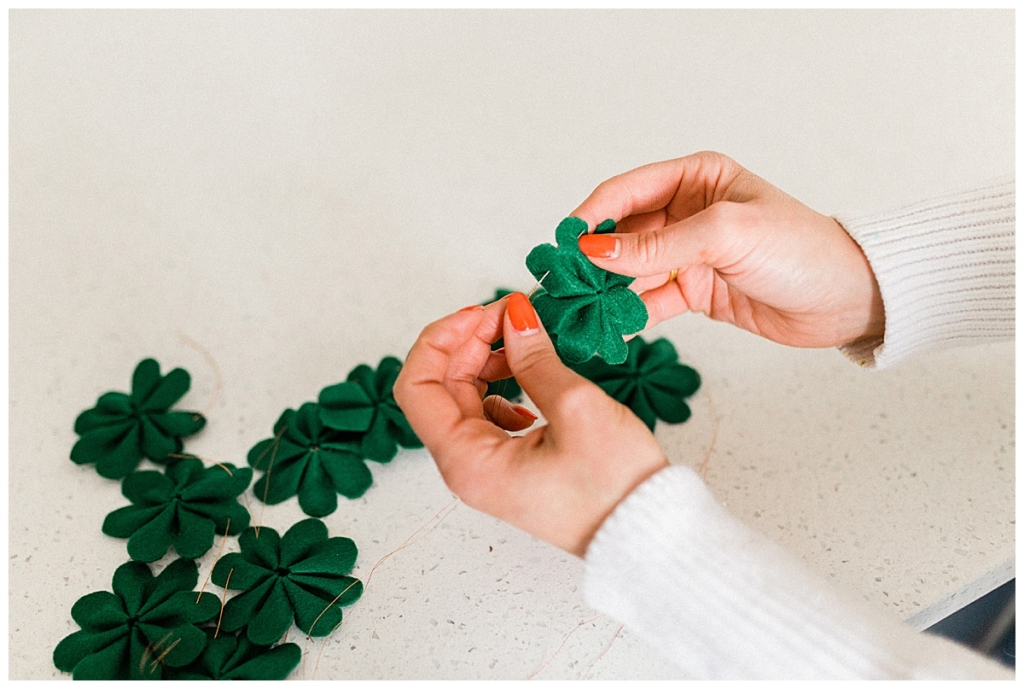
Step 4. Gather
Gently pull the thread to gather the leaves. Make sure to hold or secure the loose end so that you don’t pull the stitches out. You’ll notice though that the leaves will gather and start looking more like clovers
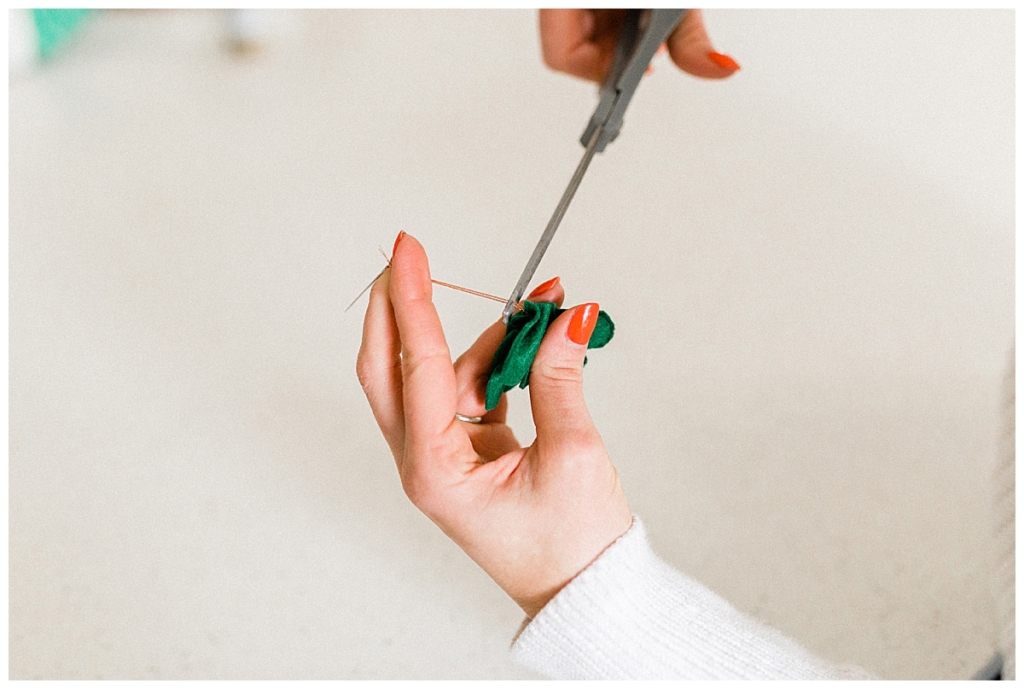
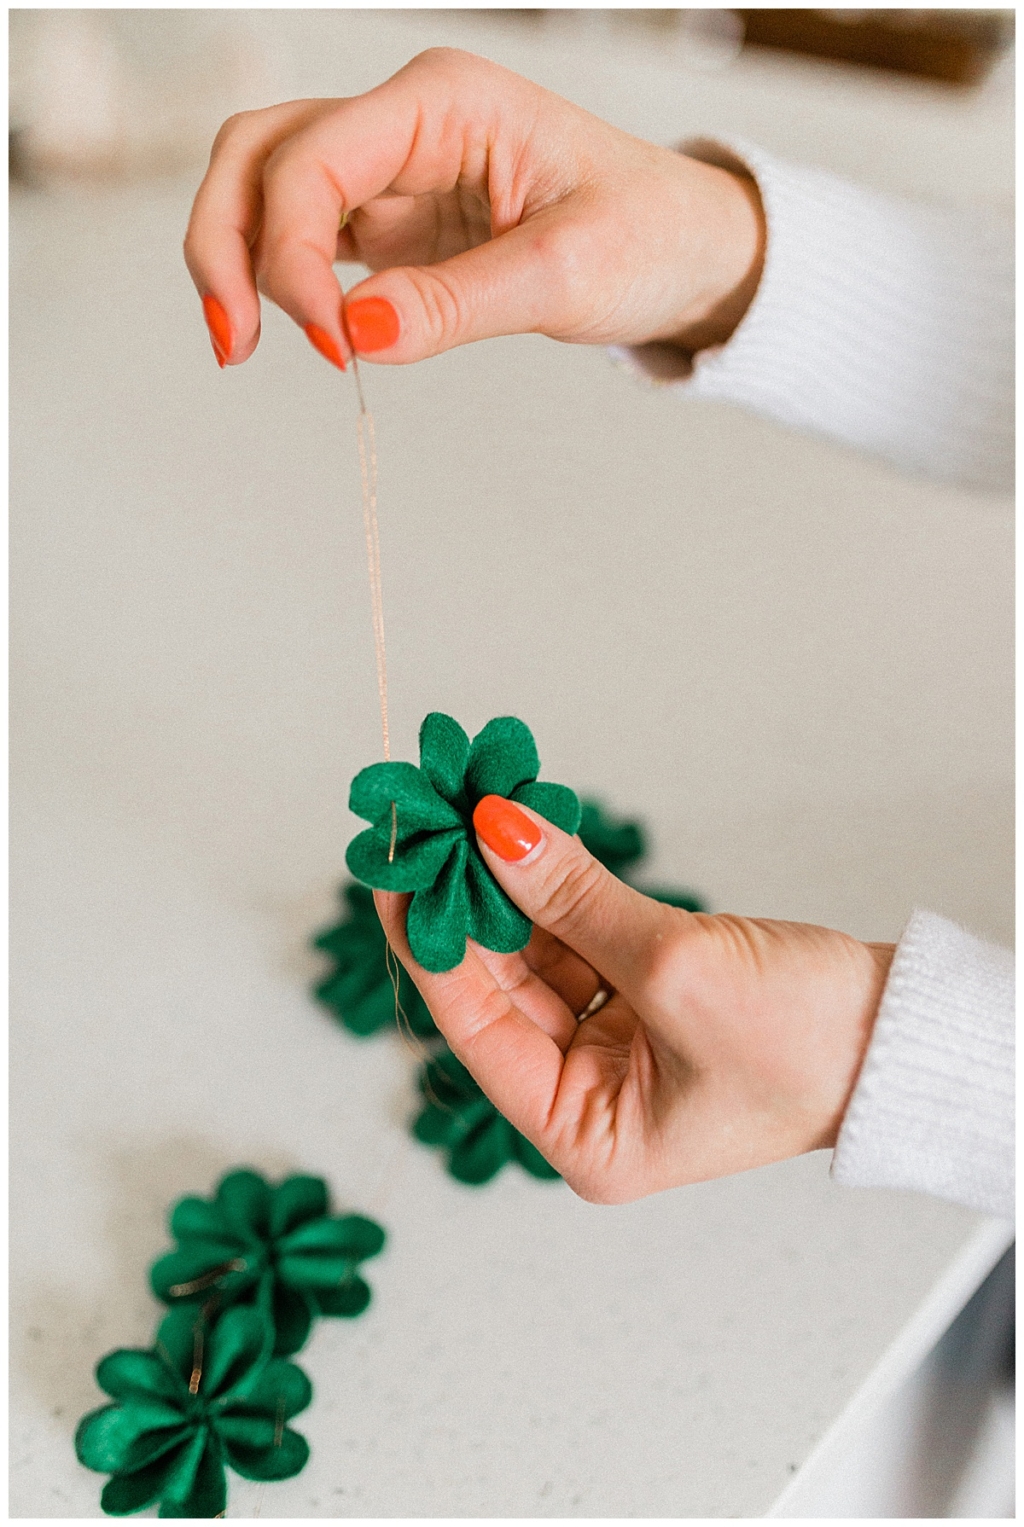
 Step 5. Tie it off
Once the clovers have been bunched together, tie a knot in the thread. Then cut off of the extra thread.

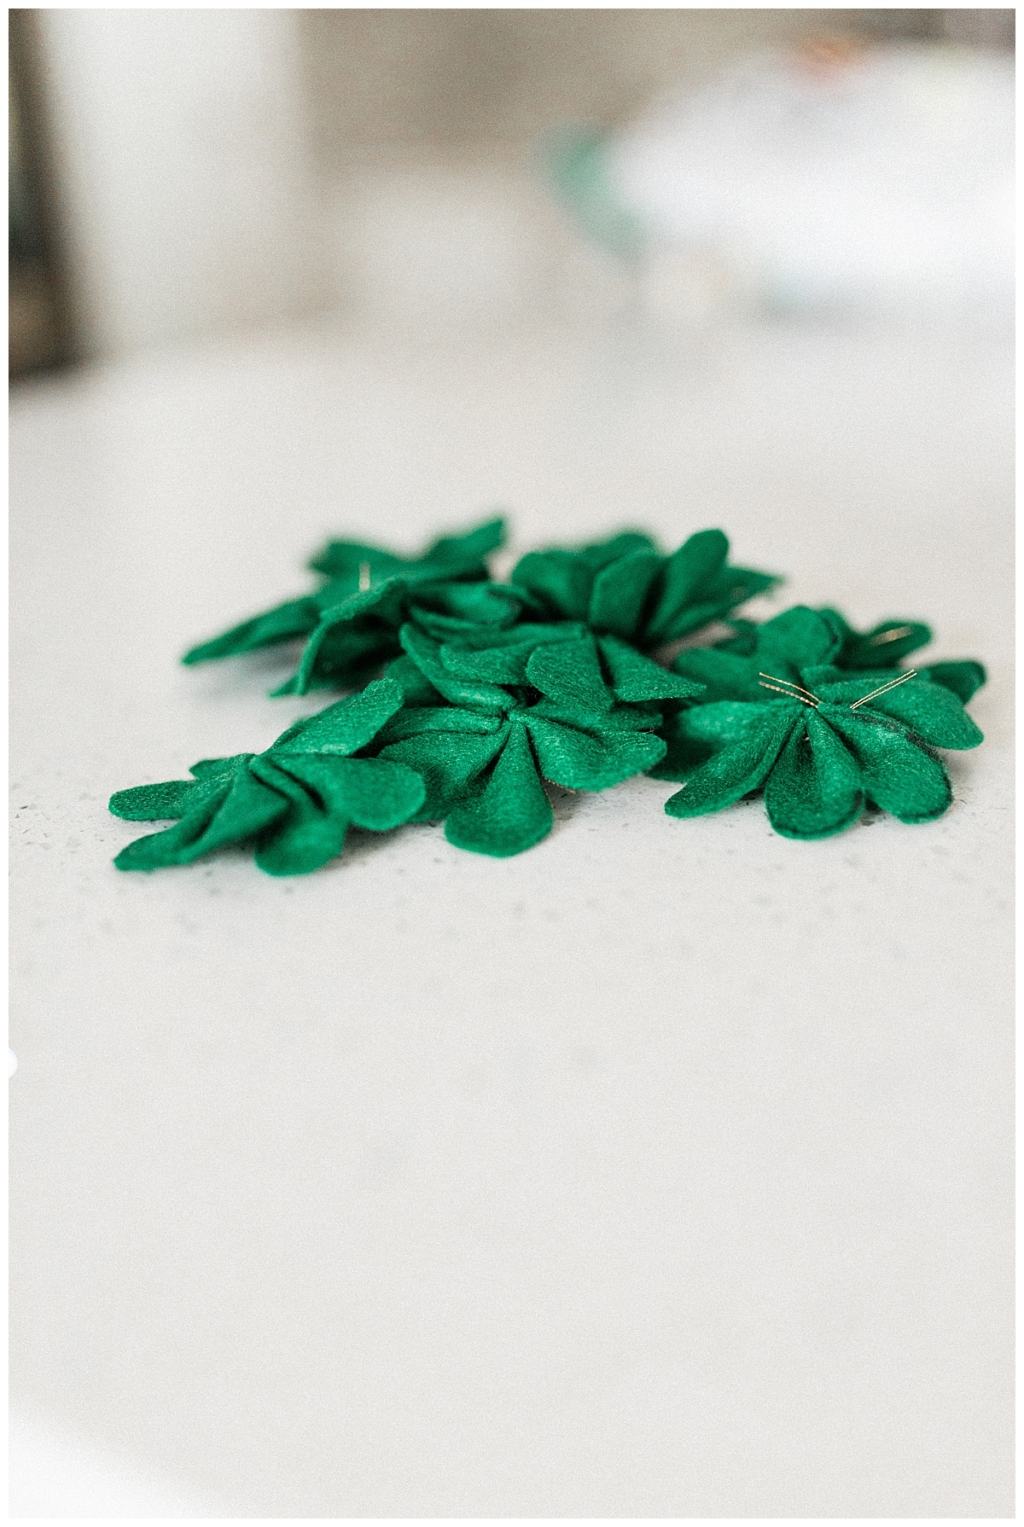
Repeat Steps 1-5 to make 12 or more four-leaf clovers (you can make your banner as long as you want).
Step 6. Tie them together
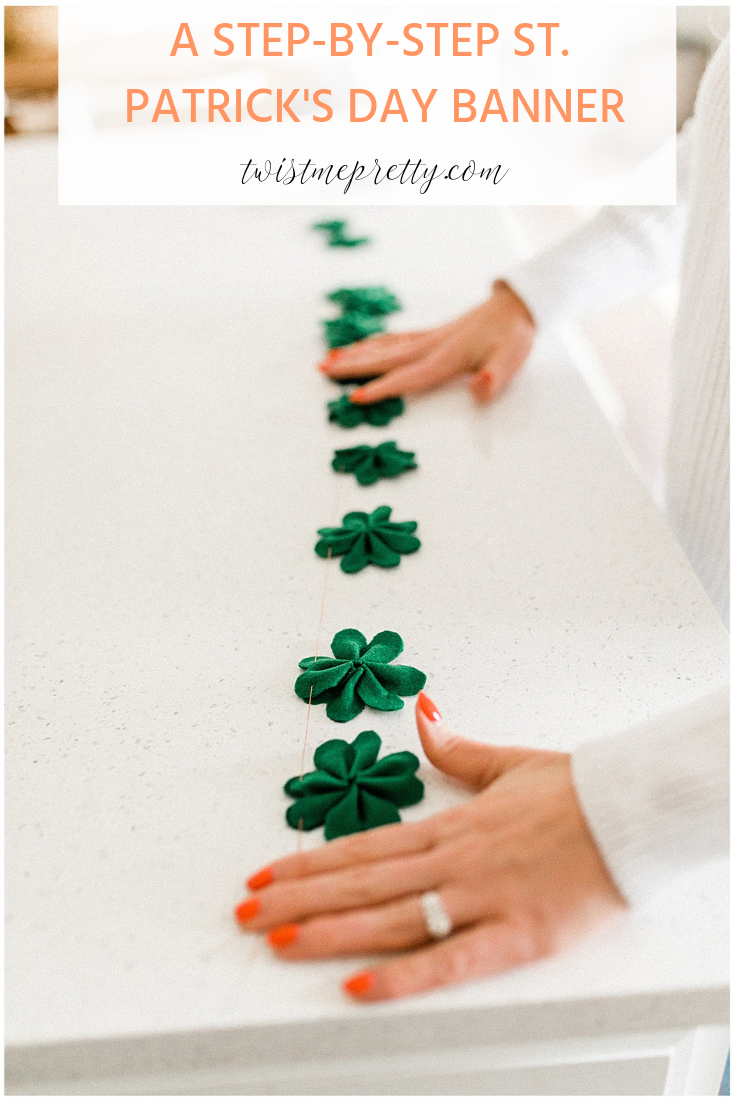
With a long piece of thread, doubled for extra strength, stitch through one of the leaves of each clover to make your banner.
Tip: Lay the four-leaf clovers on the counter and to help you get them evenly spaced apart.

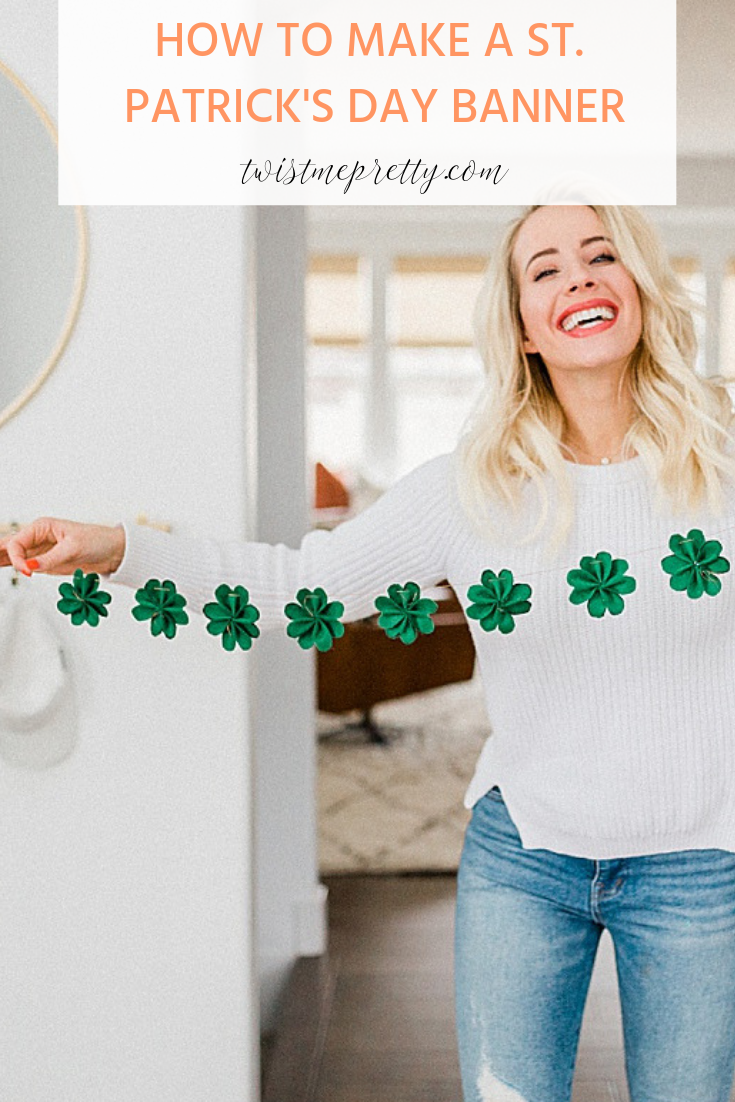
Step 7. Tie and Hang
Tie a knot in each end and hang on your wall. You did it!!
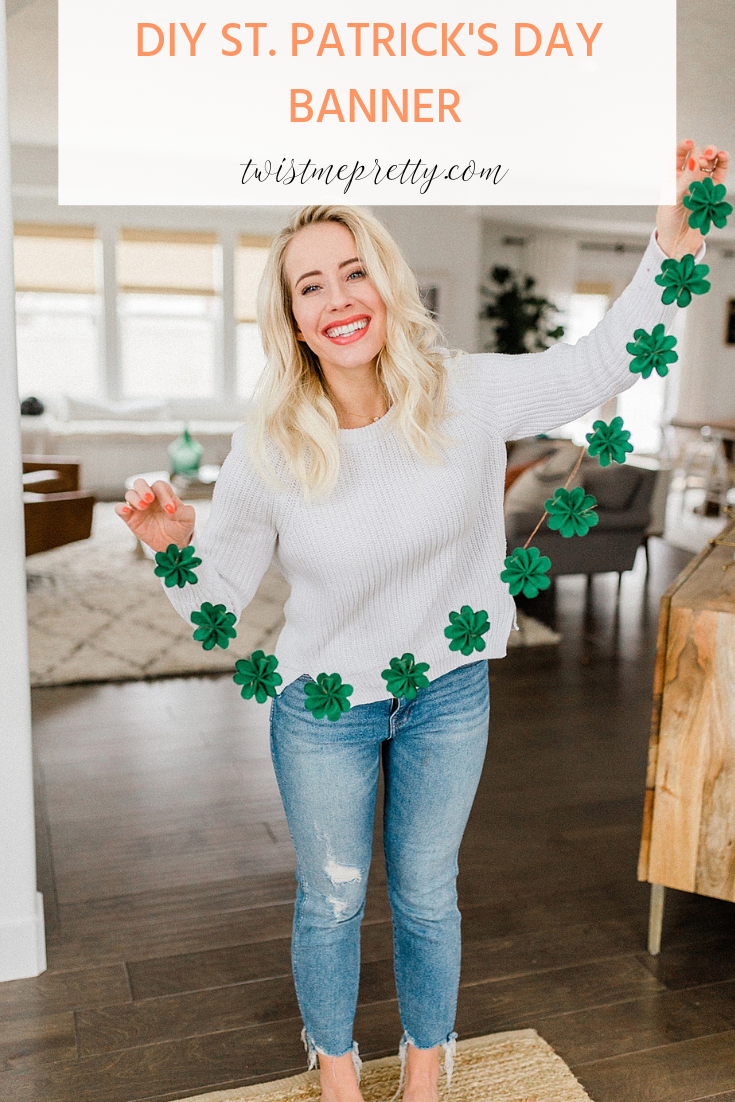
What did you think? So simple and so fun, right? I hope you love it as much as I do.


A lot of you were asking where this mirror and oak rod were from so I’ve included the links!! The round brass mirror is from Target, it’s a knock off of the really expensive CB2 one and I LOVE IT!! It’s $56 for the size I have and then there is a smaller one for $26. I didn’t realize there were two sizes and I linked up the smaller one on Instagram so hopefully I did have you buy the wrong one! This is definitely the bigger of the two. And then the oak hanging rod is from a shop on Etsy called Little Deer Interiors. It comes with these cute brass hooks and when the garland isn’t there, I have a cute hat and jean jacket usually hanging on it for just some cute color and texture on that wall. Their shop is adorable, make sure to check them out!!
Do you decorate for St. Patrick’s Day or are you straight to Spring?!