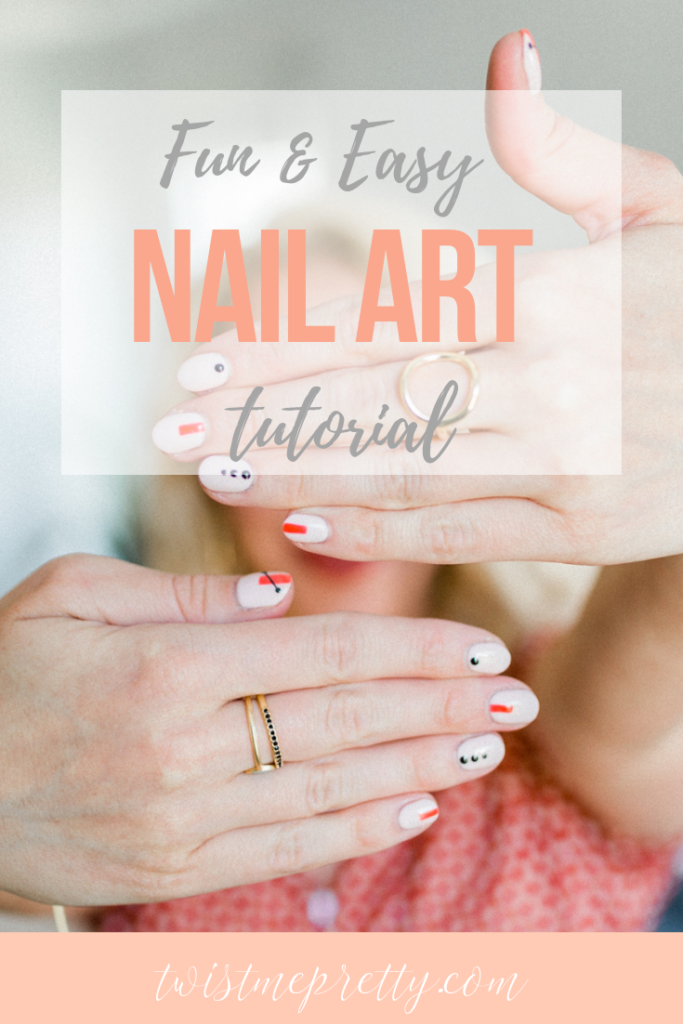
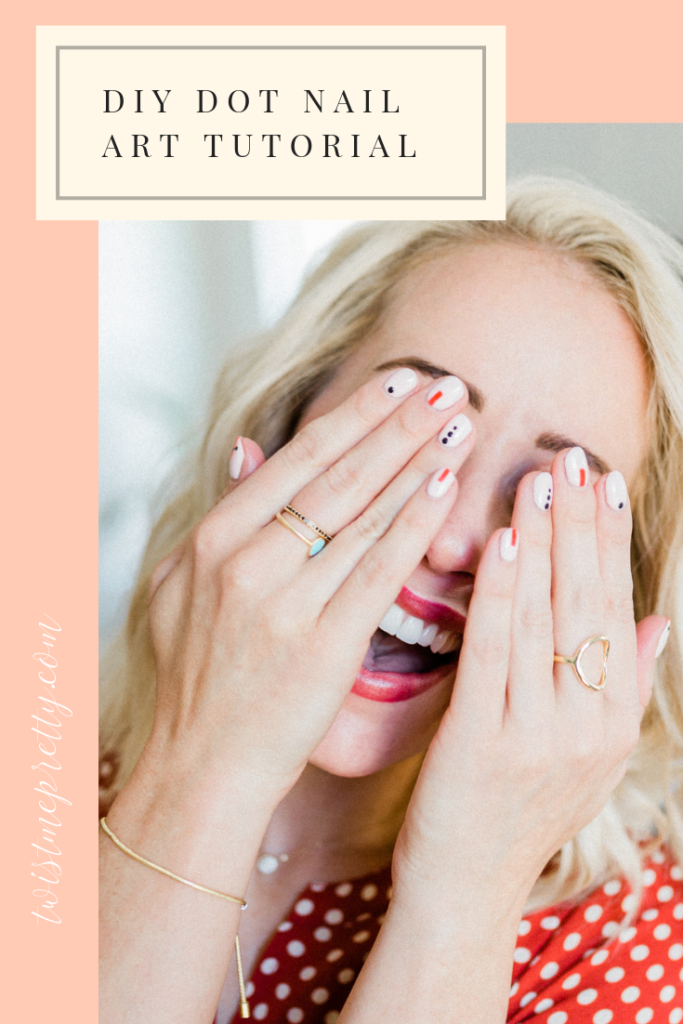
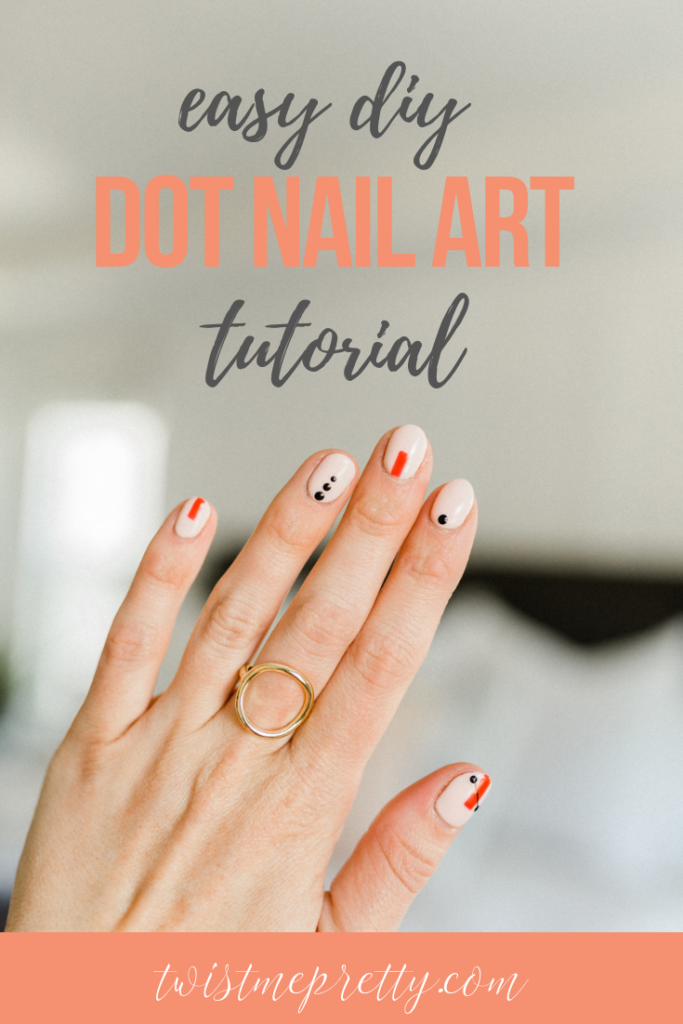
This is a really fun post from my friend and nail artist Kaiti! She’s sharing a great DIY Dot Nail Art tutorial today that I think is so fun and easy. I am loving these fun nails and her great tips she’s sharing about manicures and nail art. Make sure to check out her instagram to see some of her other gorgeous art, you will not be disappointed! Now, let’s get to Kaiti and her nail art tutorial.
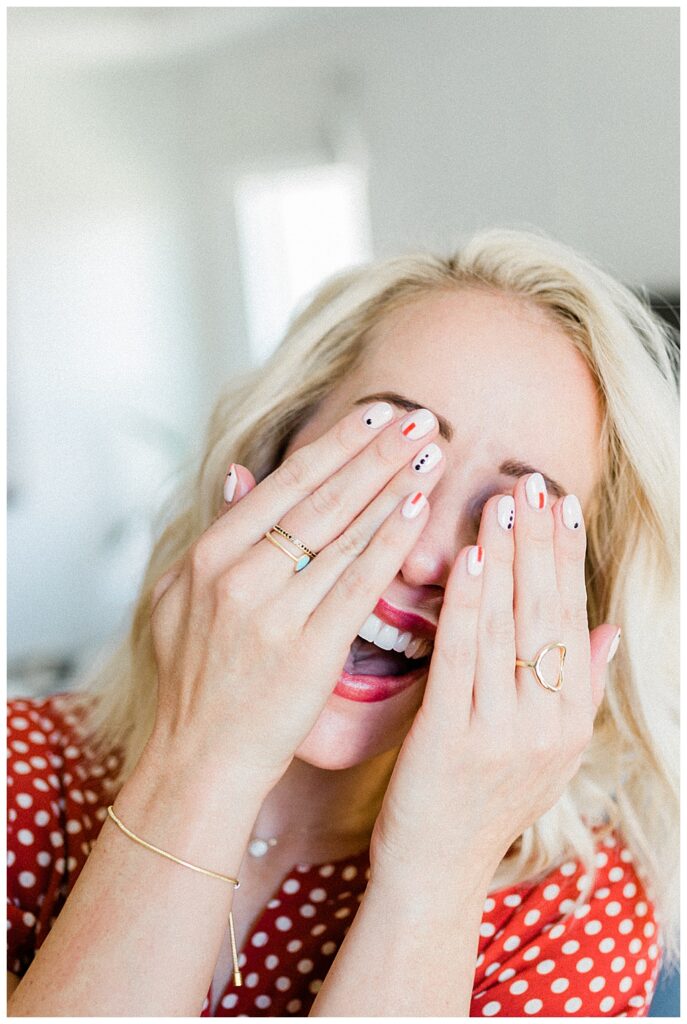
Dot Nail Art Tutorial
For Abby’s nails, we took them more round instead of square. This helps prevents chipping as it eliminates the two corners and creates one round edge that’s less likely to break.
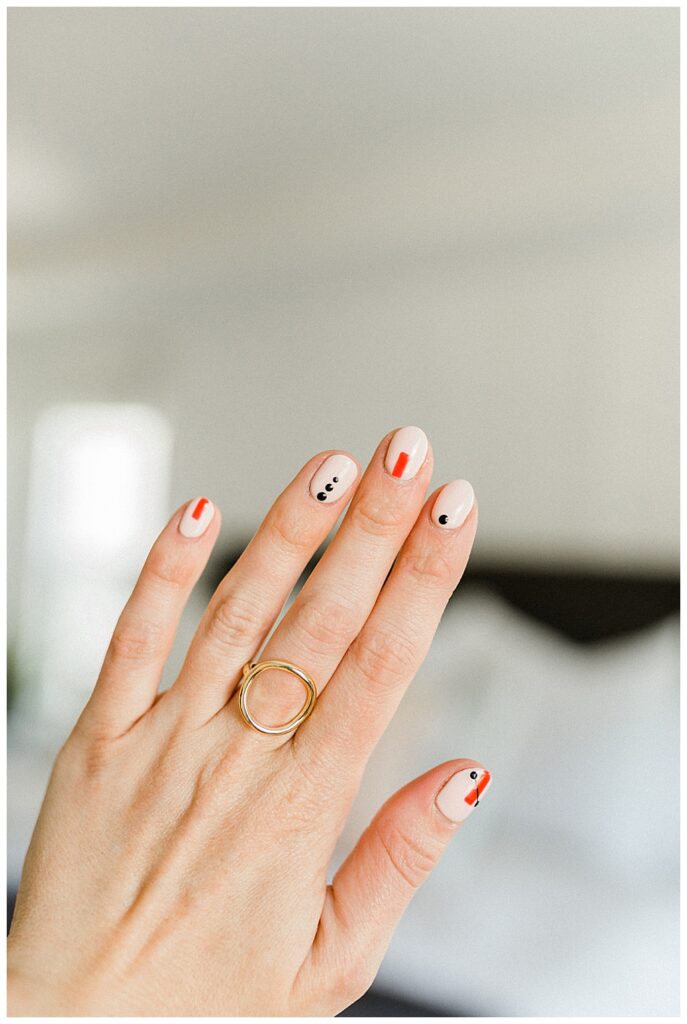
For the Base
We used a blush pink as the base color on her nails, which is a win-win as it’s super on-trend and it’s not as noticeable as it grows out so we can make them last as long as possible.
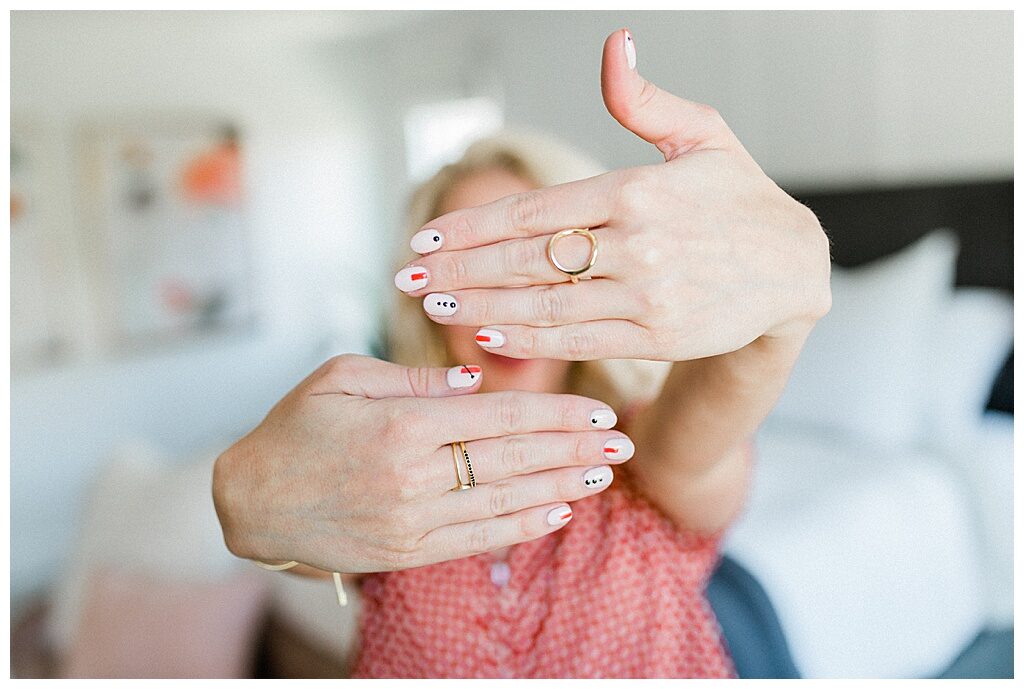
For the Accents
Using a bright poppy red gel polish and a thin nail art striping brush, we drew thin rectangles coming halfway down from the tips of the nails on the thumb and pinky and flipped it on the middle finger so it’s coming up from the cuticle.
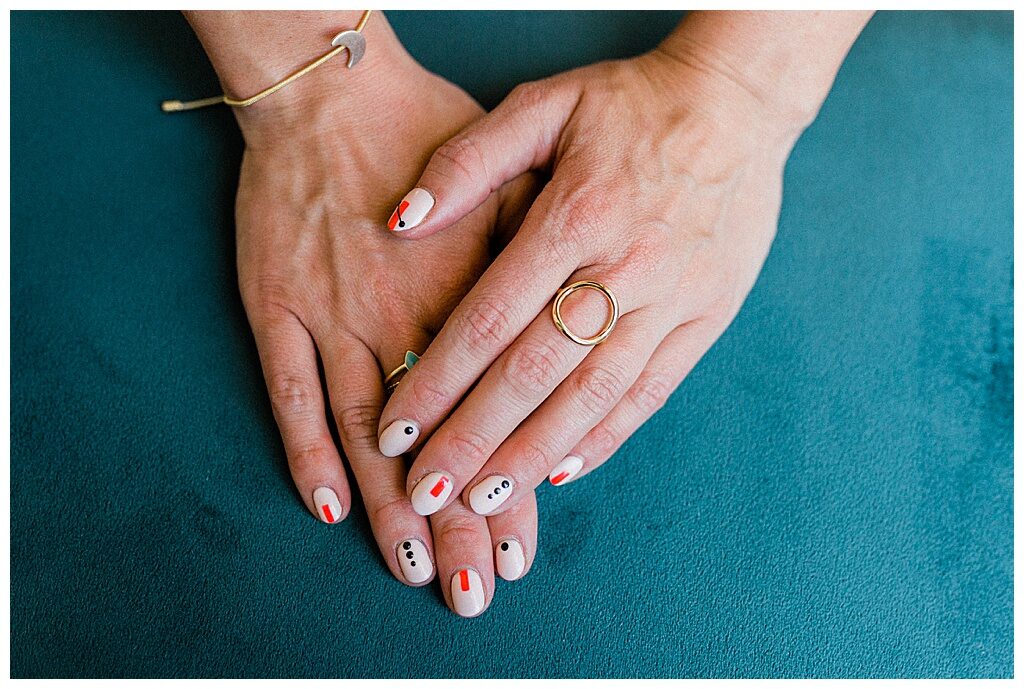
We also used a black art gel polish and the same liner brush to draw a thin diagonal line going through the middle of the rectangle on the thumb and used a small dotting tool to put little black dots on either end of the line.
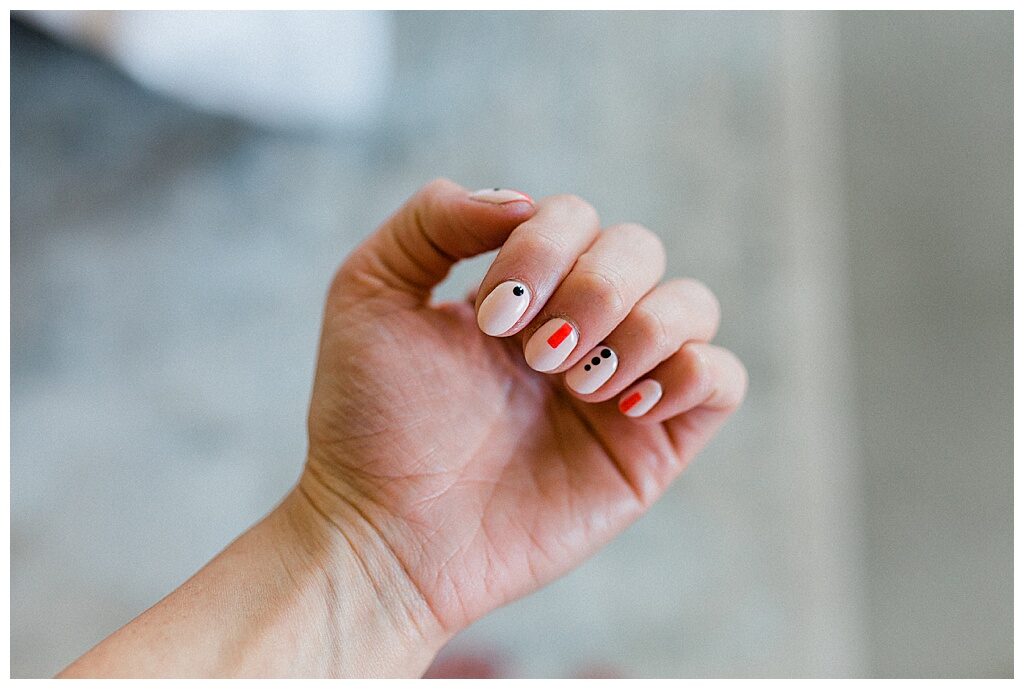
To finish them off, we put a large black dot on the pointer fingers and graduated the dots from large to small on the ring finger coming up from the cuticle, and finished them off with a high shine topcoat.
Alright, babes, I hope you guys are loving this manicure as much as I do. This nail art is so classic and fun, yet easy to do and easy to fix if (heaven forbid) you get a chip on a nail.
What is your favorite color or art to wear on your nails? Are you bright and bold? Neutrals? Patterns? I’d love to hear your favorite go-to looks for nail art.
Abby
