Hi babes! How is your summer going so far? I hope you are having fun and creating lots of great memories. Speaking of memories, I know capturing those memories is important and since most of us may not have a camera in the moment, we all probably have our phones. At least that’s what happens to me so I am always taking pictures with my phone. I have learned a few things because of this and I wanted to share some iphone photography tips with you.
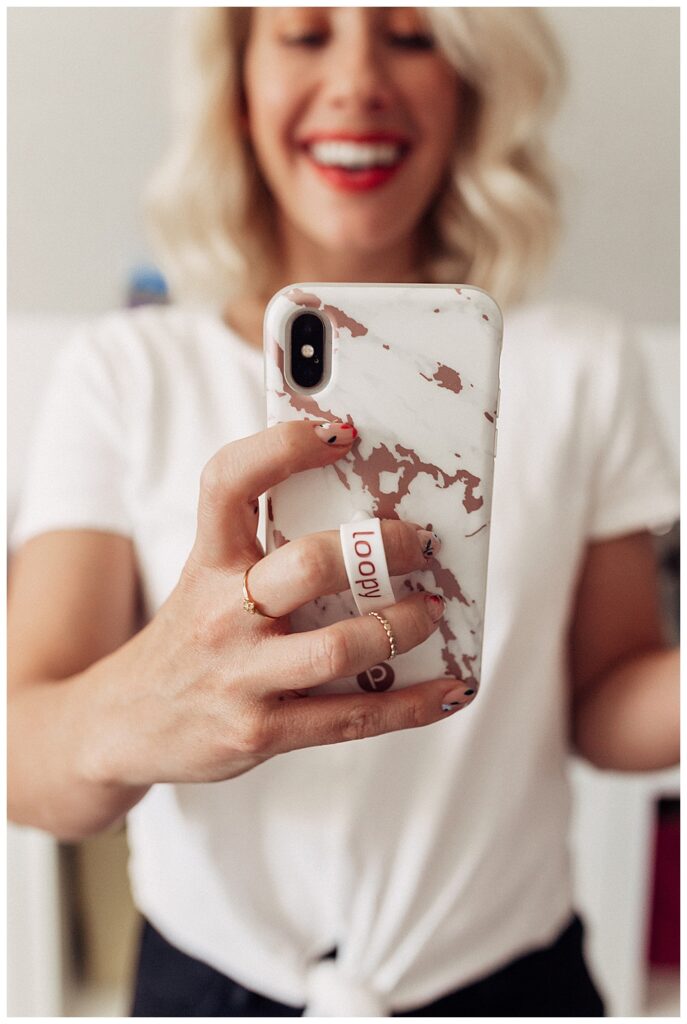
Better iPhone Pictures
Before you even begin make sure your lens is clean! Whether it has been in the hands of a cute kiddo, sitting on your kitchen counter or in the bottom of your purse, your lens gets dirty. So make sure that it is clean.
Check for distracting elements in the photo. Whether that be a pile of dishes or a bunch of people in the background, before you take the shot just take a glance around. You can either change your viewpoint from a lower or higher angle, or move closer to get rid of them.
Turn off your flash
The iphone flash is an LED light. It’s usually not powerful enough but on top of that, it can create a weird hue in your photos. Whenever possible try using natural light, or at night, use the exposure slider on the camera to boost light in the photo.
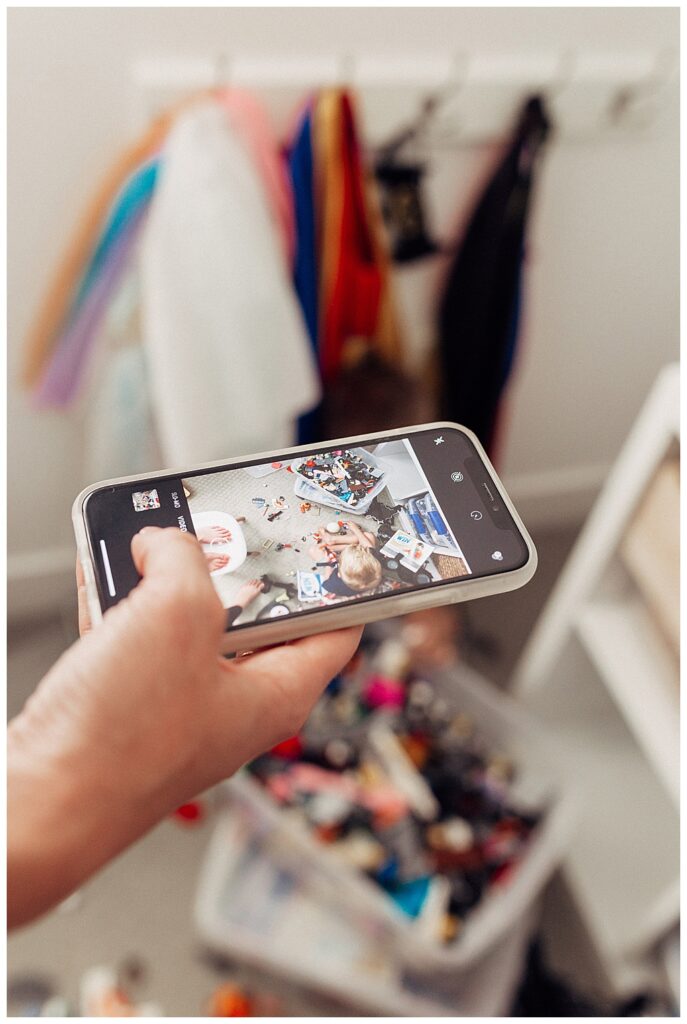
iPhone Editing Apps
You can also use a wide variety of photo editing apps afterwards that will really help your brighten up your photos.
- VSCO
- Snapseed
- Lightroom
- A Color Story
- Photoshop Express
- Touch Retouch
- Dark Room Photo Editor
- Focos
- Airbrush: Best Photo Editor
- Instasize
- Polarr Photo Editor
These are all great and FREE options.
My friend Michelle has great information on how to use Lightroom if you’re interested in learning more.
iPhone Pictures in Action
Use burst mode for action shots
Since we all know kids never sit still for a photo, or at least mine don’t, you will want to be ready for an action shot. Burst mode is a great tool.
Turn on HDR Auto
What is HDR? It is High Dynamic Range. You will want to use that when possible. This lets you snap photos that may have high contrast light sources (say, a bright sunset against dark silhouettes) without distorting the light or dark elements in your photo.
You can manually turn it on or off. It does take up a lot of space on your phone so I recommend only using HDR when necessary.
Focus iPhone Pictures
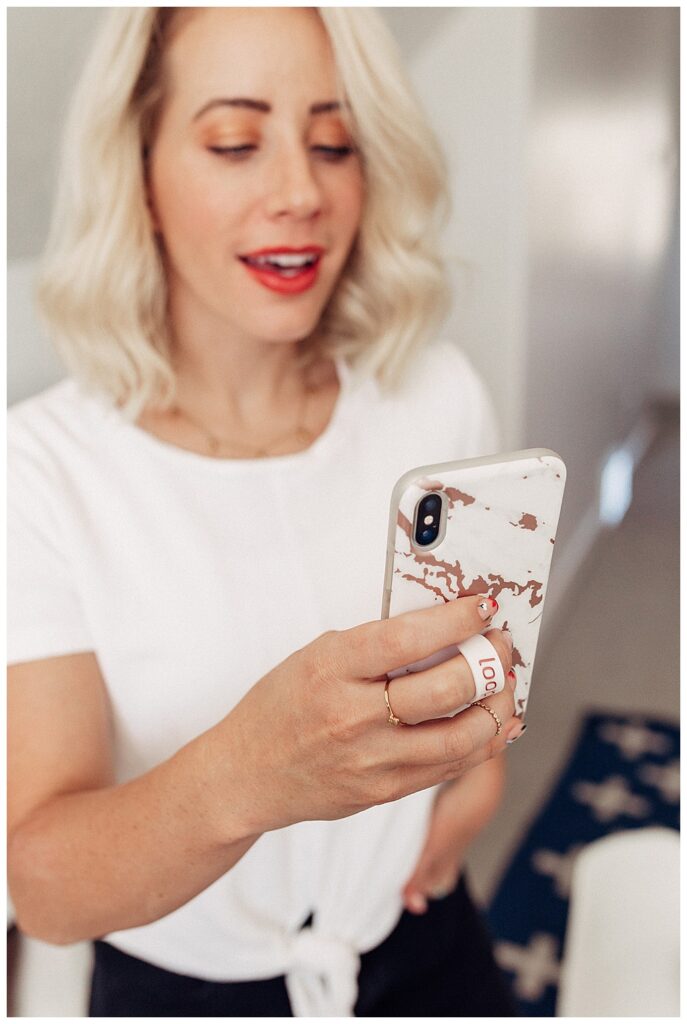
Hold down a spot on your viewfinder to lock focus
This can help you focus in on what you ACTUALLY want to photograph and not some random things in the background.
All you need to do is tap and hold on what you want to focus on. Do this until you see the yellow AE/AF Lock alert. This means focus metering has been locked on your subject; to remove the lock, just tap anywhere else on the frame.
Exposure
Slide the exposure meter to brighten (or darken) images. If you are getting pictures to dark or bright, you can change your exposure to adjust the lighting and give you great pictures.
Use the Timer Button
The Timer button can be seen at the top of the screen (or left in landscape). Tap it and you can set a self-timer of 3 or 10 seconds. You’ll see the numbers come up on the screen as it counts down. This is a great feature for mamas to actually BE in the photos, rather than always behind it.
iPhone Pictures Review
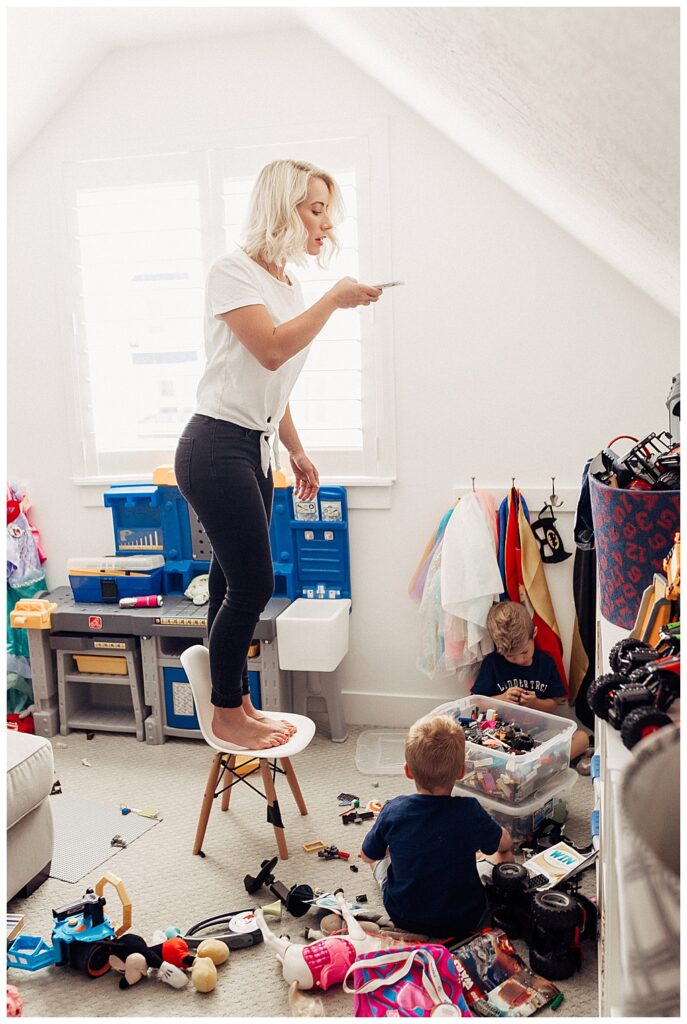
These key features and tools that come with most recent iPhone models include:
- Burst mode: Perfect for action shots, like trying to get your kid’s soccer game.
- Turn on HDR Auto: You will be able to capture more vivid colors.
- Viewfinder: You can use the viewfinder to lock focus and make sure your photos come out crisp and clear.
- Grid mode: Helps you to make use of the rule of thirds.
- Exposure Meter: This helps you decide how much light you want in your images before you take them.
- iPhone camera shortcut: Use the camera shortcut from the lock screen to get your camera ready ASAP. This helps you not miss out on all of those perfect candid moments.
- Portrait Mode with Depth Control: This blurs the background and puts more focus on what you are trying to capture.
- Dual optical image stabilization: This helps with any shakiness you might have.
- Optical Zoom: Optical zoom is way better than the regular zoom. But try to get physically closer to objects you want to zoom in on.
- Angles: Higher photos look better in general.
- Hold the camera as far away from your body as possible. This will help prevent distortion and usually produces better photos. Try using a tri-pod, selfie stick or have someone nearby take a picture.
That’s a wrap babes! I hope these tips help you take better iPhone pictures. Let me know if you have any tips you would add to the list.
Abby


